If you are unsure how to use certain activities found in the activity packs, I have created this FAQ for you. If you have any other questions that are not answered here feel free to leave a comment letting me know.
3 part cards
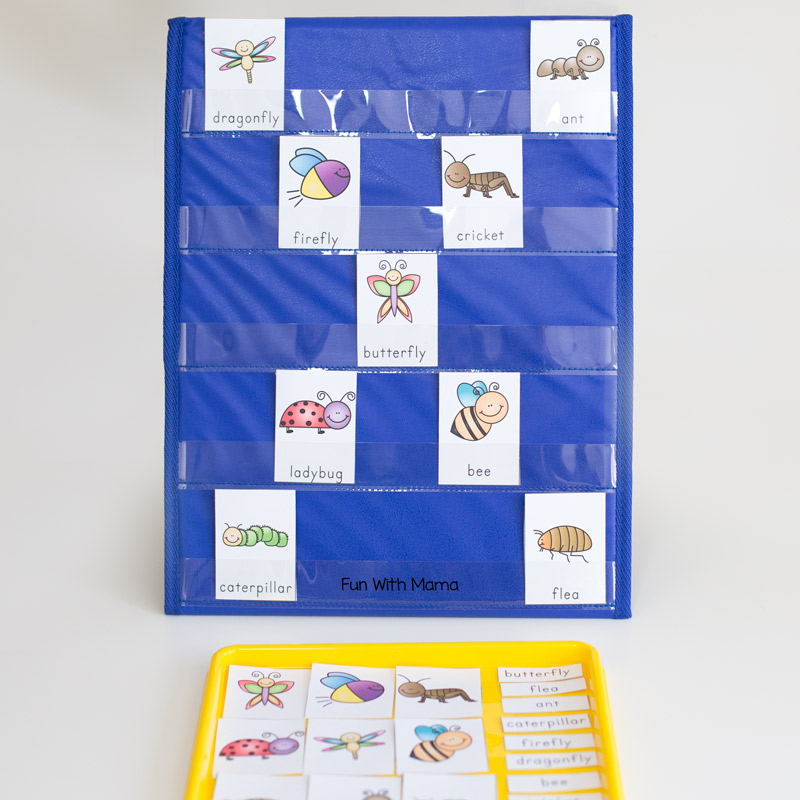
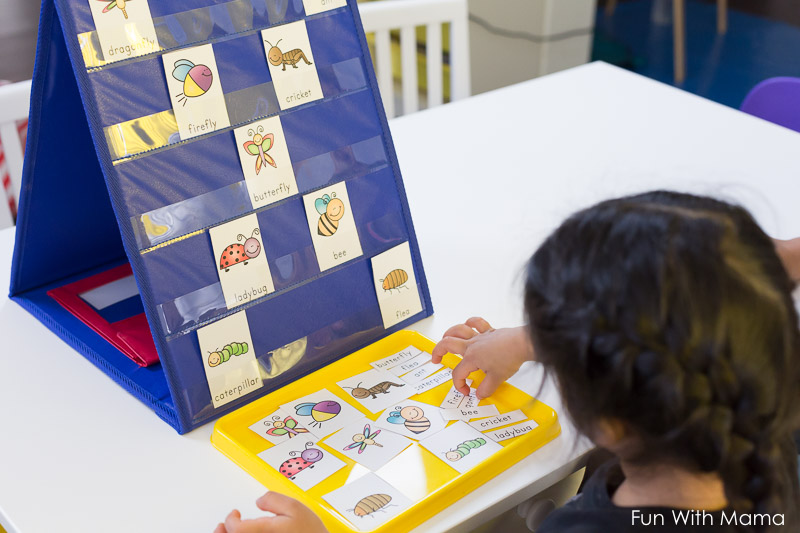
There are 2 sheets per 3-part cards that need to be printed. The full card image and the second page where you will need to cut out the image plus the word. Children will then use the full card as a guide. They will match the cut-out image to the full card. Same with the words.
[amazon box=”B000QE62BQ” grid=”2″]
Clip cards
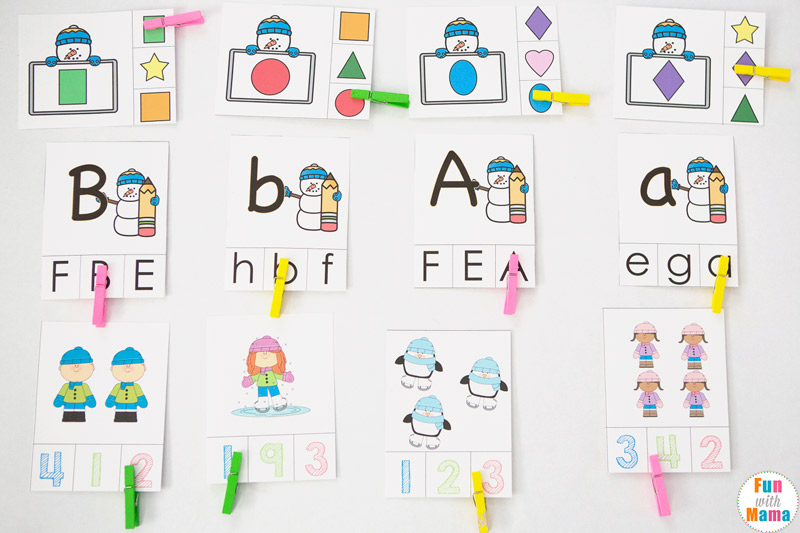
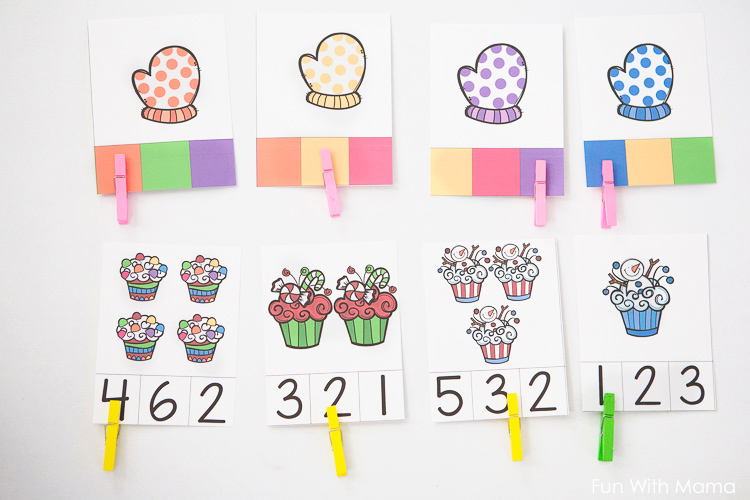
Use clothespins or pegs and have your student clip on the correct answer. This activity is great for strengthening those fine motor skills. If you don’t have clothespins then you can also just use a linking cube or colored disc to show the right answer.
We use the following:
[amazon box=”B0B1W5D5F2,B00006IDRW” grid=”2″]
Dot Marker Pages
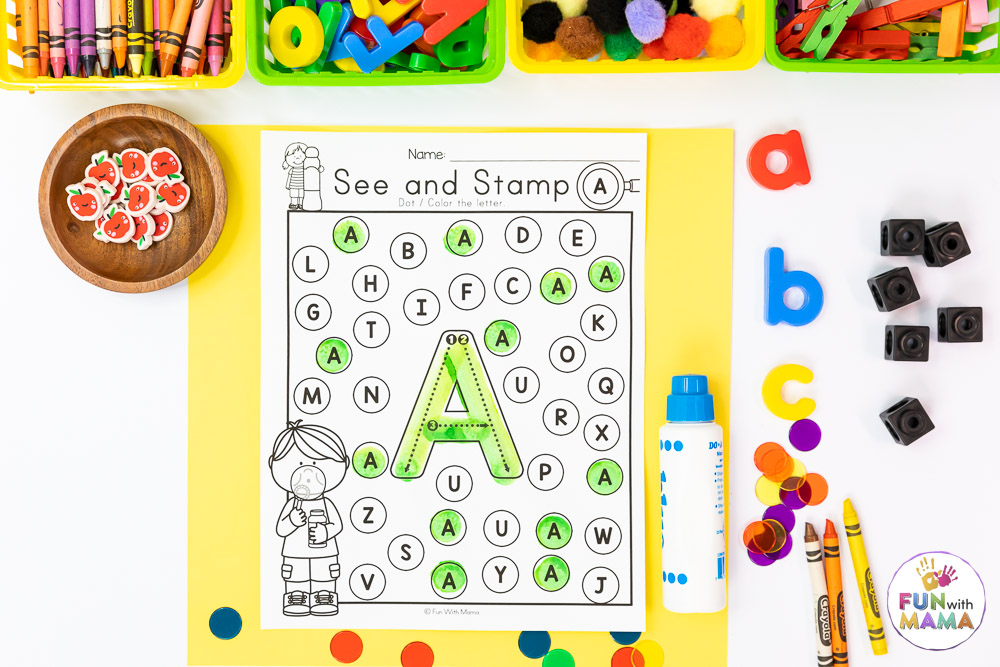
Use a Do-A-Dot marker and dot on to the correct letter.
[amazon box=”B00004W3Y4″ grid=”2″]
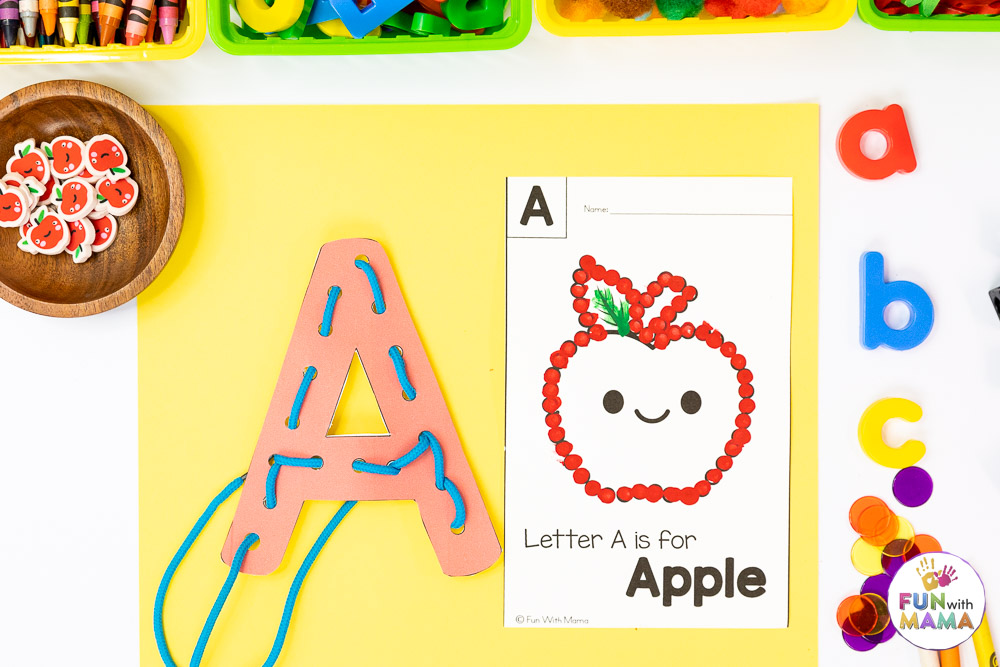
Threading / Lacing Activity
Playdough Mats
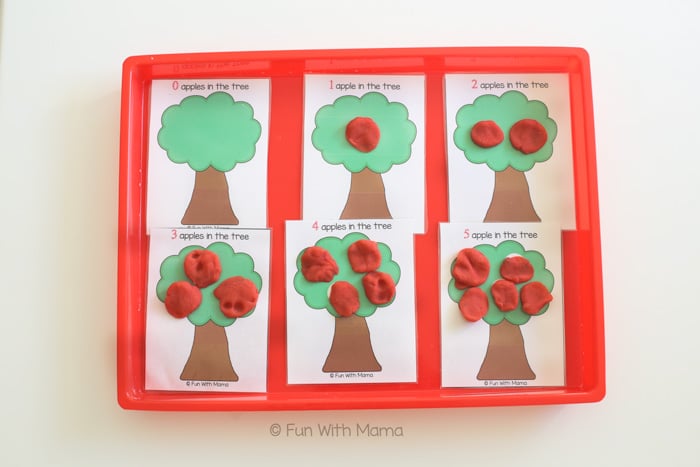
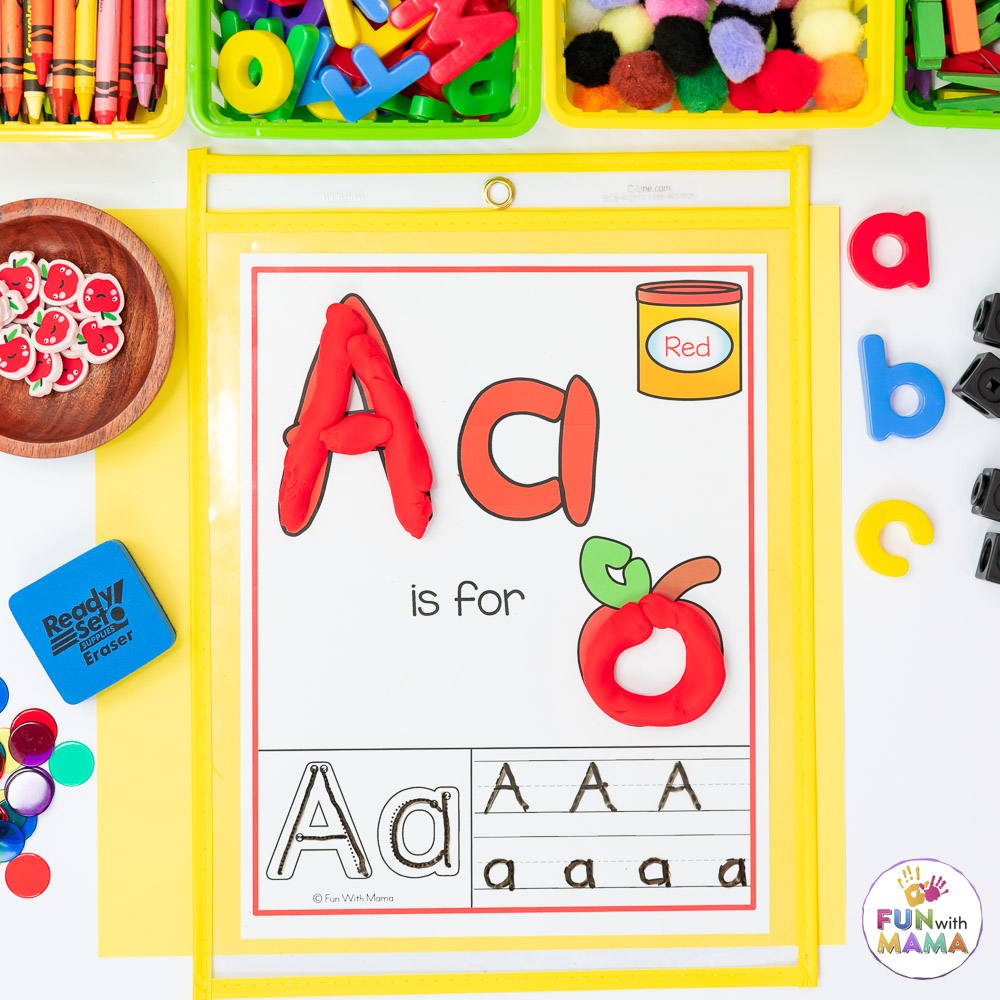
Play dough mats can be used with play dough but many can also be used with other tools like pom poms, magnets, circle discs, and mini erasers too.
Mini Books
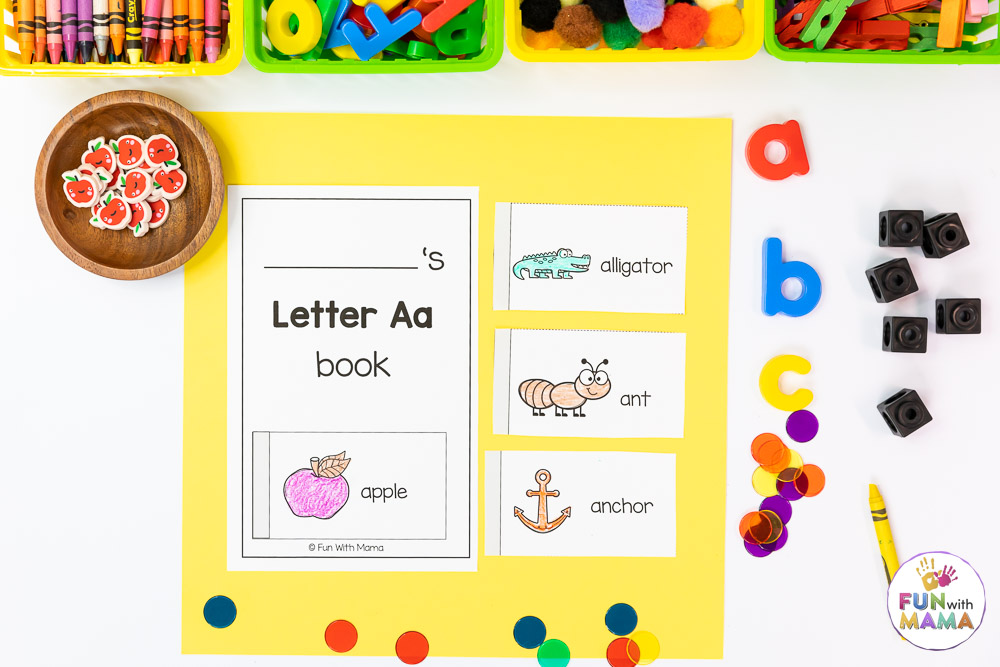
Some of the mini books are vertical, some are horizontal, and others are one page that just require some folding.
For the vertical and horizontal book pages that include cutting marks just cut on the dotted line, color, cut then staple together in the designated spot. The 1 page mini books just require you to fold the page twice in order to create a mini booklet.
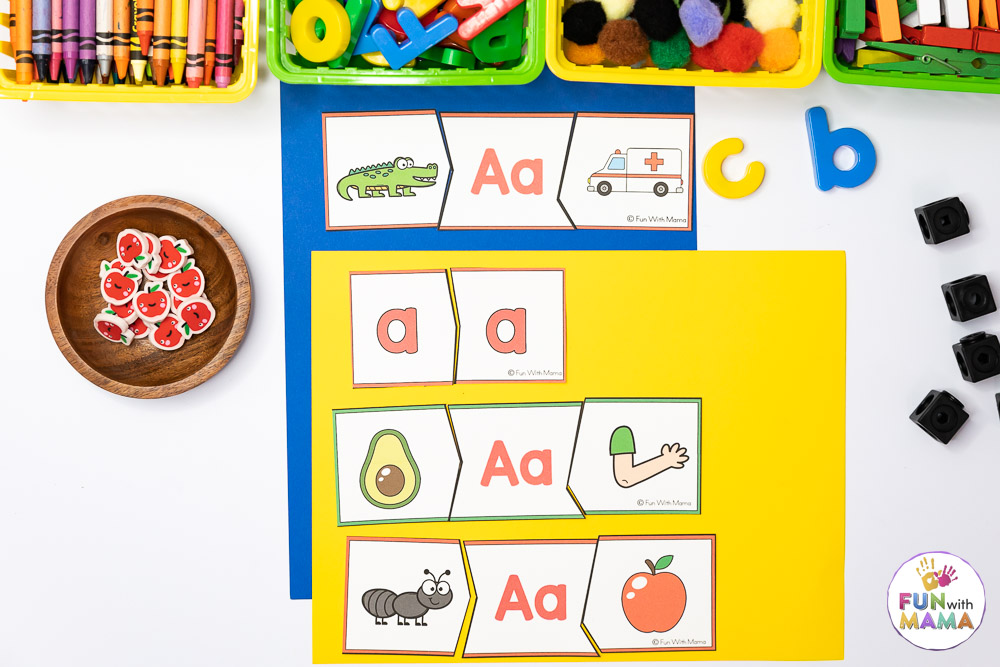
Puzzles
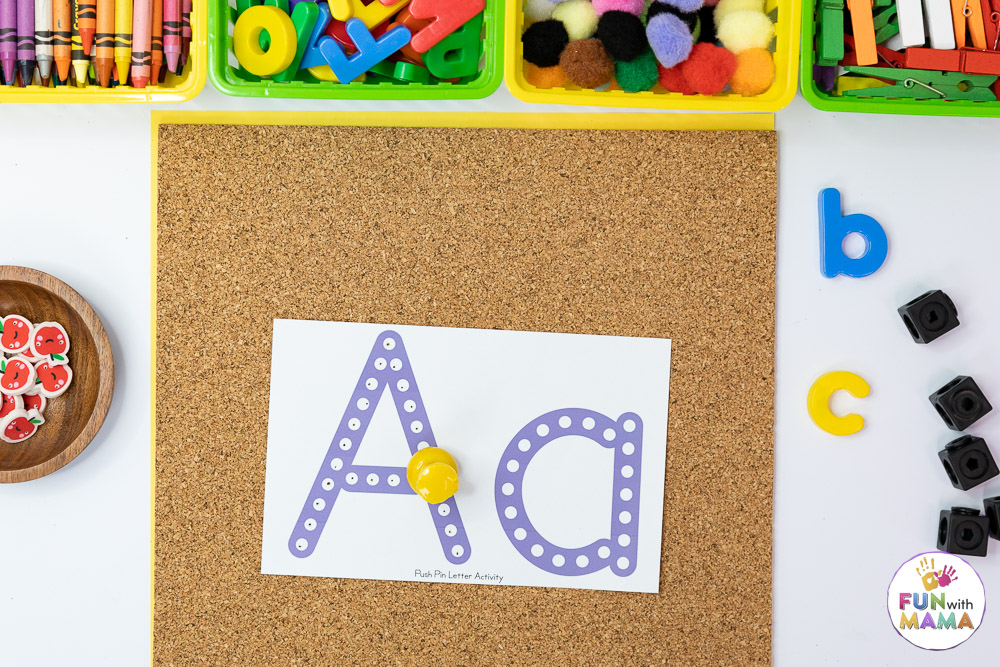
Push Pin Activity
[amazon box=”B000AN7FYG,B0018DHBAK” grid=”2″]
Patterns
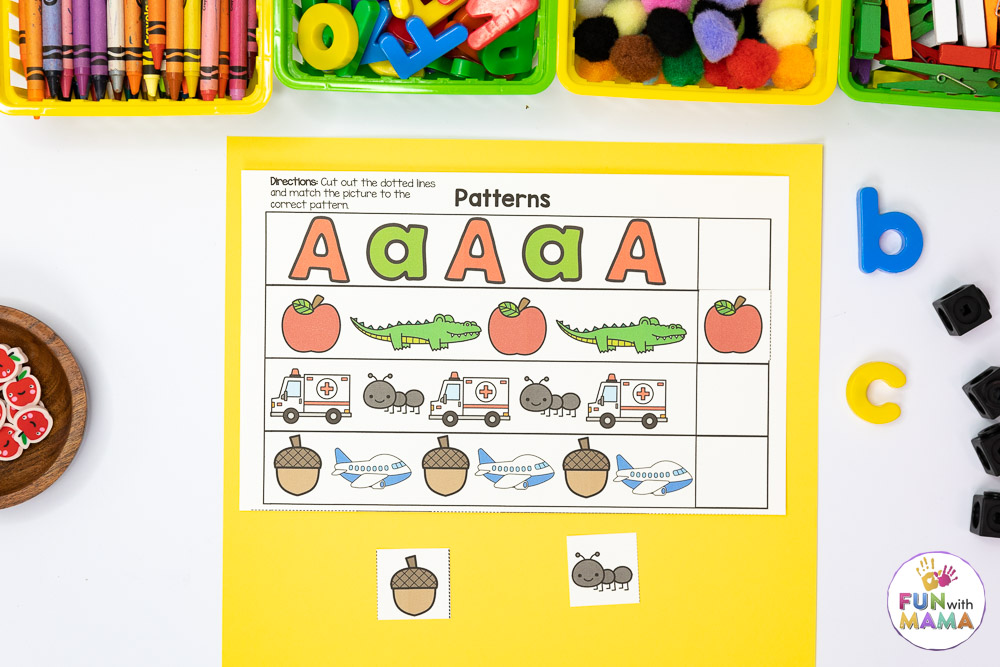
For pattern activities there are color versions and black and white. With the color version I suggest printing, laminating and adding velcro dots.
For the black and white version children can color the pieces.
Cotton Bud Paint
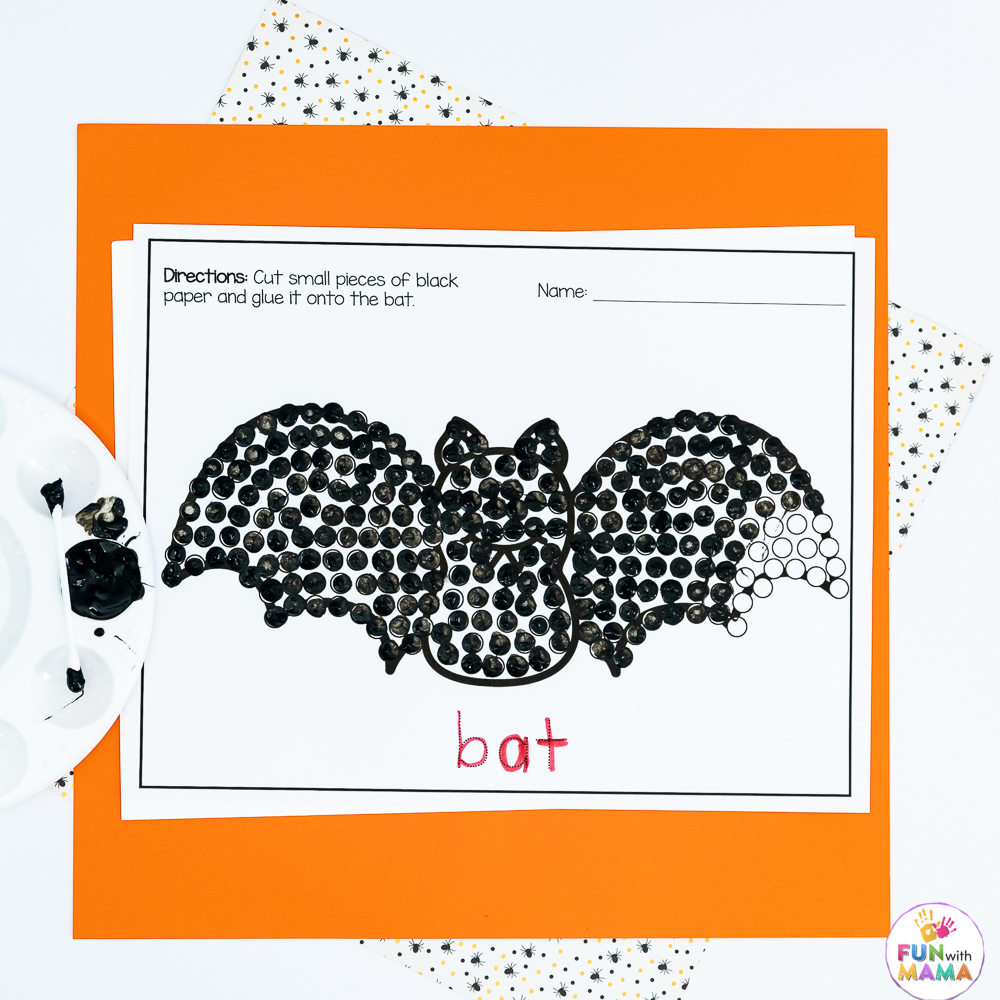
Use a cotton bud dipped in paint to dot around the image in the designated circles.
Match the Sound
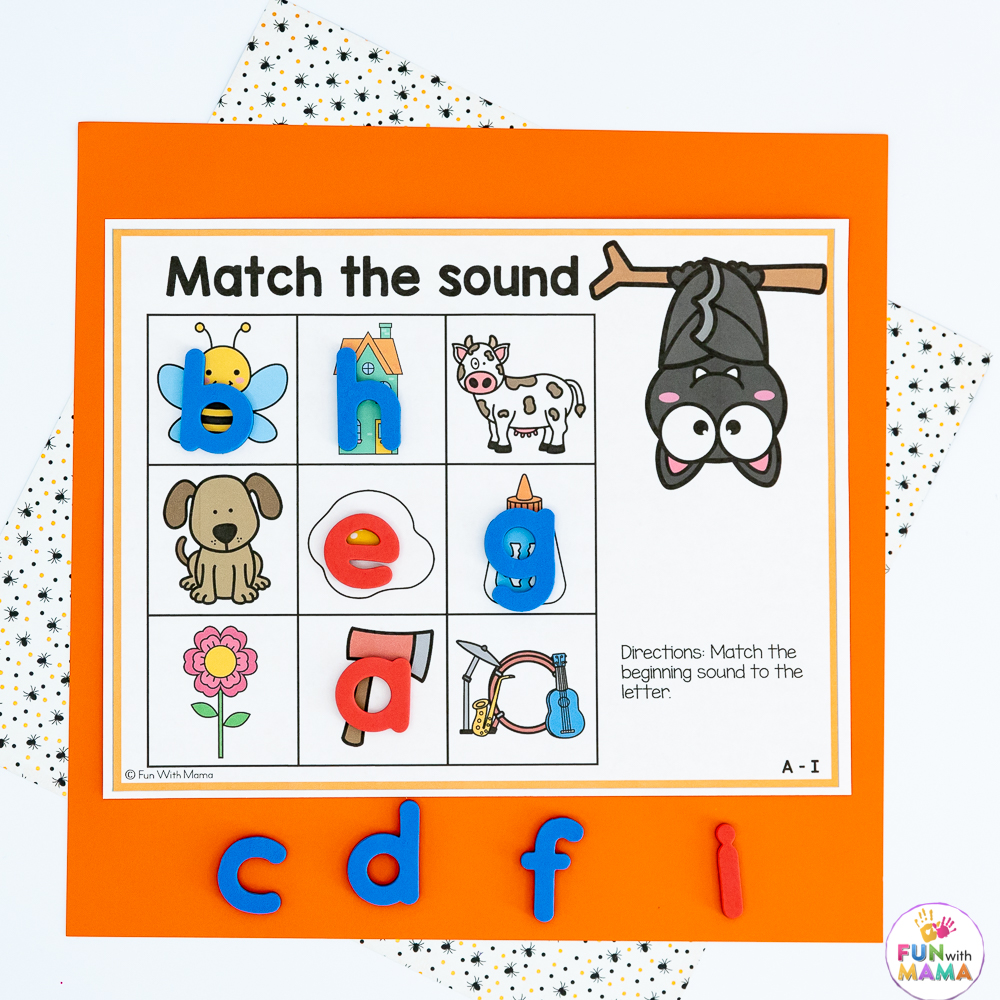
Students will match the sound to the picture. You can use magnetic alphabets or the included cover cards in the printable pack.
Here is what we use:
[amazon box=”B00RM4O83C,B07NTWLSXM” grid=”2″]
Graphing
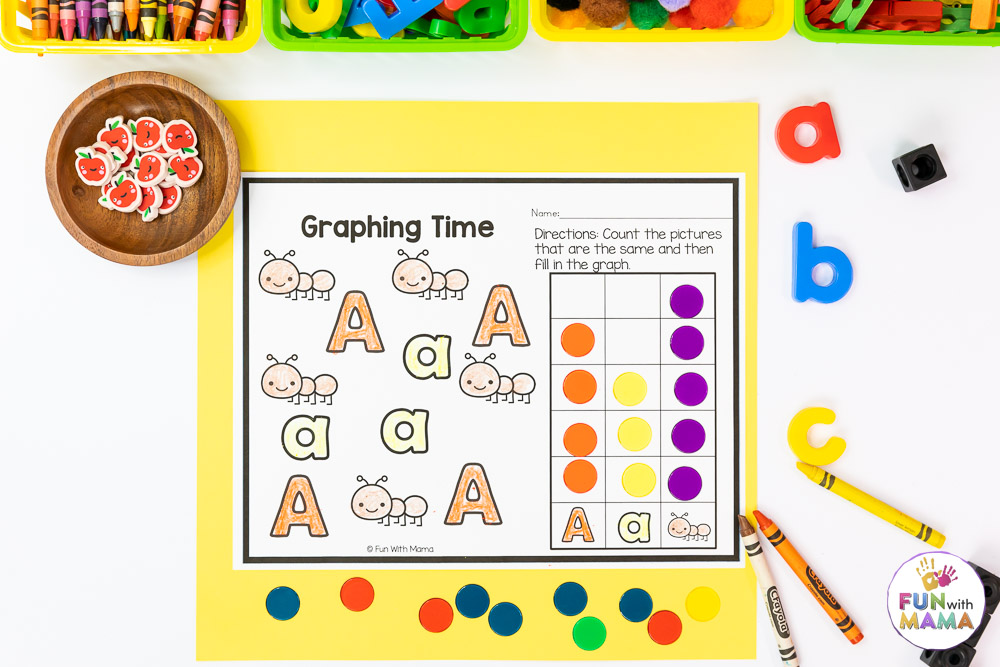
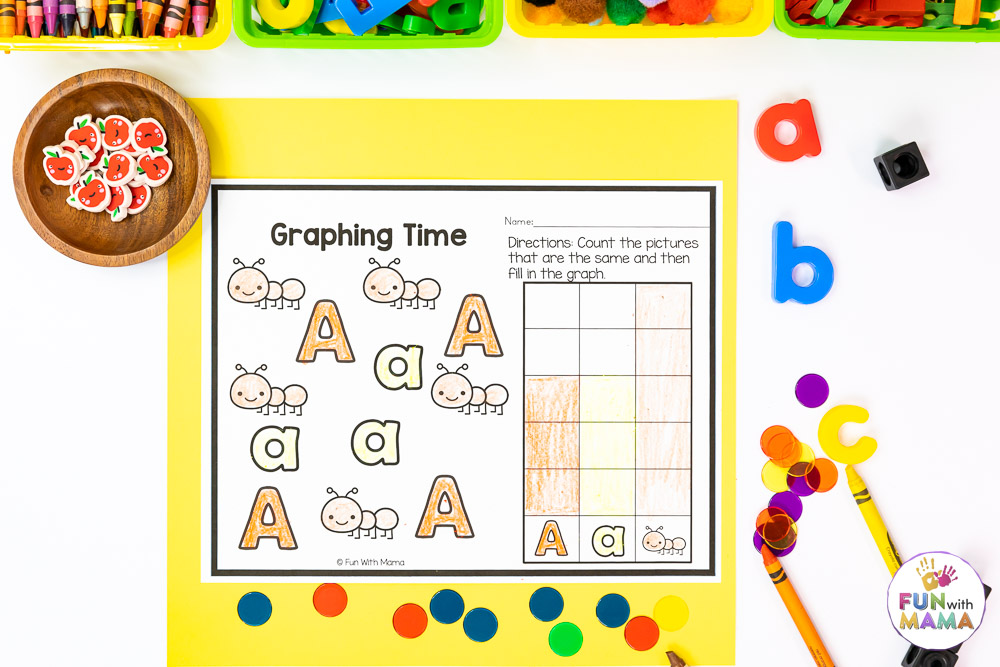
Count the pictures and then graph them. You can color the black and white sheets in or use a marker of some sort. In the pictures above I used crayons to color it in and on the other page I used colored discs.
Flip and Cover
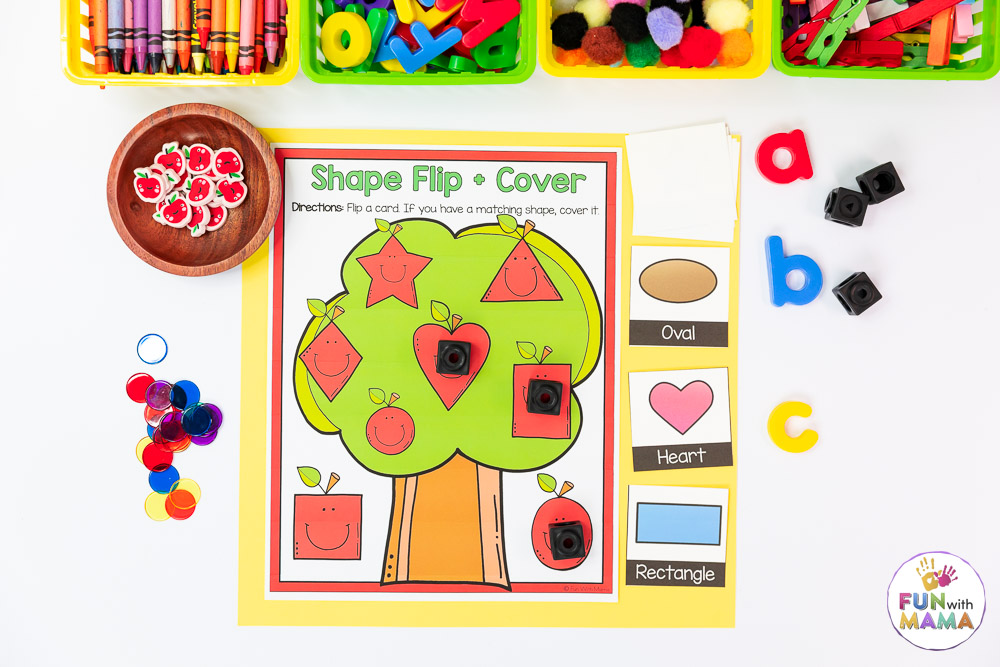
Students can flip the cards and then place a cube on the corresponding mat. You can also hide the cards in a sensory bin and have students look for the cards in there.
Spin and cover / color
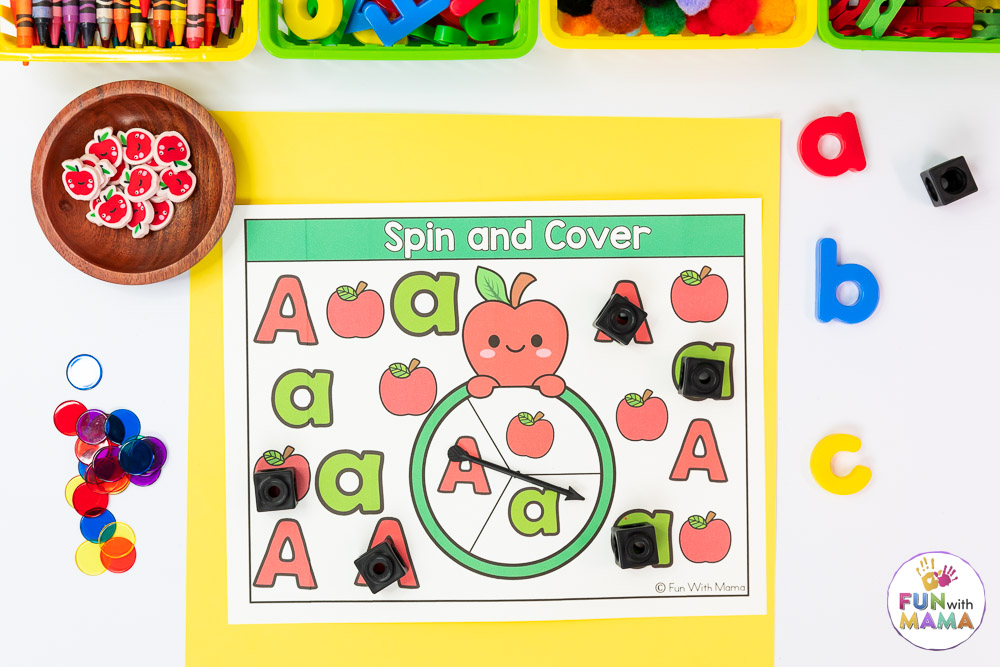
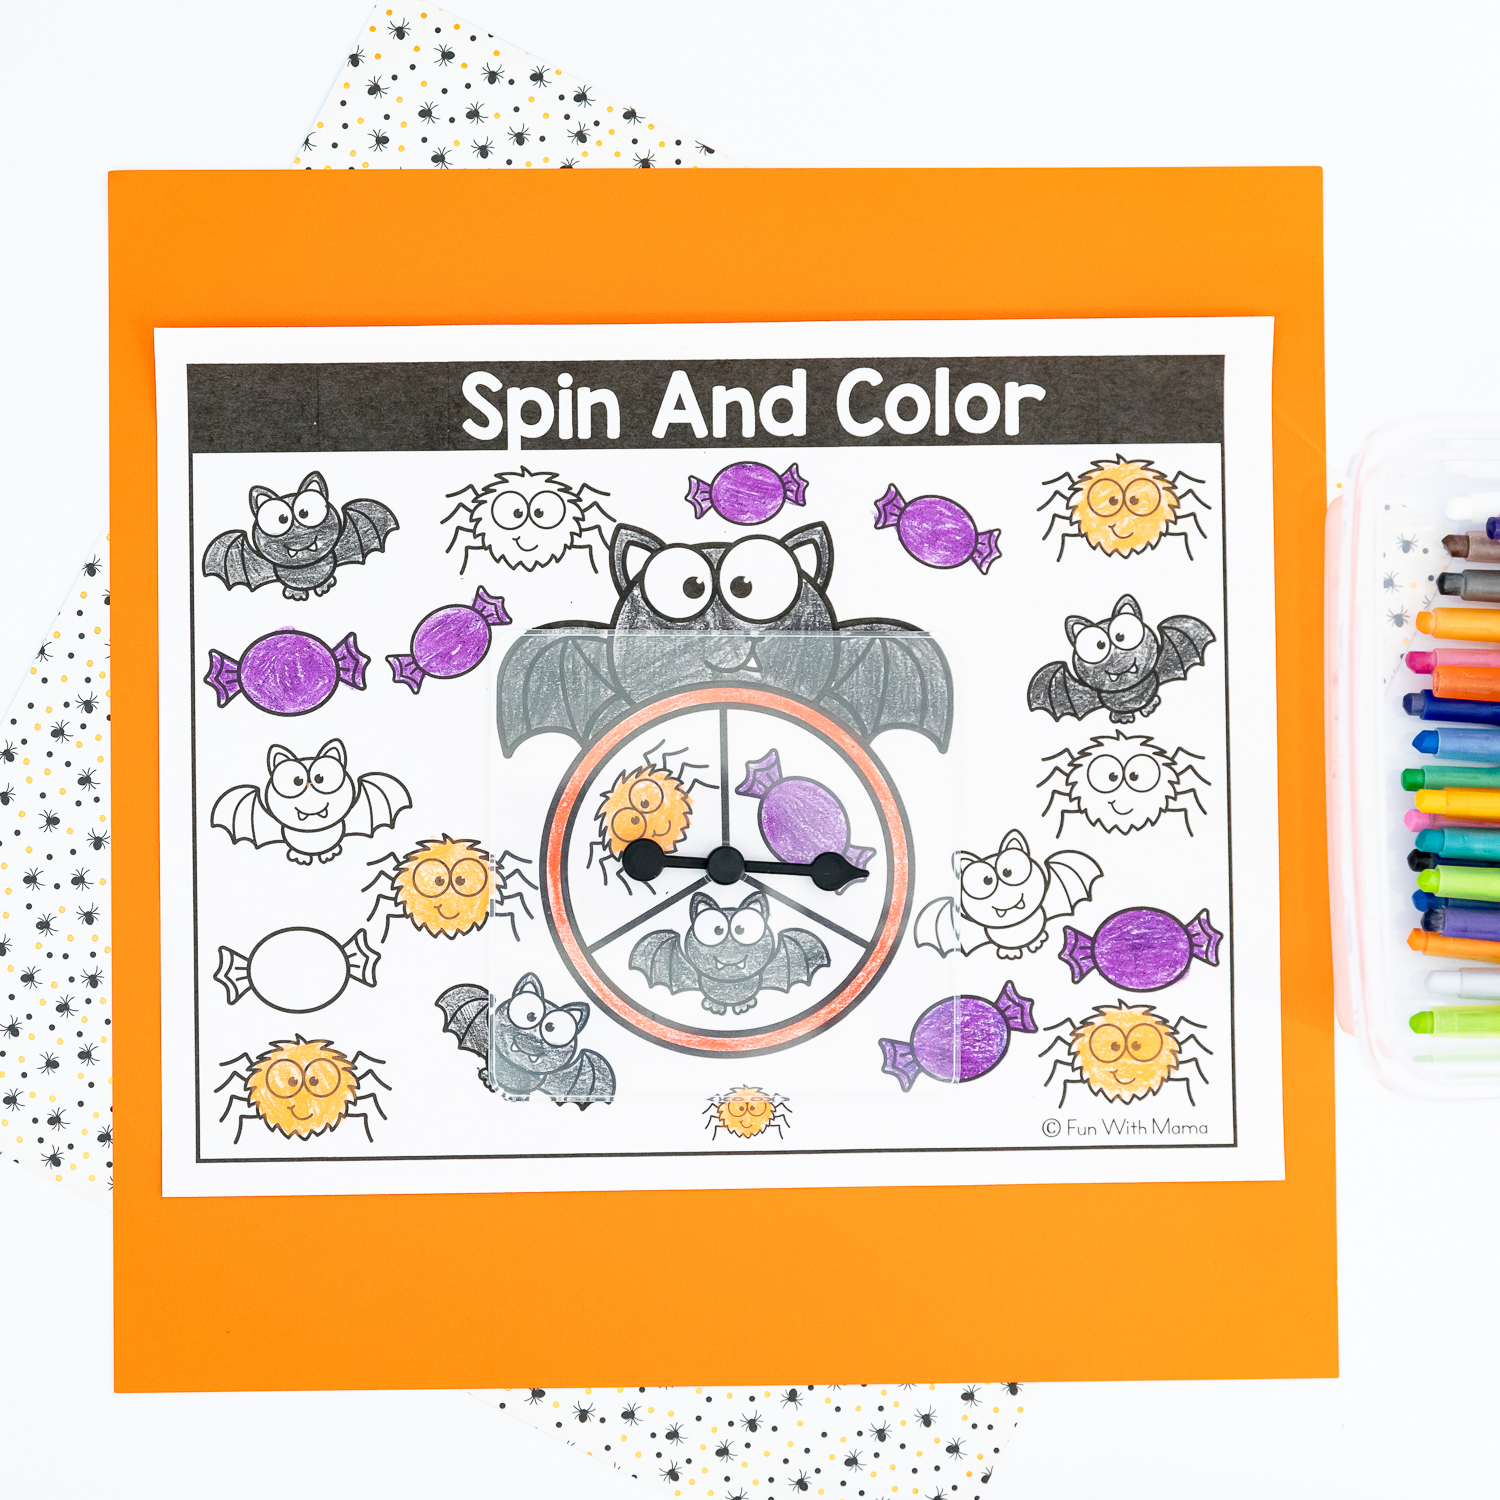
Use a game arrow (or a paperclip and pencil) to spin and then place a cube or tile on top of the same item on the mat. Keep going until you have covered all your pictures.
For the spin and color you would color the picture each time your arrow lands on that picture.
Here is what we use:
[amazon box=”B01G702ALS,B07GXKFK3K,B01M7Z2SXP” grid=”3″]
Roll and cover
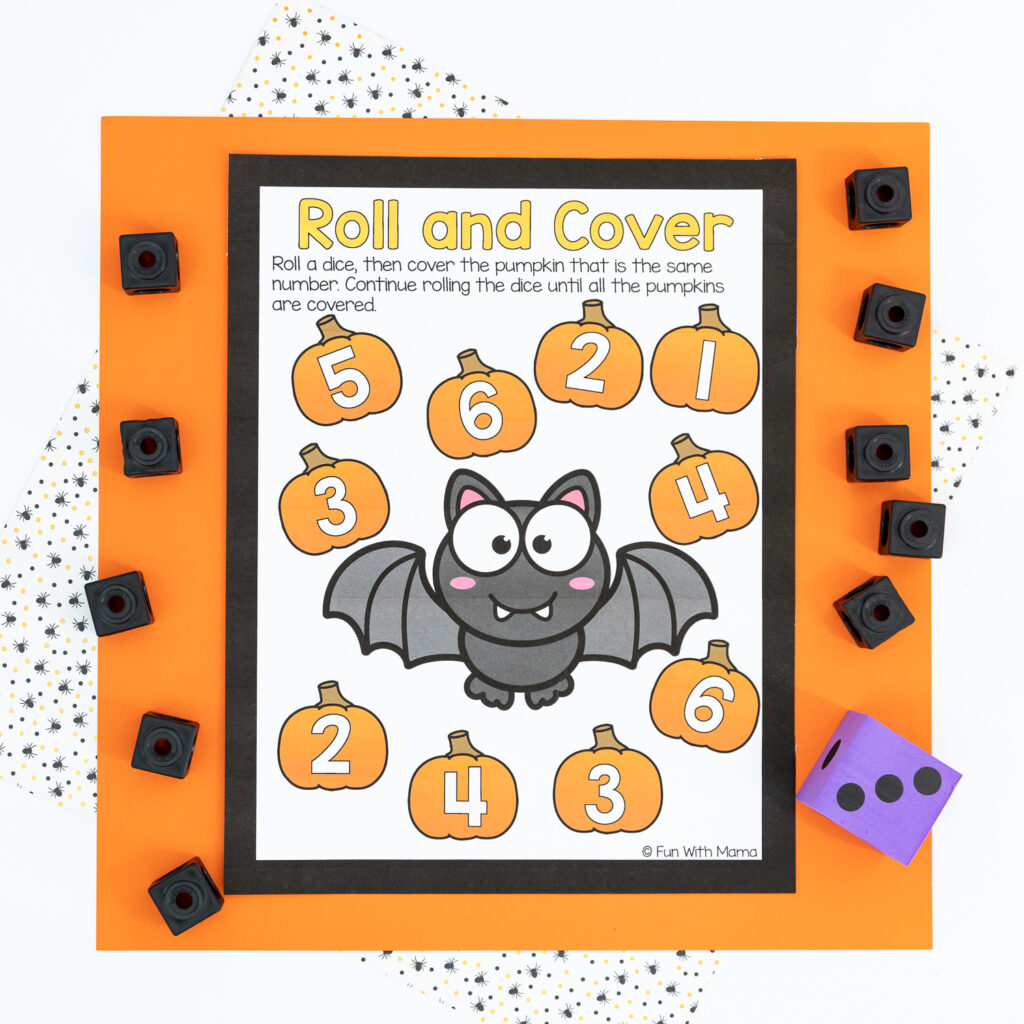
Roll the dice then cover the matching number on your mat.
Here is what we use:
[amazon box=”B000FGG9IG,B0716TQLWX,B07P7LKFH6,B088Z863WS” grid=”4″]
Cut / Tear and Paste
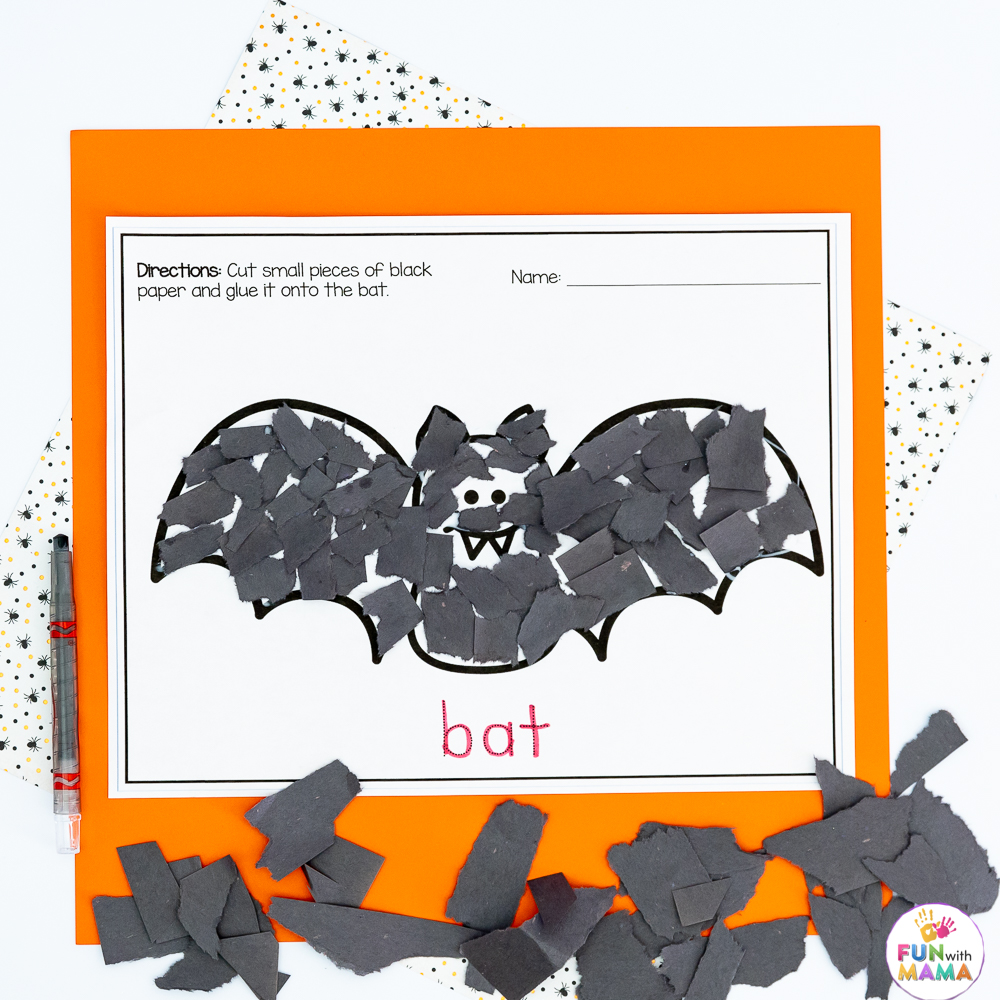
Some of the activity pages have a cut and paste directions. Children can tear off paper and then glue them onto the outlined image.
[amazon box=”B003A2I4S0,B00MJ8JSFE,B0017OCY20″ grid=”3″]

