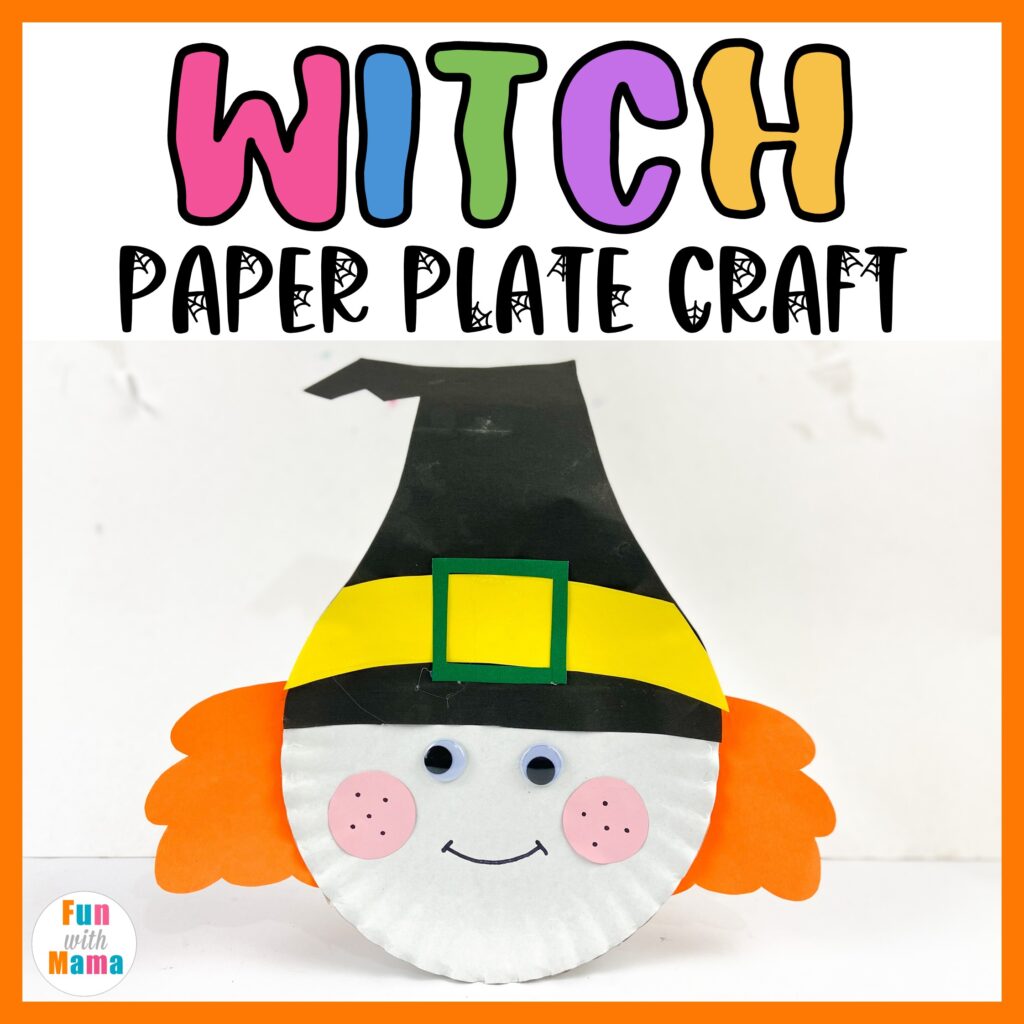
Halloween is approaching and that means it’s the perfect time to start thinking about some spooky Halloween crafts for kids! We love simple paper crafts and this Paper Plate Witch Craft for Kids is a great craft for your little learners. It’s a fun way to combine creativity, cutting and crafting into a simple holiday project. So grab your supplies and let’s get crafting to make this fun Halloween craft for your preschooler or kindergartener.
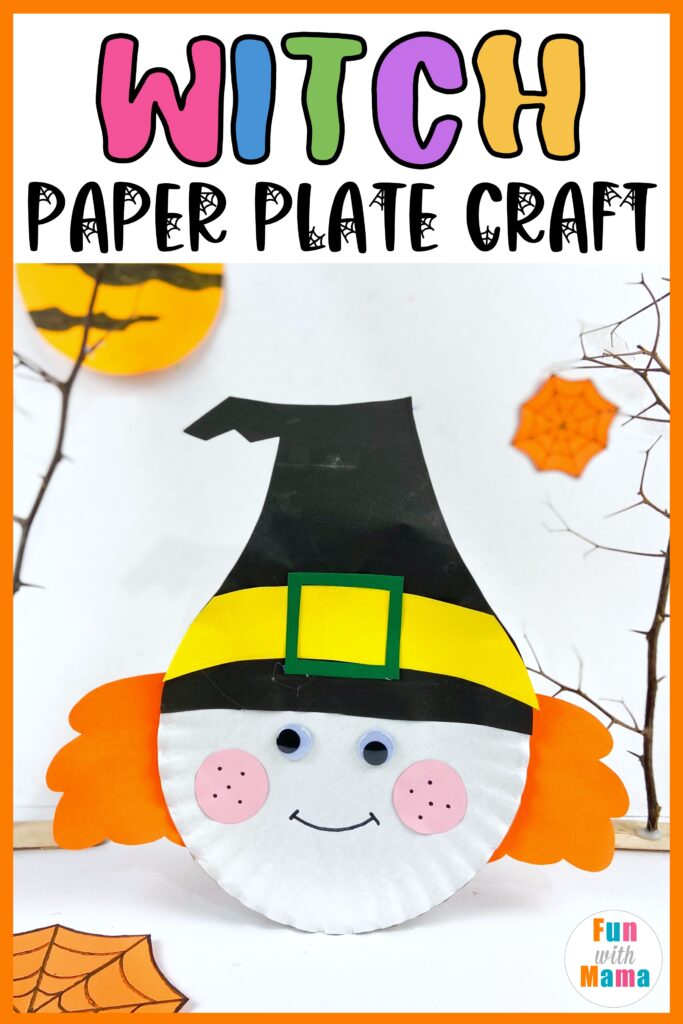
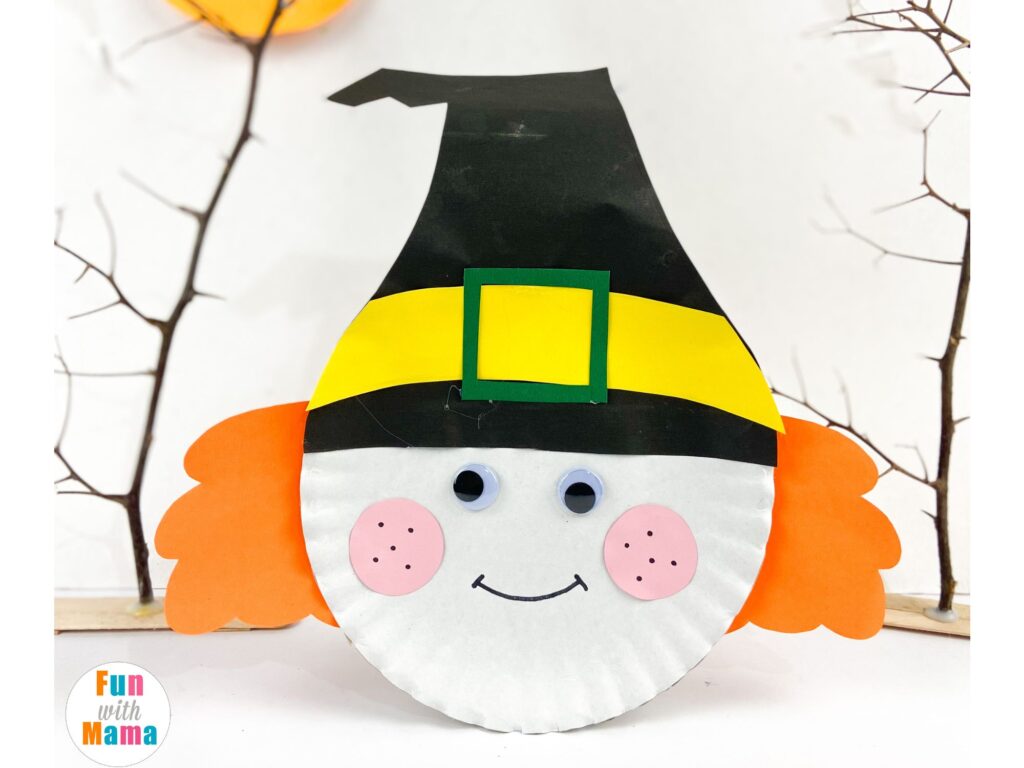
Fun Paper Plate Witch Craft for Kids
If your kids love witches and the spooky season, then this craft is perfect for them. If they tend to avoid the scary stuff during Halloween then this craft is also perfect, because this witch looks absolutely adorable!
What’s included in the free template:
- Version 1 – Print and cut Halloween craft – Just add these pieces to a paper plate.
- Version 2 Print, color and cut witch craft – Then add these pieces to your paper plate
- Version 3 – Paper plate craft templates (as seen in the pictures here) to be used with colored paper.
To grab the freebie, simply scroll to the end of this post.
Enter in your details into the form, and you will receive the template straight into your inbox for you to print and use.
Detailed instructions are included in this blog post on how to use the template, and follow the instructions included in the pdf template file as well to get this Witch paper plate craft activity completed!
Did you grab the Free Halloween Bingo Printable or the free 11 FREE Halloween Color By Number Printables yet?
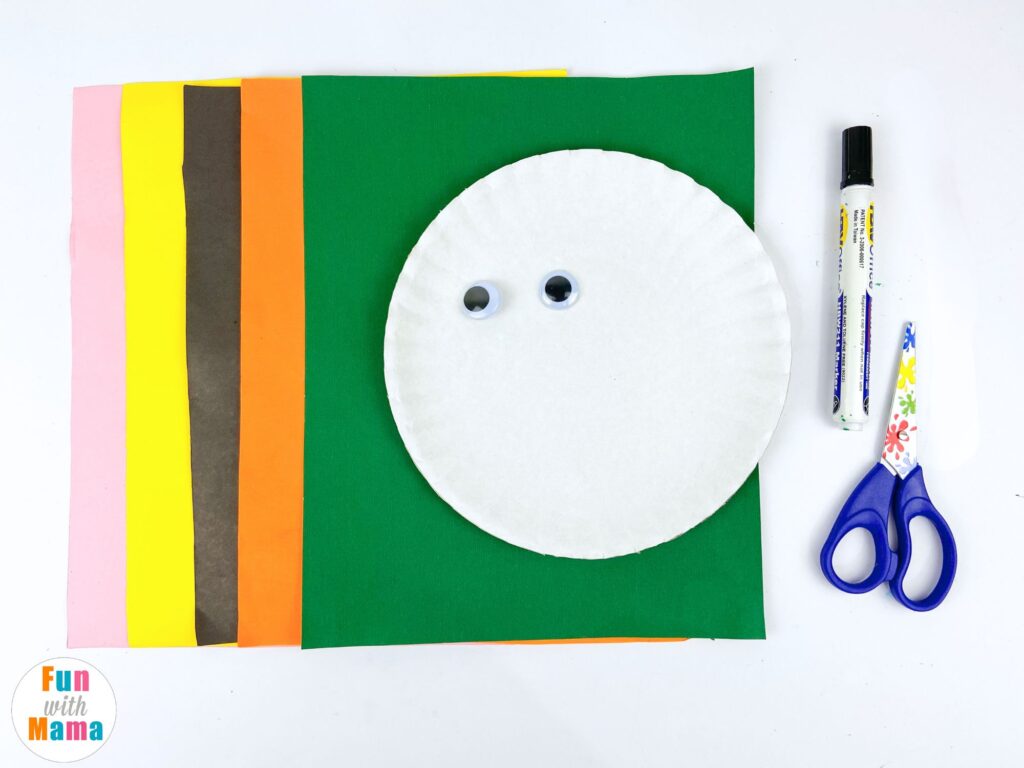
Supplies to Create the Paper Plate Witch Craft for Kids
- Paper plate
- Googly Eyes
- Marker
- Scissors
- Glue
- Construction Paper (Pink, yellow, black, orange, green)
Gather all your supplies and let’s get crafting!
Instructions to make the Halloween Paper Plate Craft
Gather your supplies and get the template at the end of this post.
Step 1:
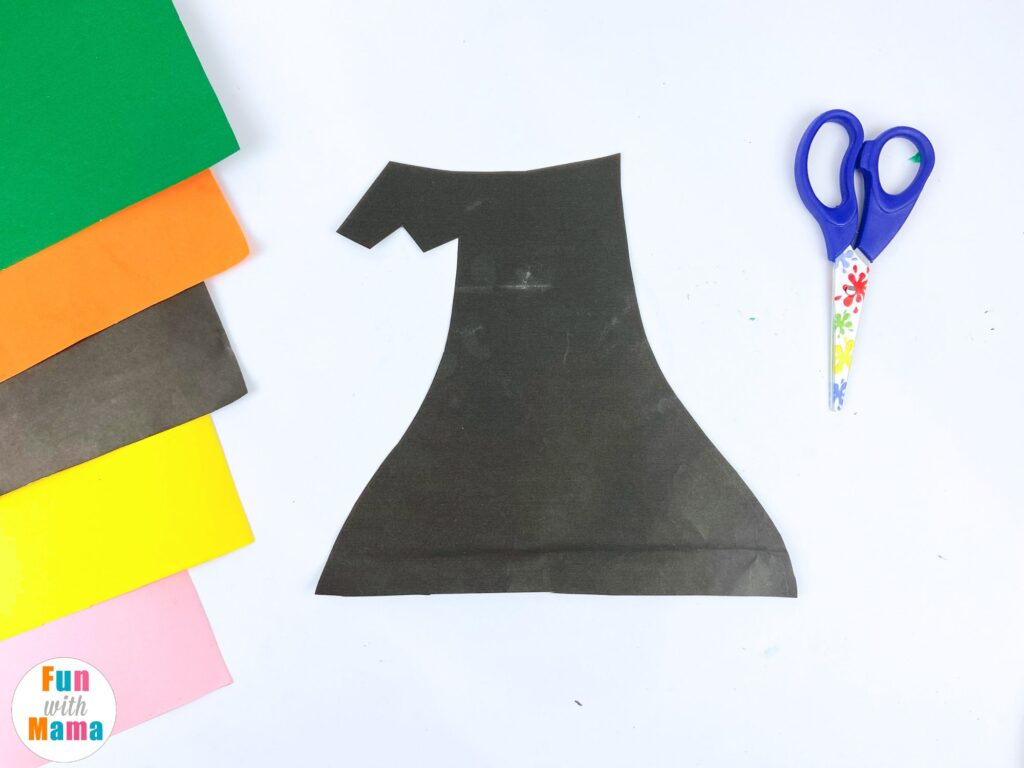
Using the template and black paper, cut out the hat template. You can do this by printing the light colored template onto black paper (so the lines are visible after printing).
Alternatively, print out the template onto regular paper and trace it onto black construction paper and cut it out. You should get something similar to the photo below.
Step 2:
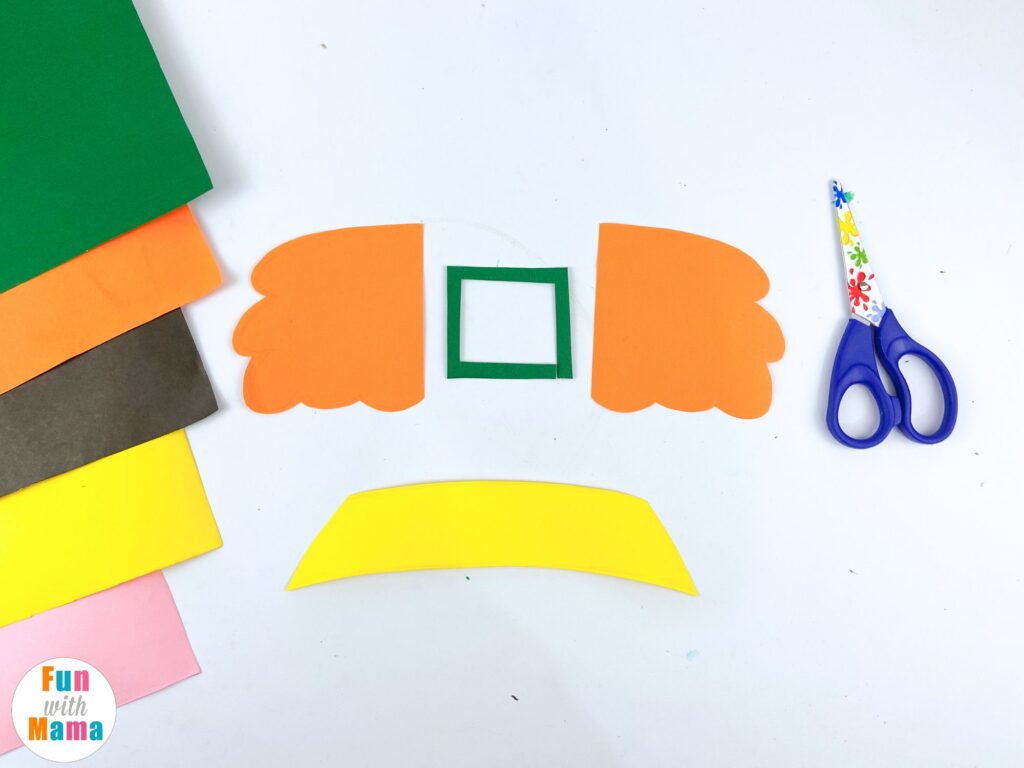
Next, using the same template file, cut out or trace the 2 hair pieces onto orange paper.
Likewise, trace the hat buckle onto green paper, and the hat band onto yellow paper.
You should end up with the pieces below.
Step 3:
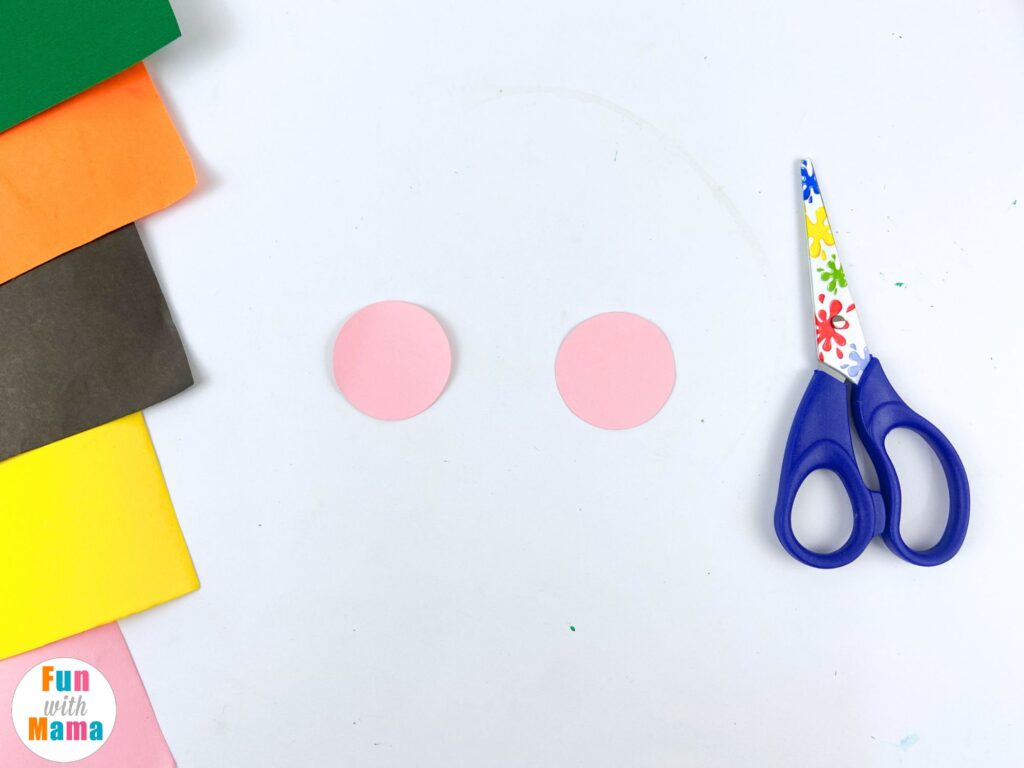
Print out or trace the circles onto light pink construction paper and cut it out.
Step 4:
Take your paper plate. Now it’s time to stick everything on!
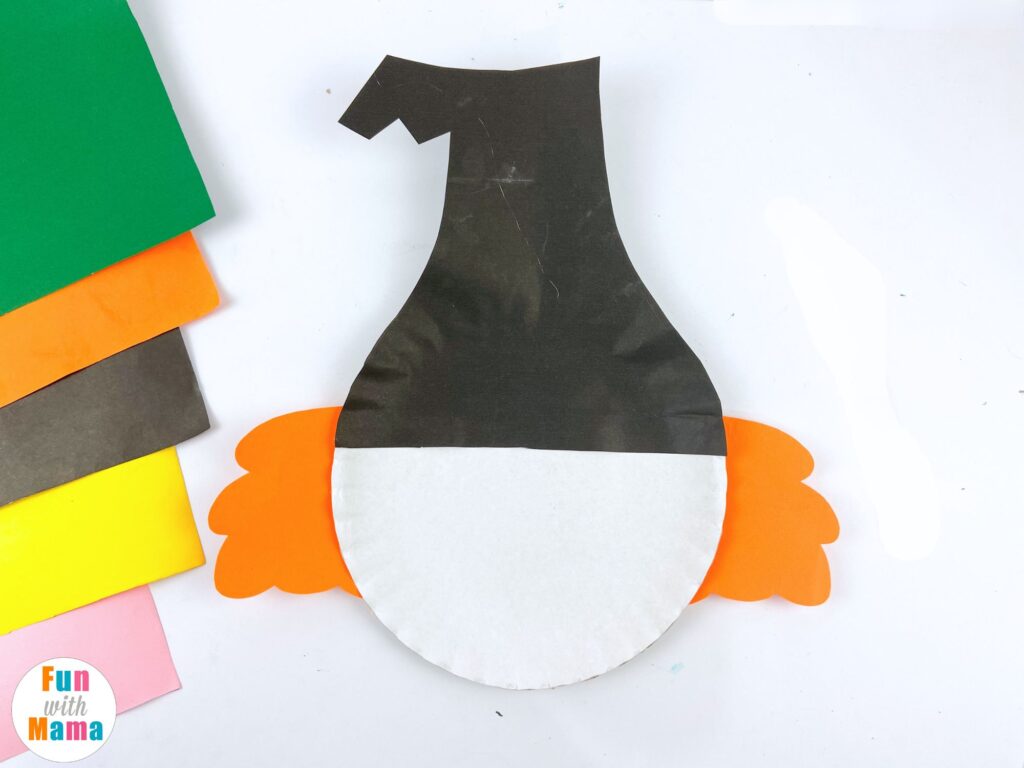
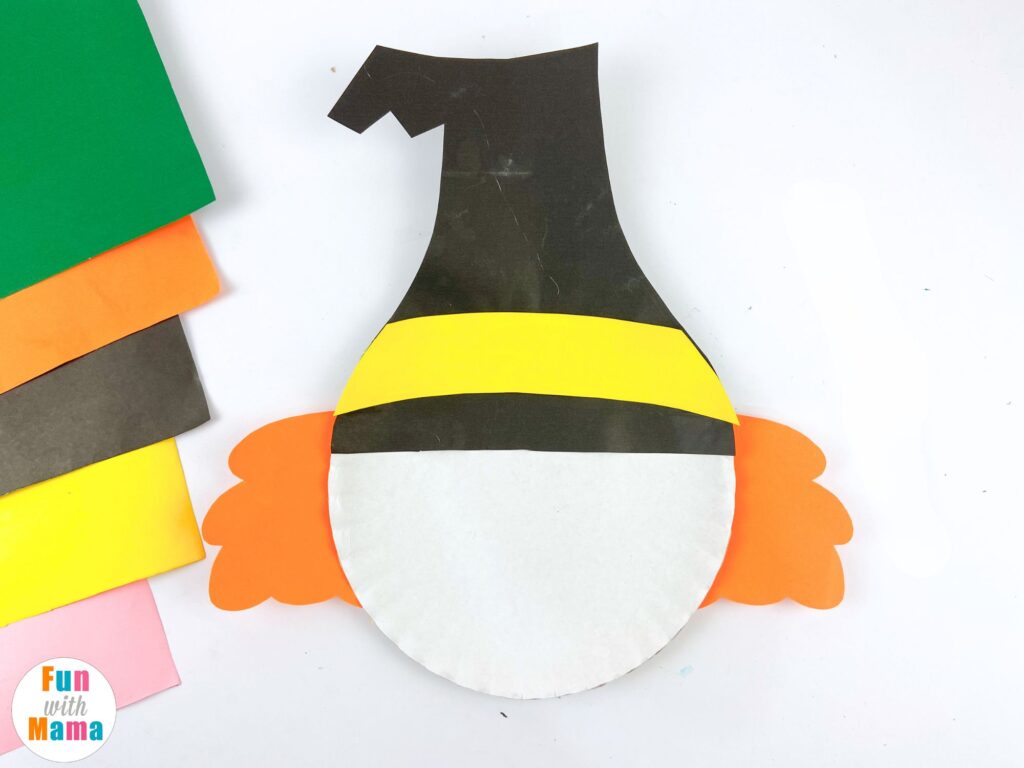
First take the black hat and paste it onto the paper plate. This will be the top of the witch’s face.
Next, next the two hair pieces and paste them on either side of the paper plate just the hat. It should give the look of hair coming out of the hat.
Step 5:
Now, take the yellow hat band, and paste that onto the lower part of the hat to create a hat band.
Step 6:
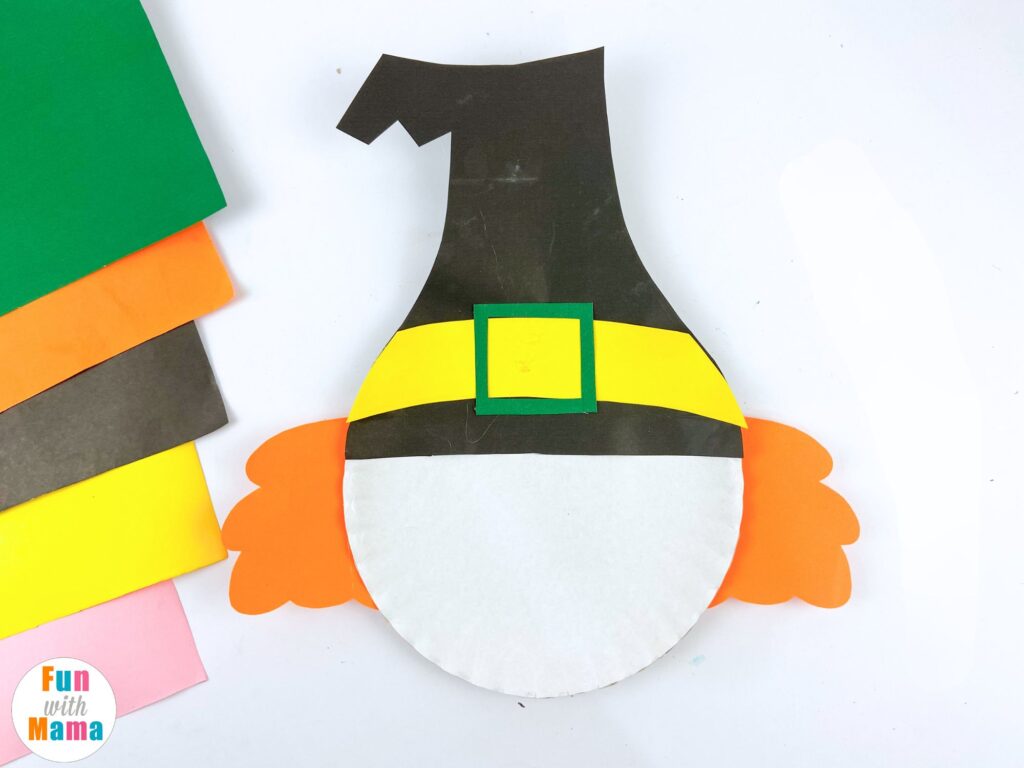
Next, take the green hat buckle and paste it in the middle of the hat band. Try to center it as much as possible.
Step 7:
Time for the fun part, where the craft comes to live!
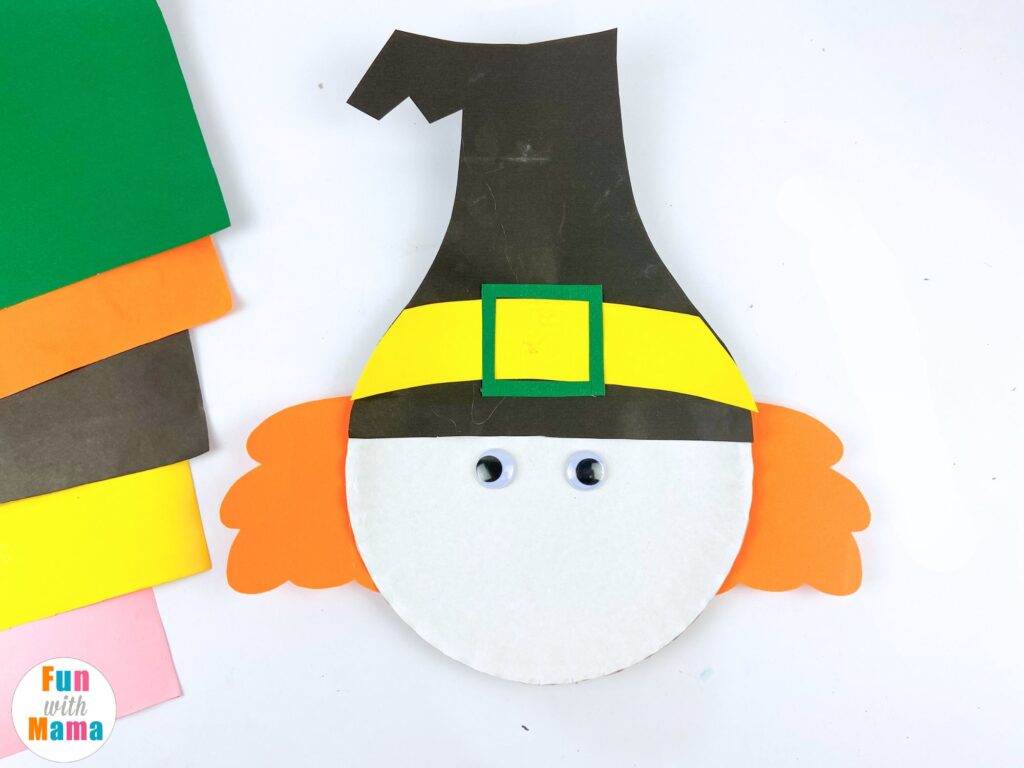
Stick on the google eyes right under the hat.
Step 8:
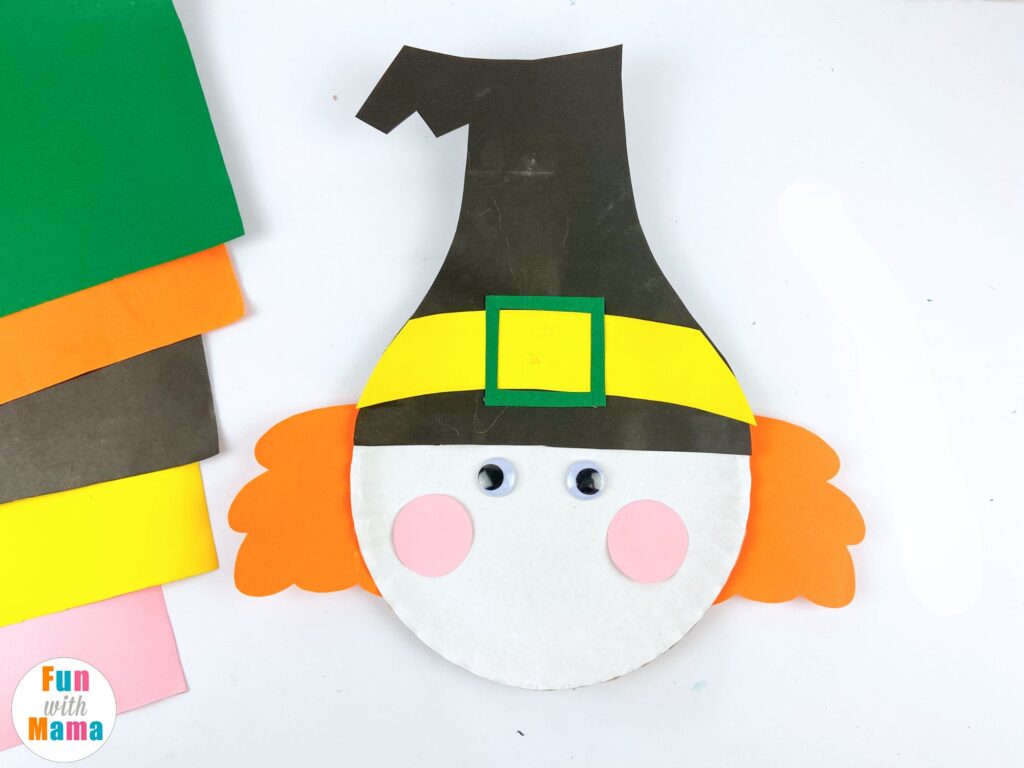
Now stick on the two pink circles on either side of the paper plate, to make ‘cheeks’.
Step 9:
Using the marker draw dots onto the pink circles and draw a smiley face at the bottom.
And you’re all done!
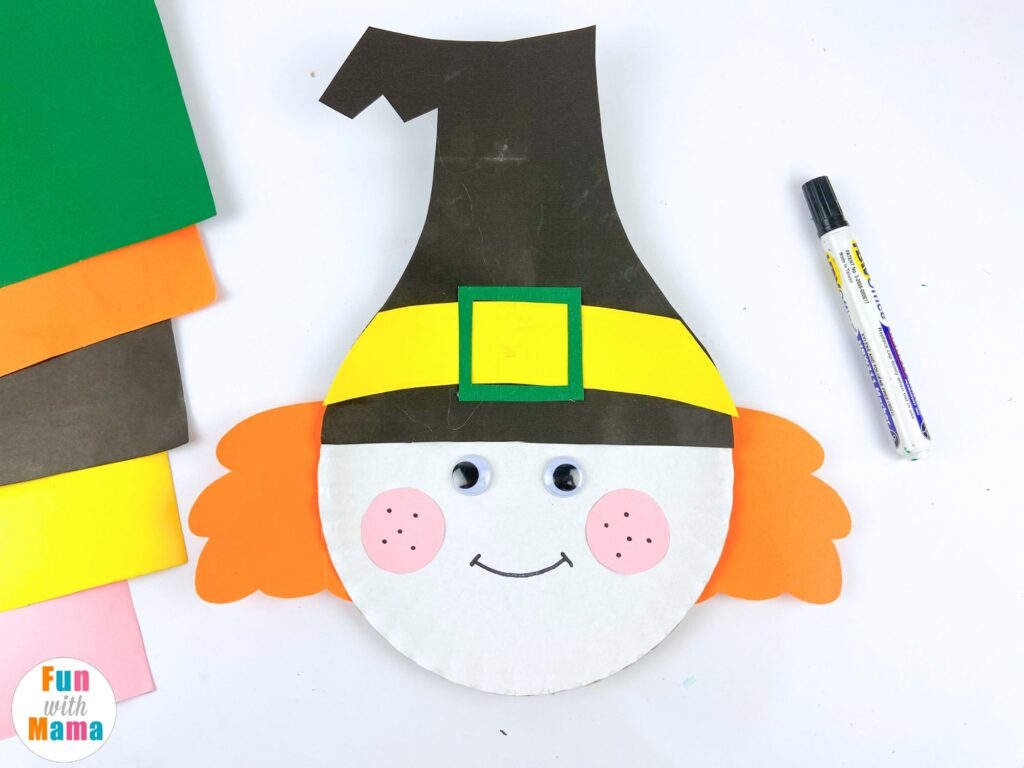
Your witch paper plate craft is complete.
This is a great activity for the Halloween season, and if you have younger kids, crafts like these are especially fun since this is not very scary.
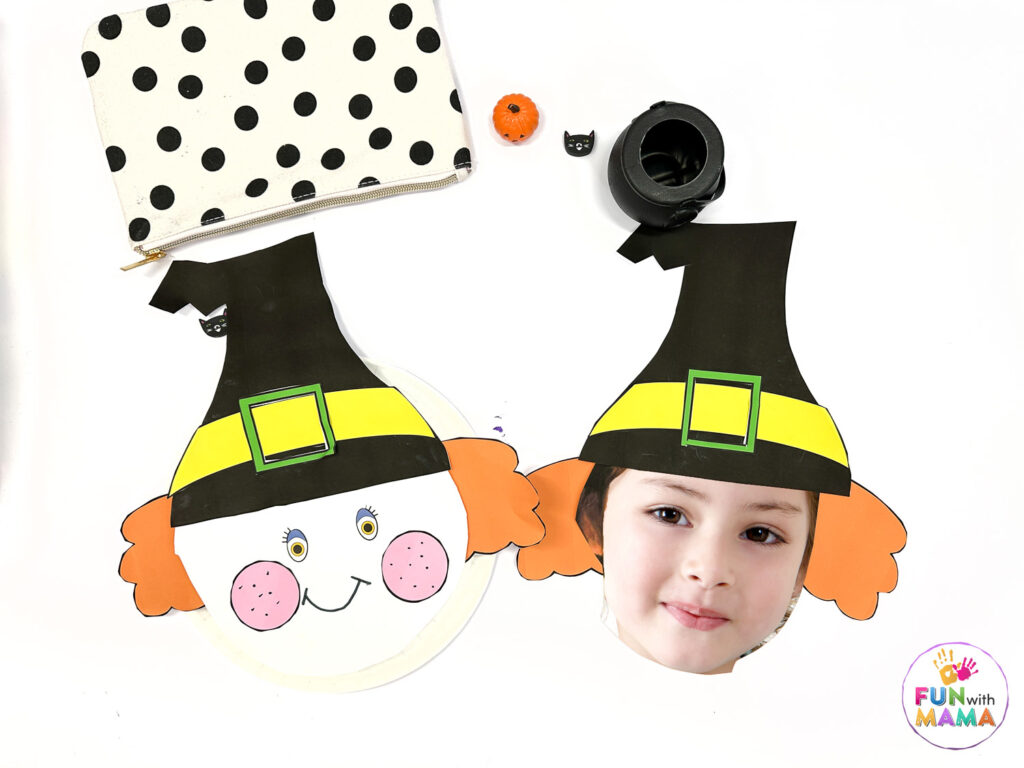
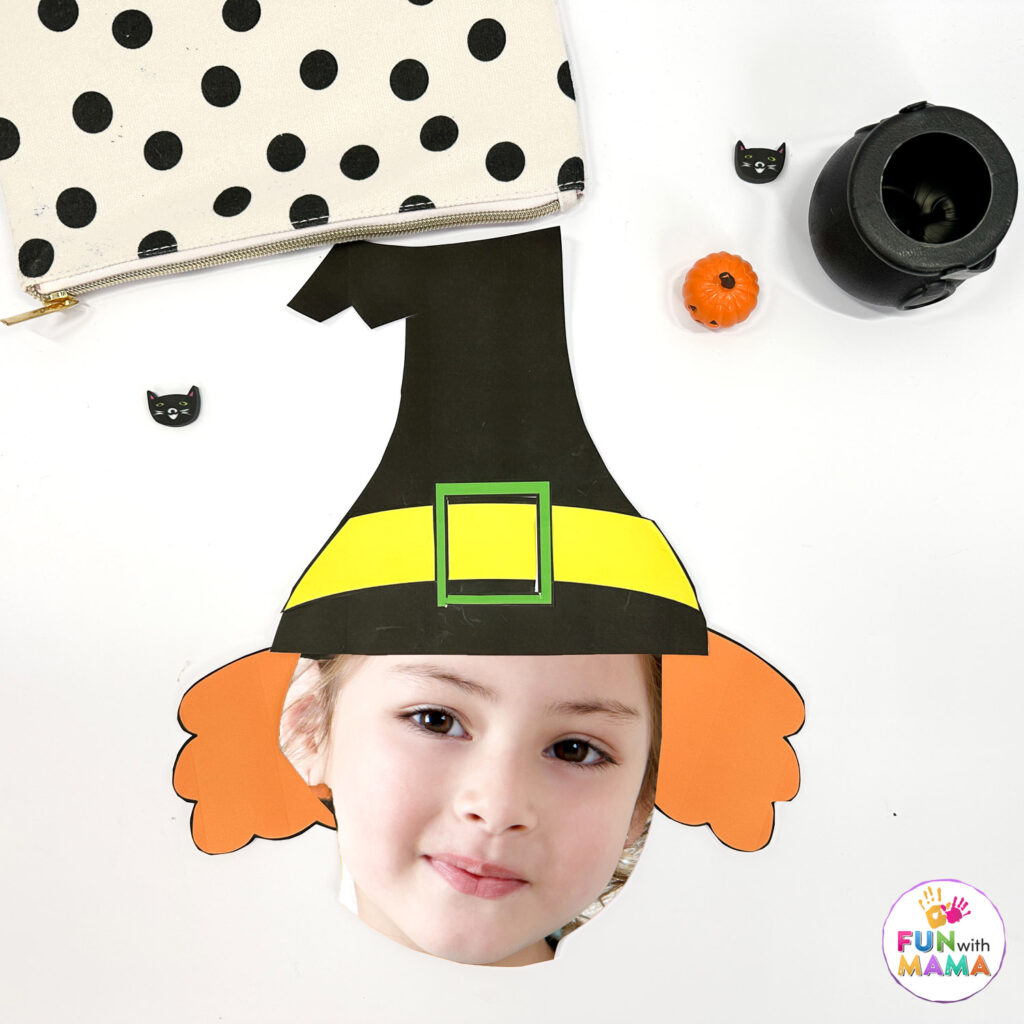
Want to add a child’s face instead? take a picture of a child’s face. Then make a circle and size their face at 7 x 7 inches. Then use the face picture on top of the paper plate (or leave out the paper plate!)
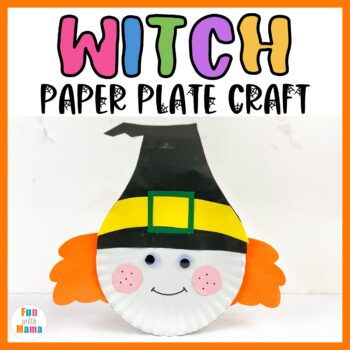
Get the printable here
GET THE WITCH CRAFT PRINTABLE HERE
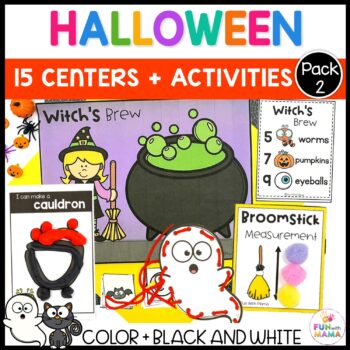
Have you checked out our Halloween activity packs for preschoolers and kindergarteners?
GET THE HALLOWEEN ACTIVITIES PACK HERE
GET THE HALLOWEEN ACTIVITIES PACK 2 HERE



Leave a Comment