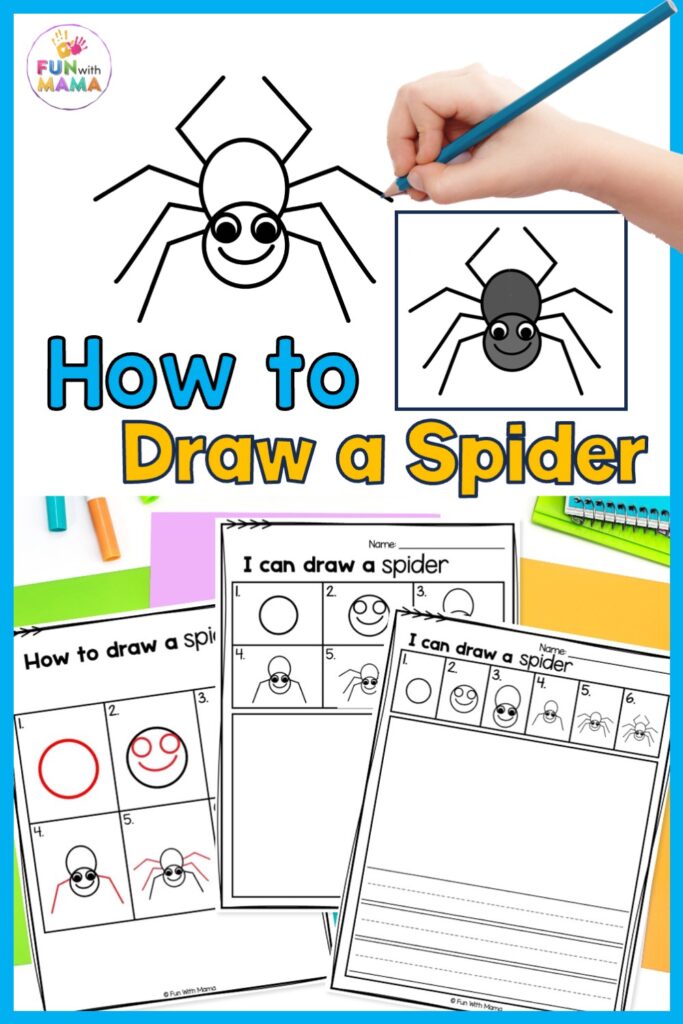
The kids will love to learn how to draw a spider! It’s perfect for Halloween and a great lesson to learn how to draw a spider body and more!
I’m not sure about you, but I simply have a fear of those 8 legged little creatures that seem to find their way into my home. My child however, seems to have an intriguing fascination towards these creepy crawlies. If your child is like mine, then this tutorial is definitely one for you to try out with your little one as a fun and educational activity.
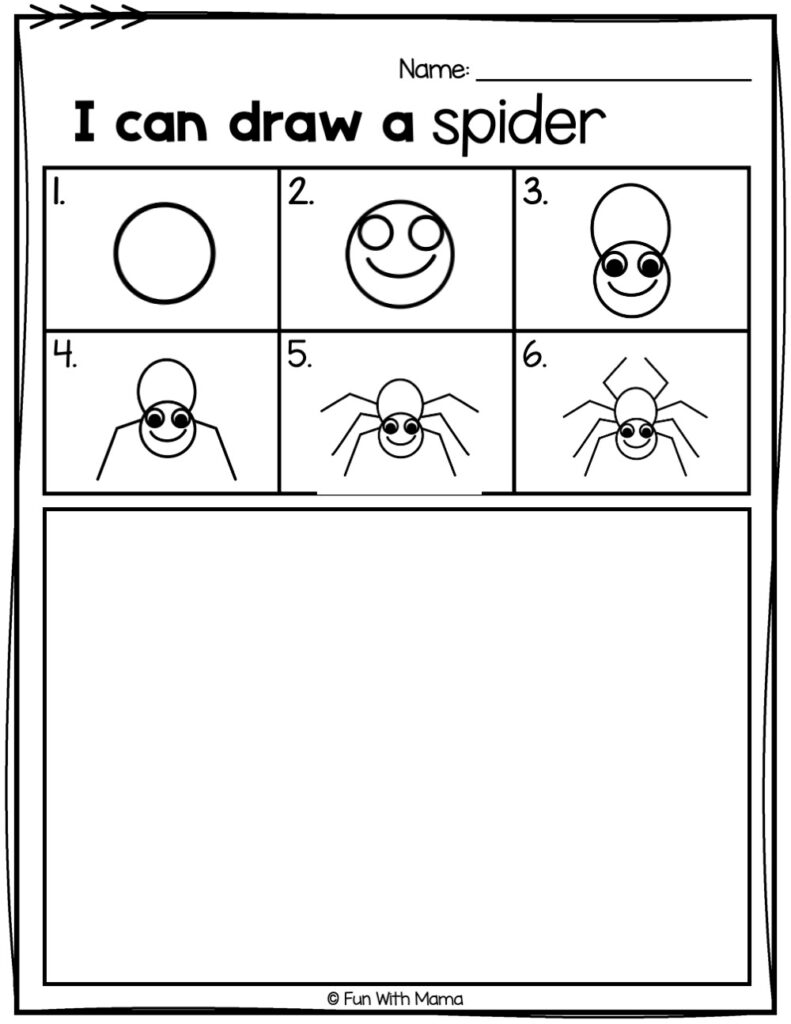
This step by step guide will show you how to easily draw a spider. Don’t worry, our spider is going to be a friendly one, and at the end of this tutorial, you may even get over your fear too!
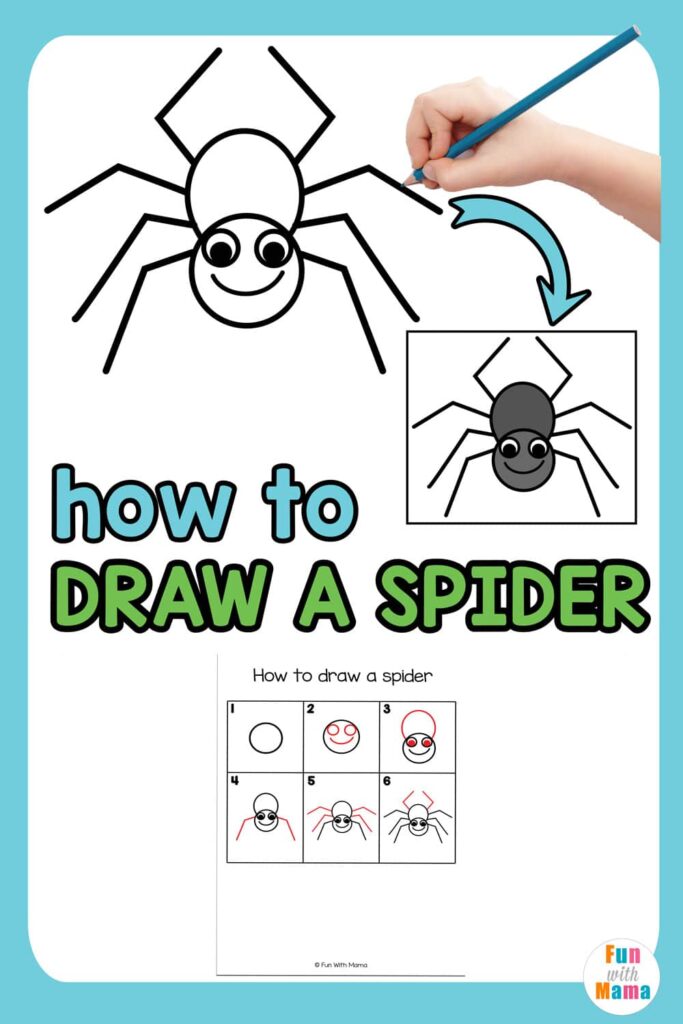
How to Draw a Spider
If you have already tried out my tutorial on How to Draw a Spiderweb, then this would be the ideal tutorial for you and your child to try out next. However, if your child is not a spider-loving fan, then check out my other animal drawing tutorials – you will be sure to find something that you both will love!
To all of my spider-lovers, grab your pens or pencils, because we are about to start with our tutorial!
This step-by-step guide will break down the spider drawing process. When it comes to a simple step-by-step tutorial, this is one of the best.
Use this quick tutorial as simple drawing lessons that are so much fun. Plus – this creep spider (and cute!) will help them enhance their drawing skills, too!
You can find links to our favorite drawing supplies here.
You can get the free printables at the bottom of this post.
Learn to draw a spider video tutorial
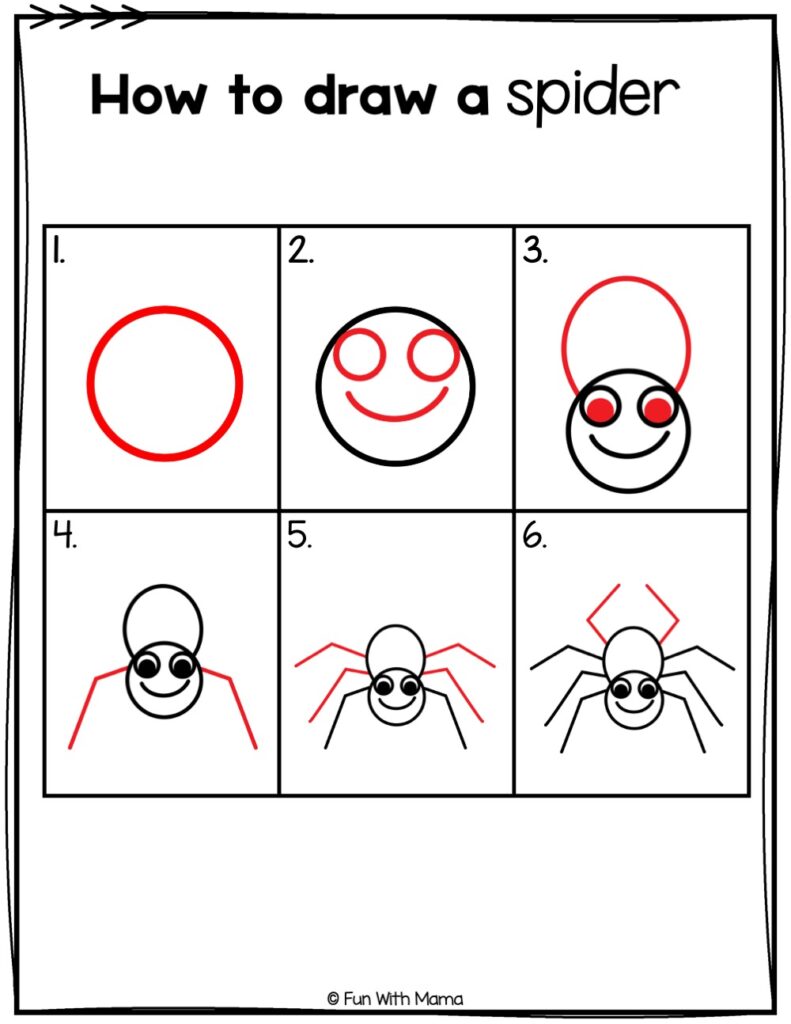
Step One: Spider’s Face
Let’s begin by drawing a circle for the spider’s face. If your child is unable to draw a perfect circle, then find any circular object for them to trace around. A good idea would be to give them a plastic cup, or even a round cookie cutter.
They can use a marker or crayons or other art supplies to create their own artwork. This is what makes this activity a lot of fun!

Step Two: Facial features
We will now give our spider some facial features. Draw two circles into the top of the spider’s face as eyes. Our spider will be having some big eyes, so we have drawn two medium-sized circles, touching the edges of the spider’s face. Give your child the opportunity to choose the size of their spider’s eyes.
Let’s give our spider a smile by drawing a curve towards the bottom of the spider’s face. Remember, we are drawing a happy and friendly spider, so try and make the curve as wide as possible. The wider the curve, the happier and friendlier your spider will look.

Step Three: Some detail and spider’s body
We will now add some detail to the spider’s eyes. Draw a smaller circle towards the bottom of the spider’s eyes and color it in. Ooooh look, the spider seems to be staring at us now!
Let’s continue our drawing by giving the spider a body. Draw three quarters of a long oval above the face of the spider.

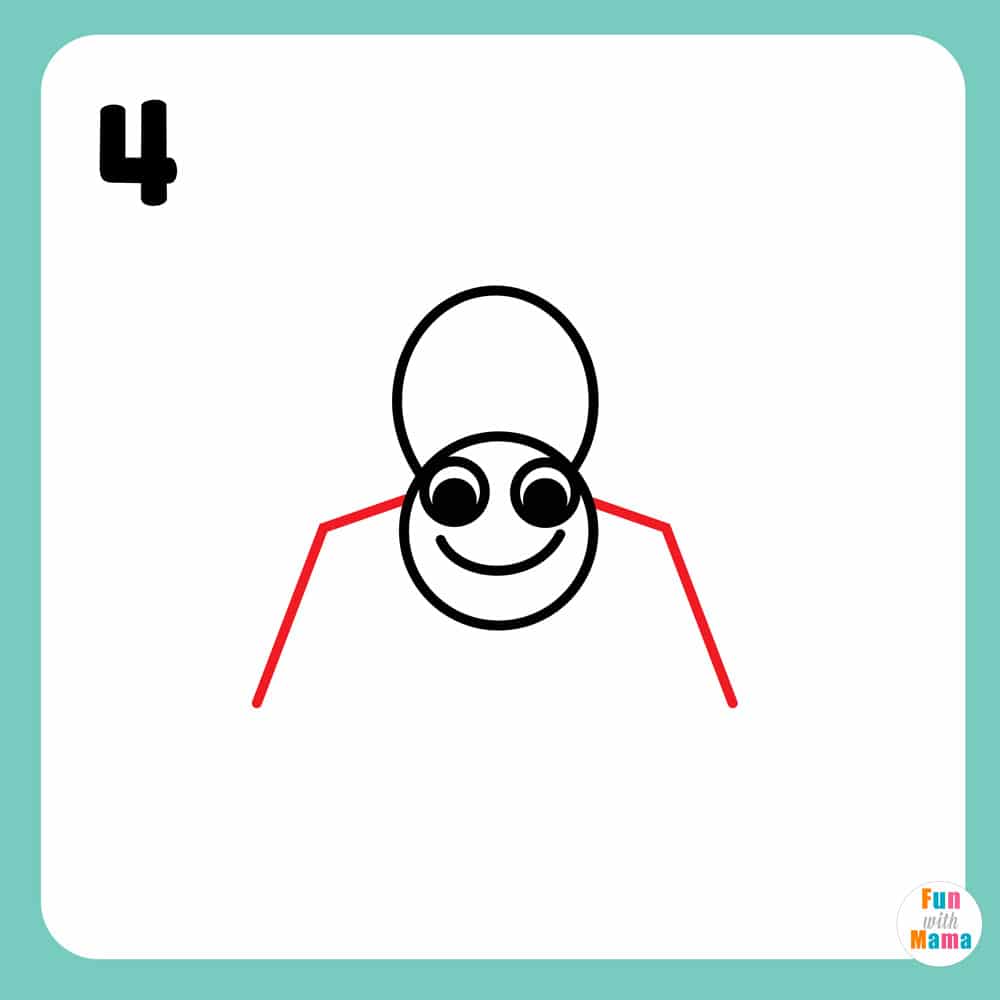
Step 4: Spider’s legs
Now it’s time to start drawing the spider’s legs. It would be a good idea to use a ruler for this step as this will give your child practice with drawing straight lines.
Start off by drawing a left diagonal line from the top of the spider’s face. Now, draw a straight line skew to the left of that diagonal all the way past the front of the face.
Do the same on the right side of the spider’s face by drawing a right diagonal and a straight line skew to the right of that diagonal.
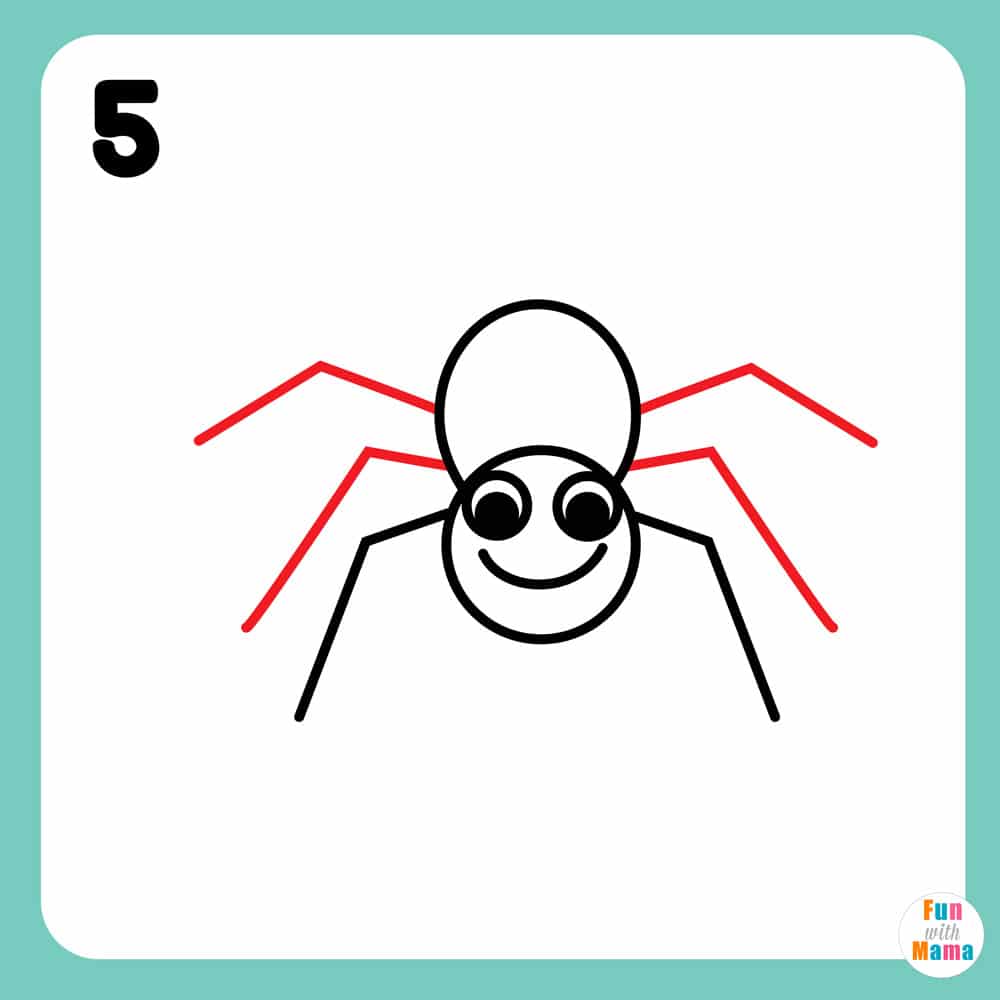
Step 5: Add more legs
Our spider only has two legs now, so we need to give it more legs. Draw legs to the front and middle of the spider’s body by repeating step 4 above.
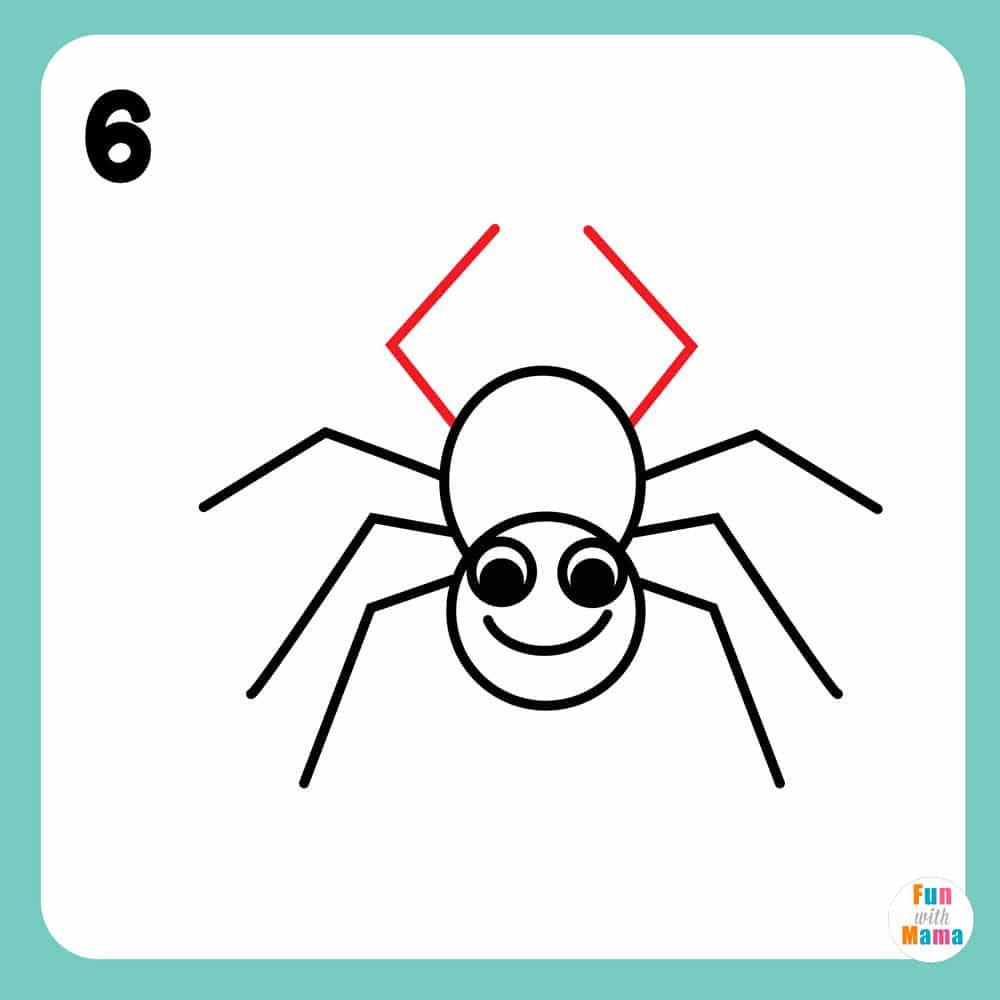
Step 6: Complete the legs
We are almost complete with our drawing, but our 8-legged crawly is still missing two legs!
Draw a diagonal line on the left side at the back of the spider’s body. Make sure that these lines are coming out of the spider. Now, draw a straight line going towards the right of the diagonal line that we just drew creating a 90 degree angle.
You will now repeat the same step by doing the opposite on the right side of the spider’s body. Draw a left diagonal coming out of the spider and a straight line towards the left of the diagonal.
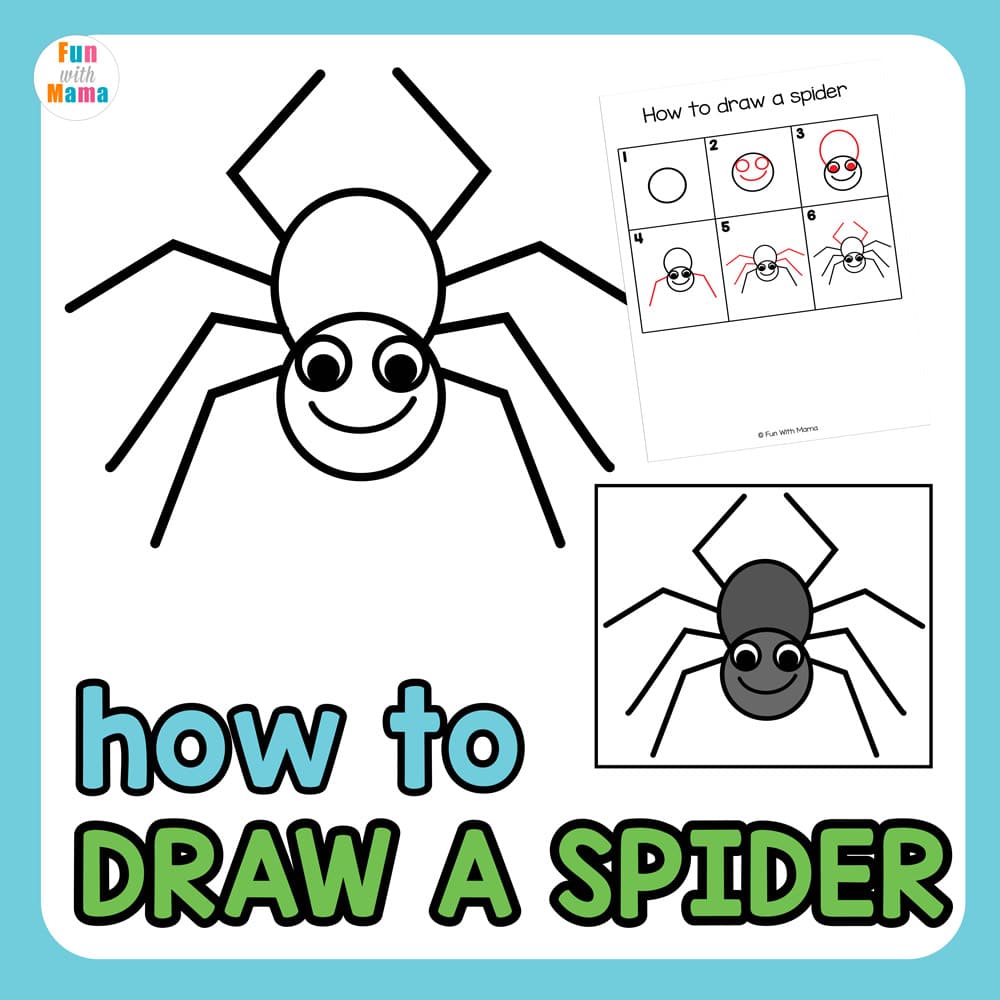
Our spider is now complete!
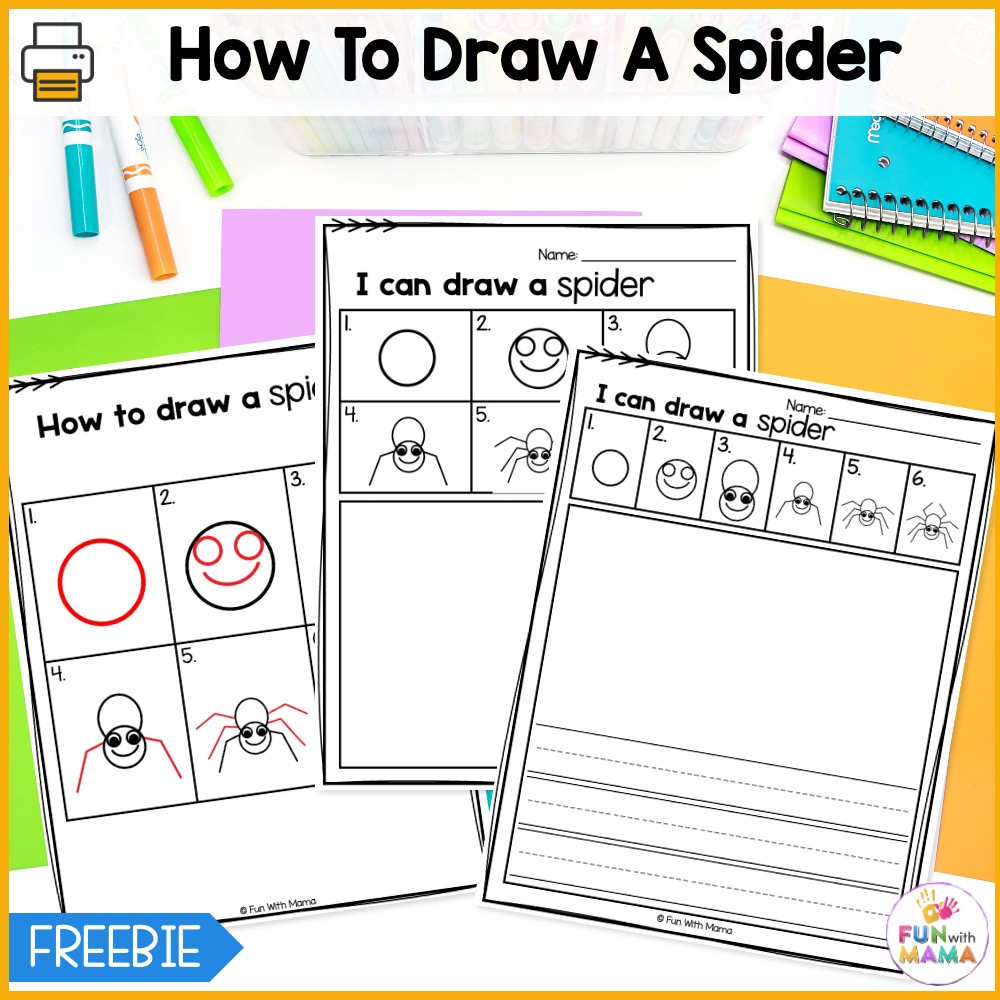
Get the free spider drawing pages here
I have included this easy to draw spider in a printable PDF for your convenience. It includes the easy bat drawing steps and a blank space for you to try drawing a spider too.
Get the free printable right here.
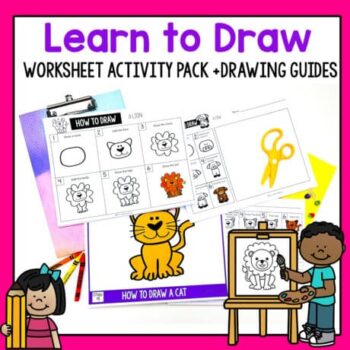
WHERE TO GET THE FULL ACTIVITY PACK
GET THE LEARN TO DRAW ACTIVITY PACK HERE
WHERE TO GET HALLOWEEN-THEMED DRAWING GUIDES
GET THE HALLOWEEN DIRECTED DRAWING PACK HERE

Look – our spider isn’t so scary, right?! It actually looks like quite a friendly little crawly! Just remind your child not to go anywhere near them when they see them in reality, as they might not be as friendly as the one we drew today!
If your child would like to color in their spider, then give them the opportunity to and if they would like to add a spiderweb to the drawing, simply click here to access our tutorial on How to Draw a Spiderweb.
Save this easy drawing tutorial for any time you need a quick and easy drawing activity!


Leave a Comment