
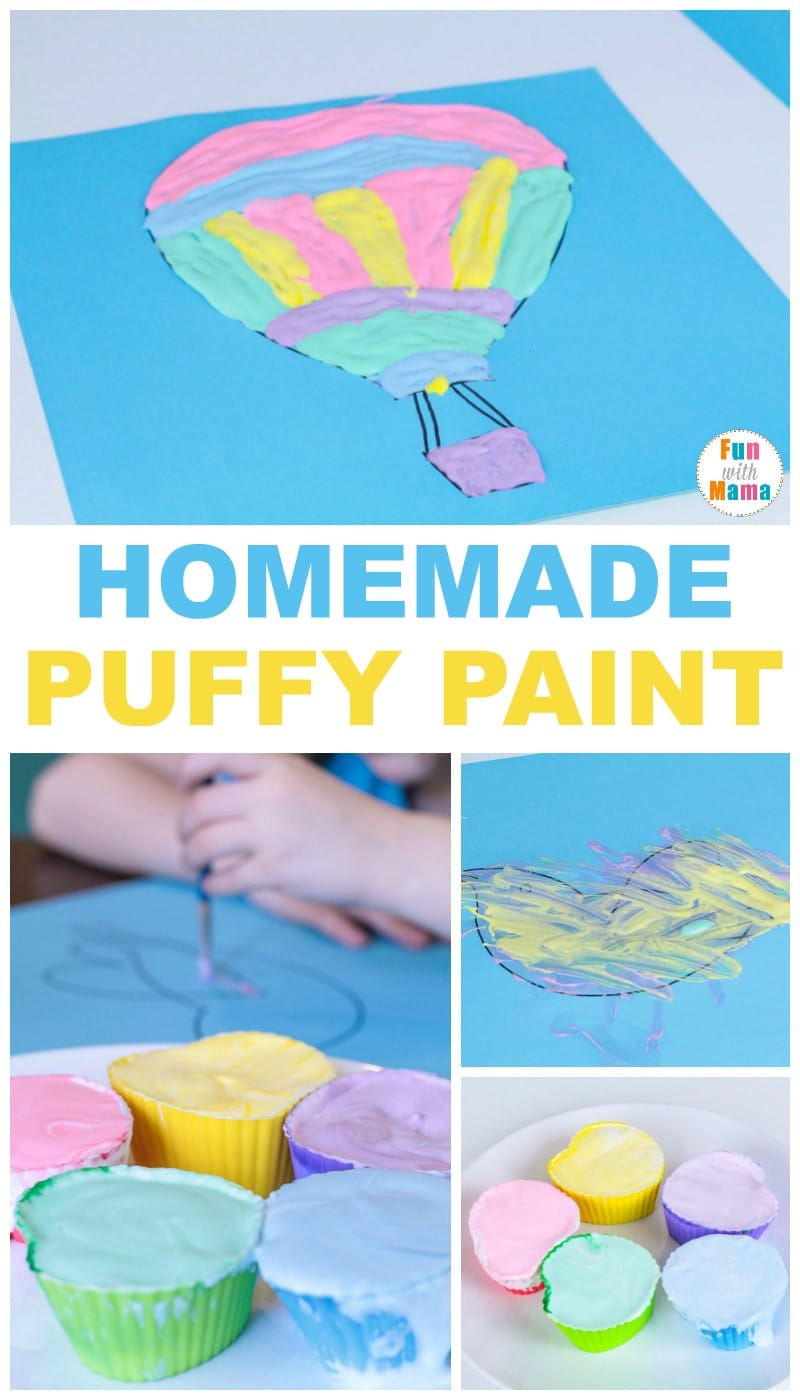
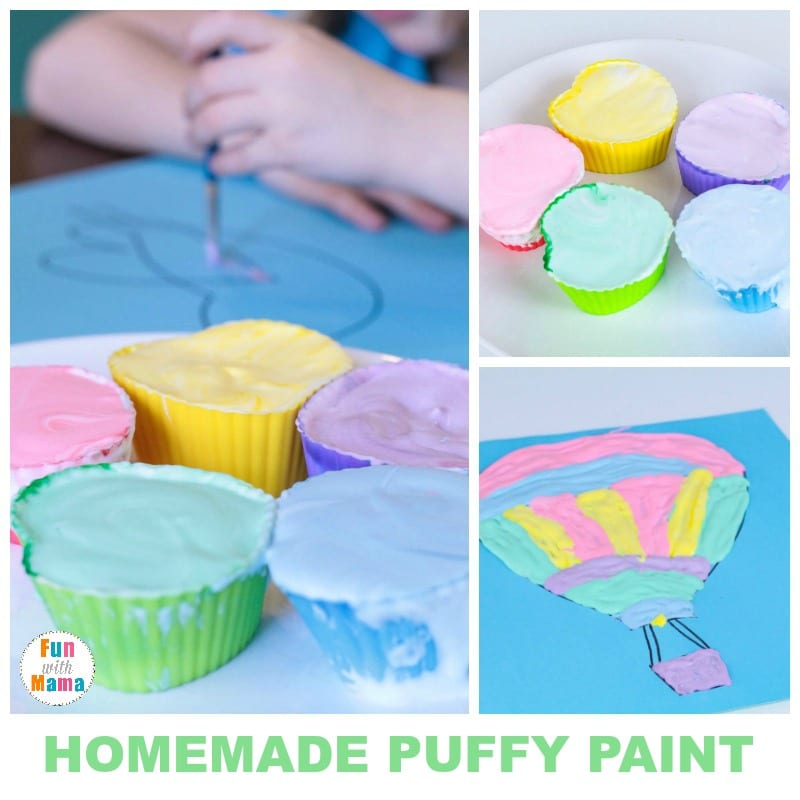
Learn how to make puffy paint using this easy puffy paint recipe! My kids are artists at heart. They love creating, making, painting, and crafting.
But the prices of craft supplies from the store keep going up and up, and my kids go through supplies so quickly, I had to turn to other alternatives.
How to make puffy paint
You can use my Puffy Paint Recipe
Supplies Needed:
Please note that affiliate links may be used in this post.
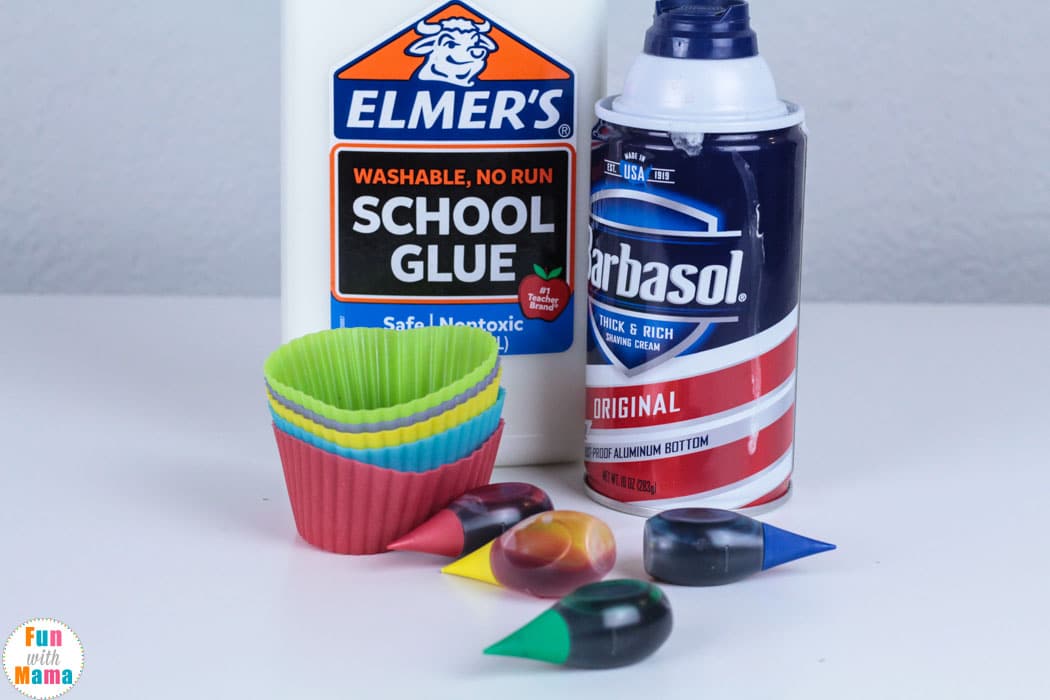
- Paint brushes
- Cardstock paper
- Shaving cream
- White glue
- Food coloring
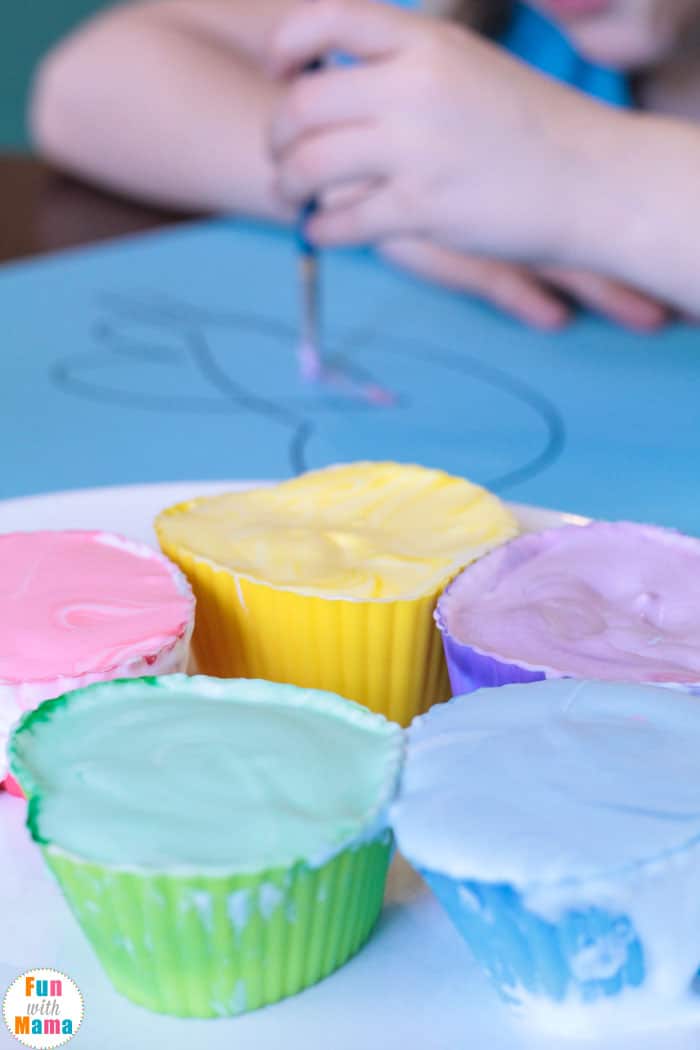
- Silicone baking cups
Making puffy paint is so easy and cheap, you’ll want to do it over and over!
The most important thing to remember is that homemade puffy paint doesn’t really keep well, so only make enough for one use. It’s so easy to make, it just takes a few seconds.
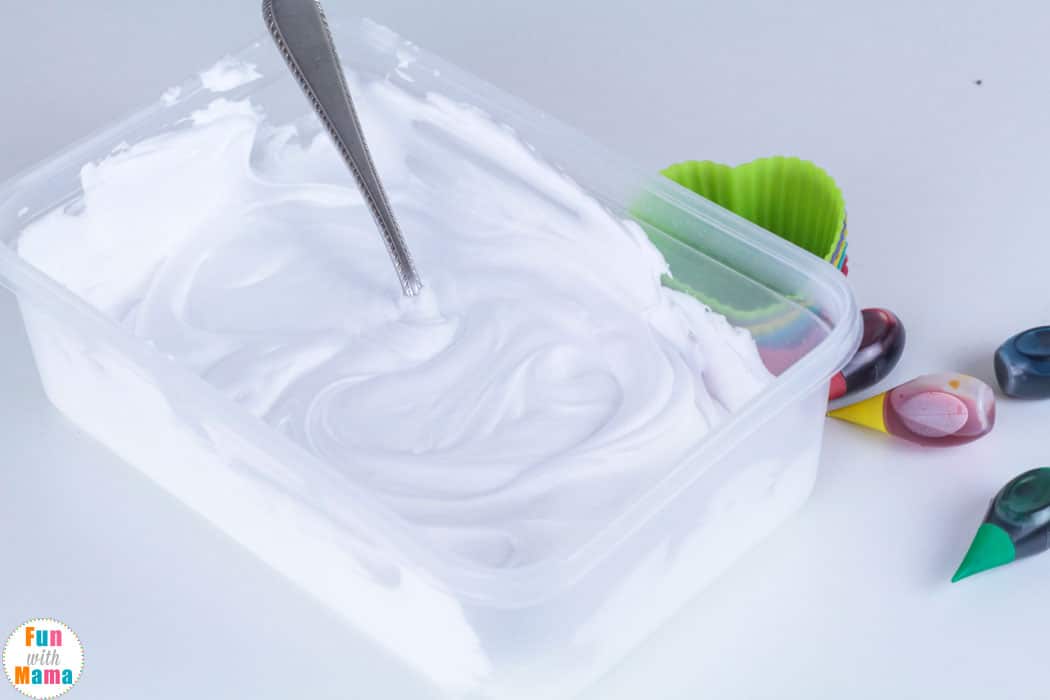
Pour one part white glue into a large bowl. Add one part shaving cream. Stir.
Once the glue and shaving cream are mixed, pour the paint into muffin cups.
Add in your chosen colors and mix with a spoon.
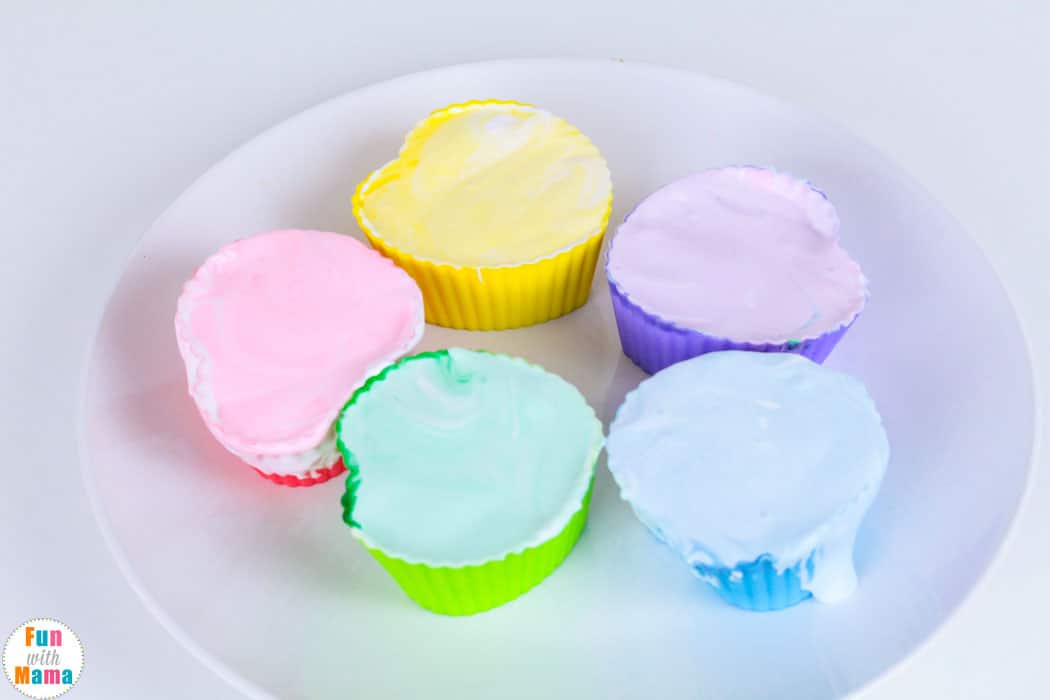
Your puffy paint is ready to go!
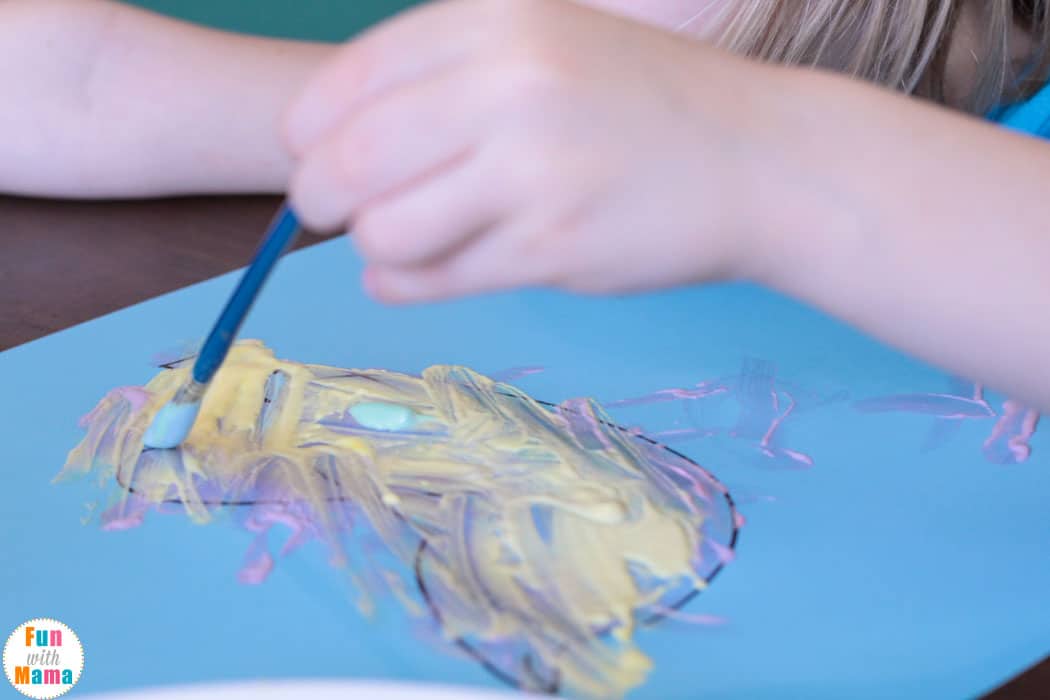
Dip the paintbrushes in the paint and paint with them on cardstock paper. We used cardstock paper because it is sturdier and can take the extra weight and wetness of the paint.
Draw a design that you want onto the cardstock paper. Large designs work best with puffy paint. They are not intended to be used for detail work. Big, blocky designs look really pretty with puff paint.
We found that dabbing the brush preserved more of the paint’s puff than painting it on like you would with washable paints.
Once your designs are done, place them outside to dry for about an hour. Now show your kids how to make puffy paint so they can create it in the future.
Rinse out all of your containers and brushes carefully, as the glue will eventually harden and it will be harder to clean once dry.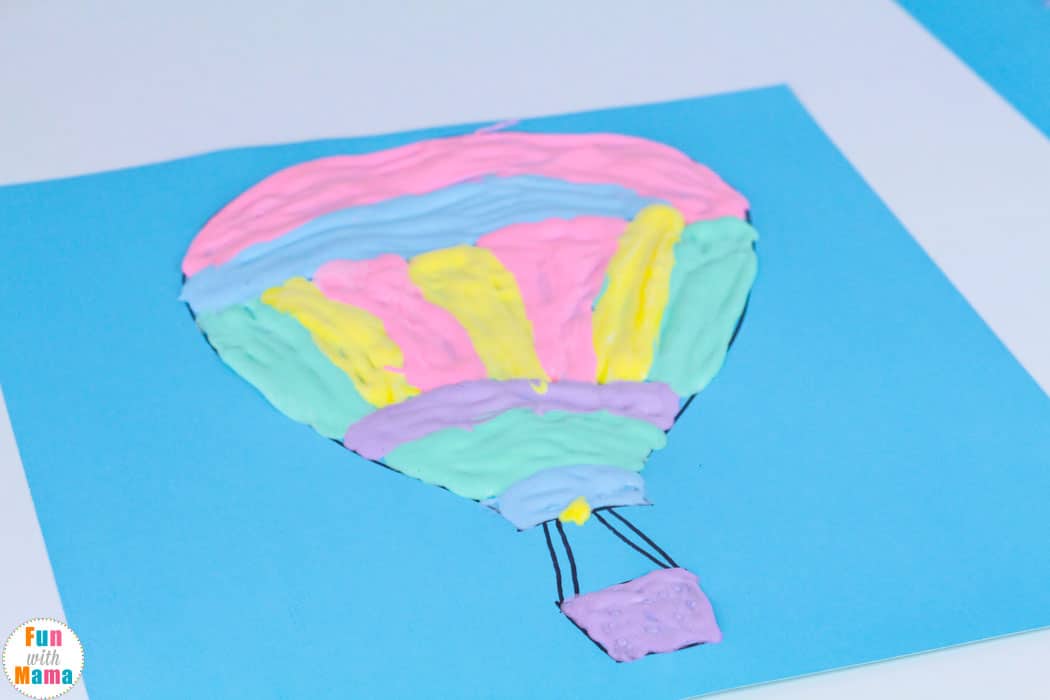
But, since you’re using washable glue, it will come out with warm water and soap.
I hope you learned how to make puffy paint using this simple tutorial.


Leave a Comment