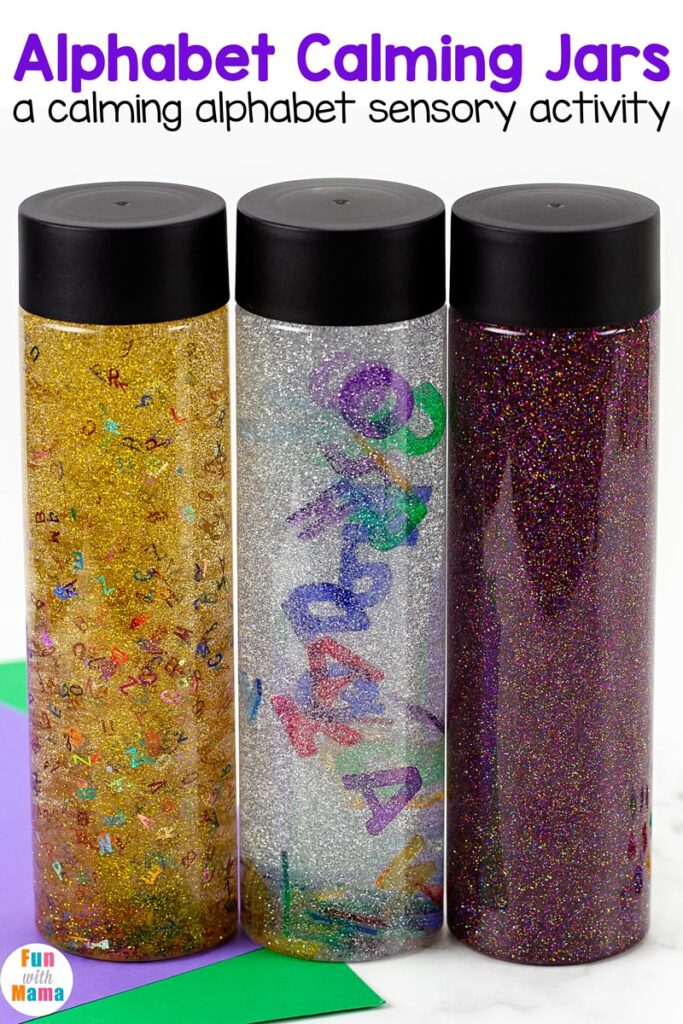
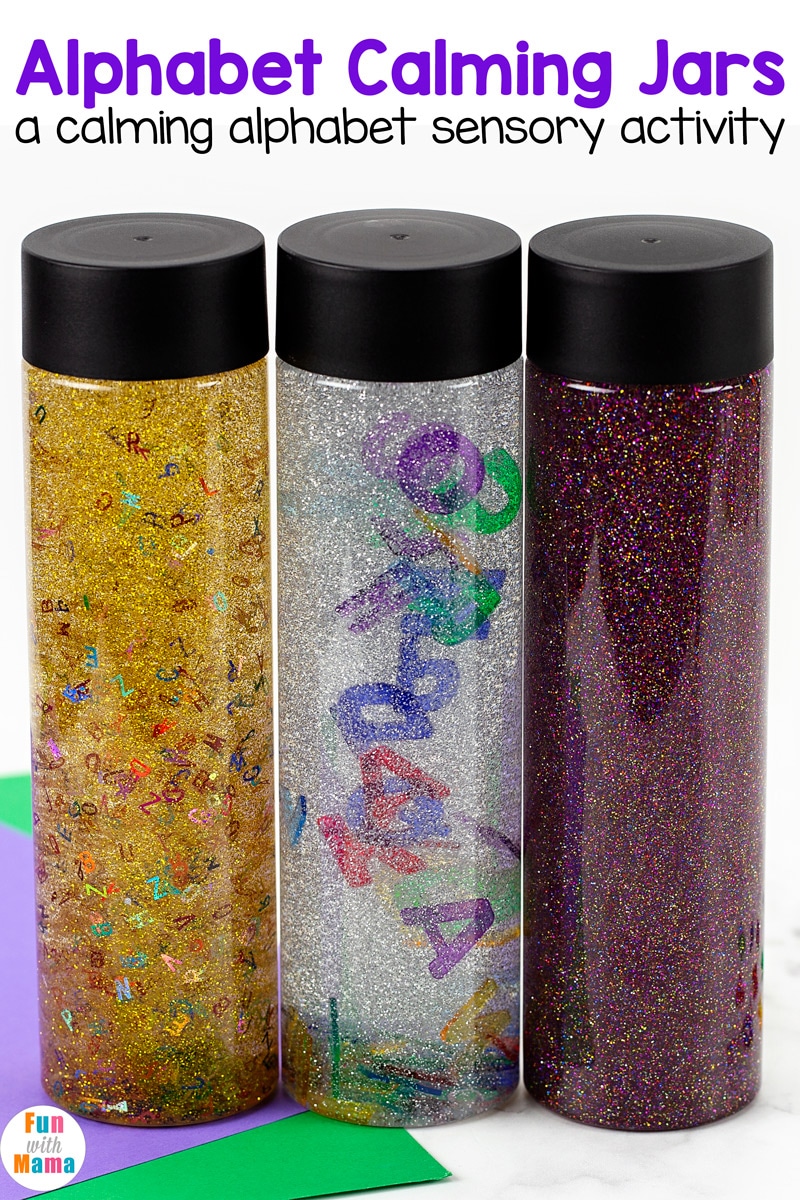
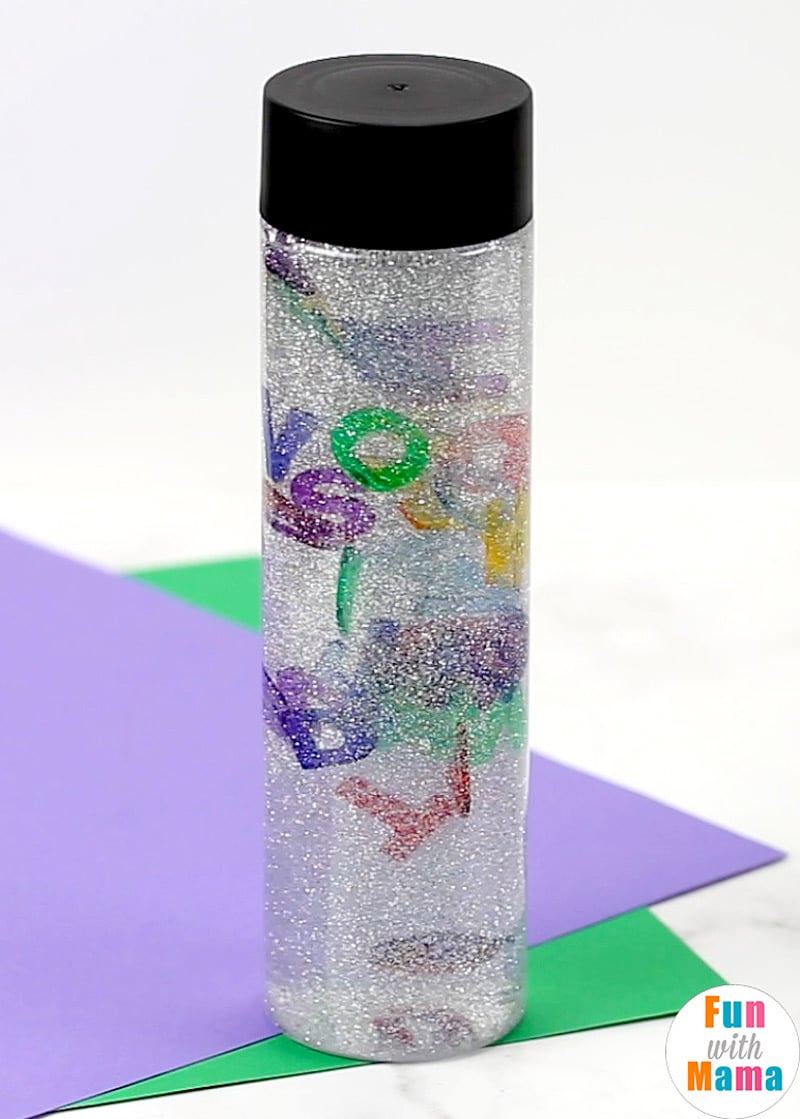
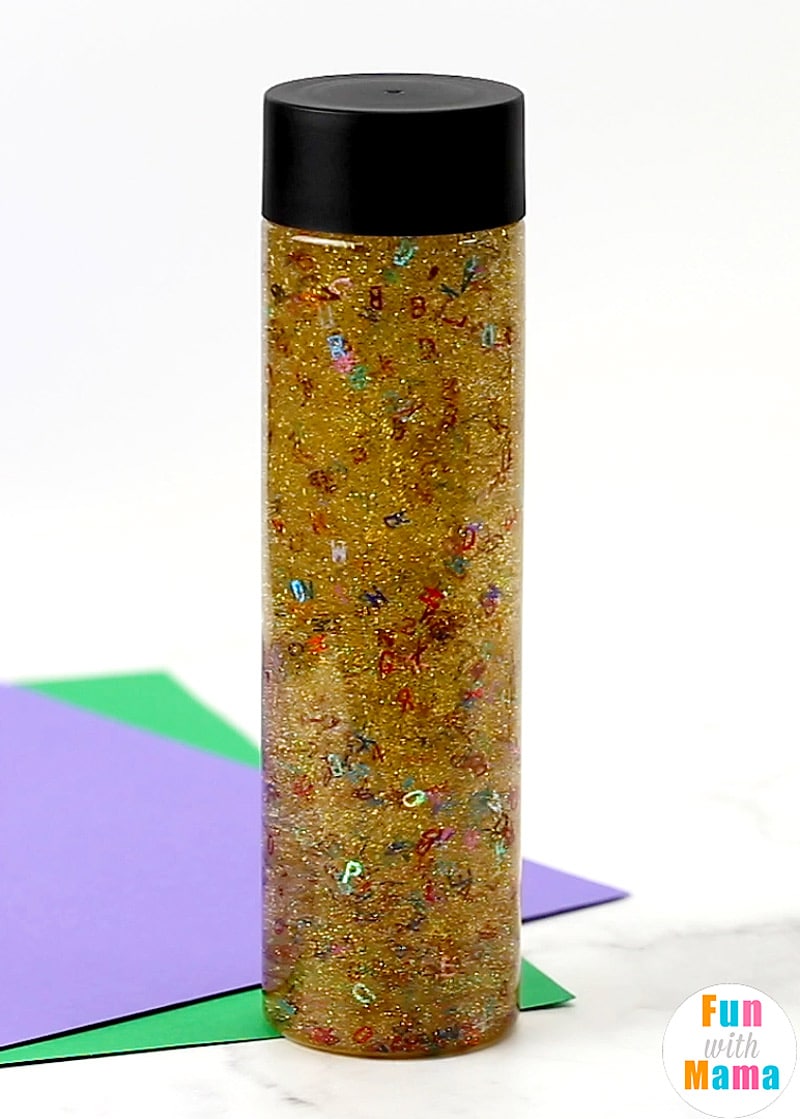
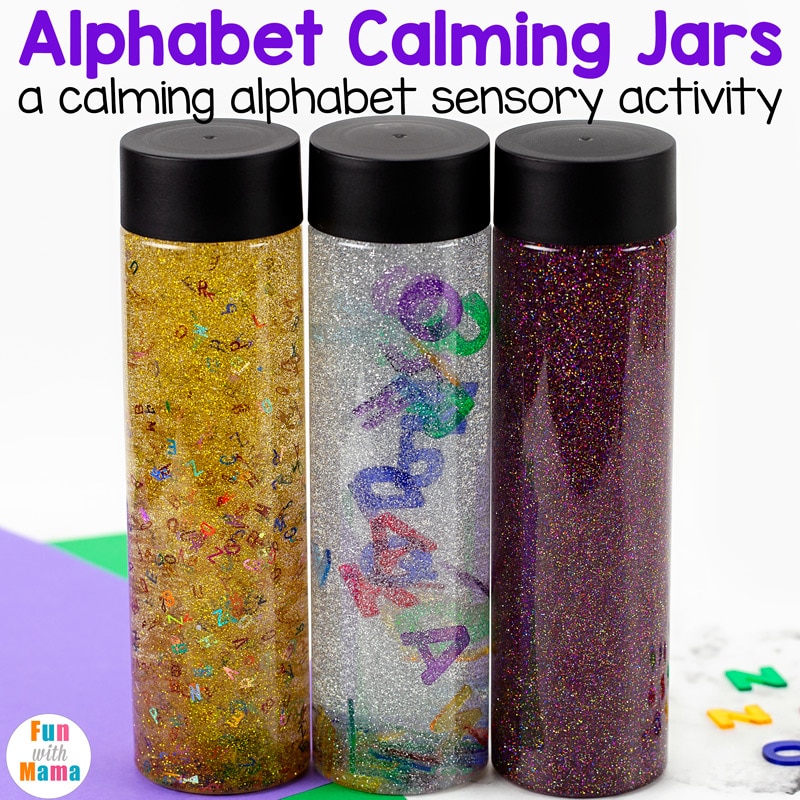
Sensory bottles are so great for younger kids! We love using these Alphabet Sensory Bottles DIY because they’re something that we can create together and use as a calming jar, too. Plus, let’s be honest – they look really fun with all that glitter!
Being able to make our own calm down jar at home gives us so many options, too. Incorporating the letters of the alphabet is a great way to combine learning and fun.
Be sure to check out my Super Simple Glitter Sensory Bottle Tutorial for even more fun ideas using glitter jars!
*affiliate links are used in this post. That means if you order a product through my link, I earn a small commission at no extra cost to you.
Sensory Bottle DIY
Previously we made glitter jars and it was such a fun art project. This time I wanted to put an alphabet twist to the activity, so we created Alphabet DIY sensory bottles for the kids this time. It was a huge hit and they loved it!
How does sensory play help children learn?
Sensory play is so important for the development of children. Not only does this teach them that learning happens all around us all the time but it also teaches them that they can learn using their eyes, ears, noses, mouth, and hands, too!
Why are they called calming jars?
Using these DIY glitter jars as calming jars is a great idea. The kids can really get a great understanding of how it can be a process to calm down their emotions and thoughts.
Shaking up the glitter and then being patient and watching it fall will help them to slow down and “calm down” a big emotion that they might be having.
Materials Required:
- Alphabet Gems – I prefer these because the alphabet letters are large.
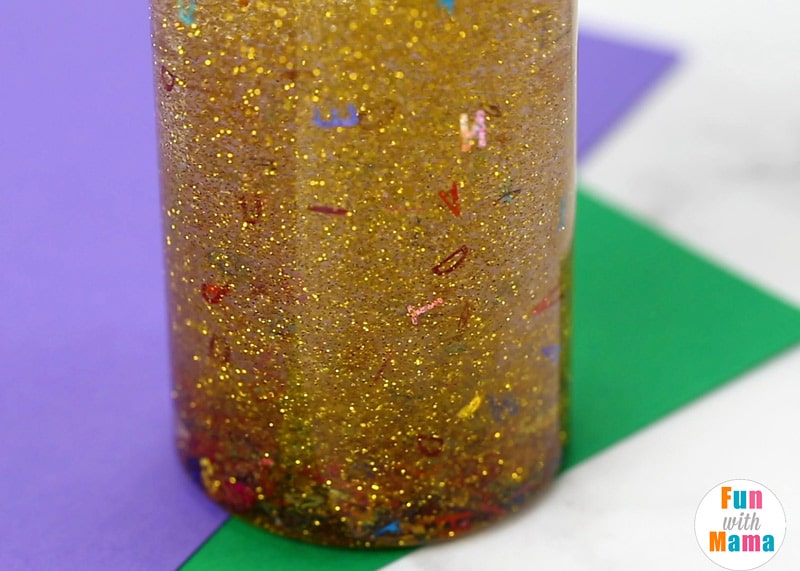
- Alphabet Sequins – These are the alphabets I used in the yellow glitter bottle. They are smaller.
- Clear Bottles – you can use these test tubes to make smaller glitter jars. If you’d prefer to make glitter mason jars then you can use these glass jars instead.
- Clear Glue
- Glitter
- Funnels
- Hot glue – you can use hot glue to close the bottle up so that children can’t open it.
You can find the glitter sensory bottle materials here:
[show_shopthepost_widget id=”4634938″]
Don’t want to make your own and prefer to purchase ready made glitter jars?
Here are my suggestions:
[show_shopthepost_widget id=”4634939″]
Here is a video tutorial:
How to make Glitter Bottle DIY
Start by adding ½ cup of clear glue to the bottle. Do your best to get it right into the middle of the bottle so that the outside of the bottle doesn’t get sticky.
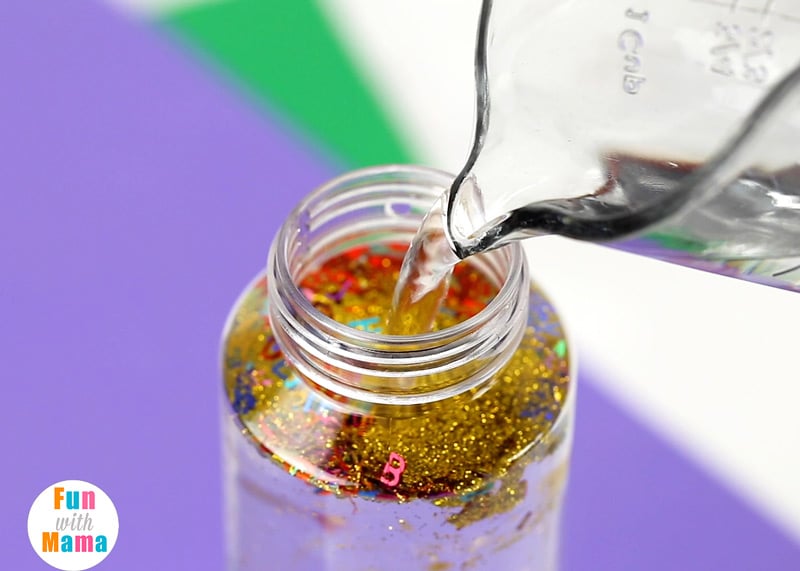
Fill the jar up to almost full with hot distilled water (or normal hot water works too)
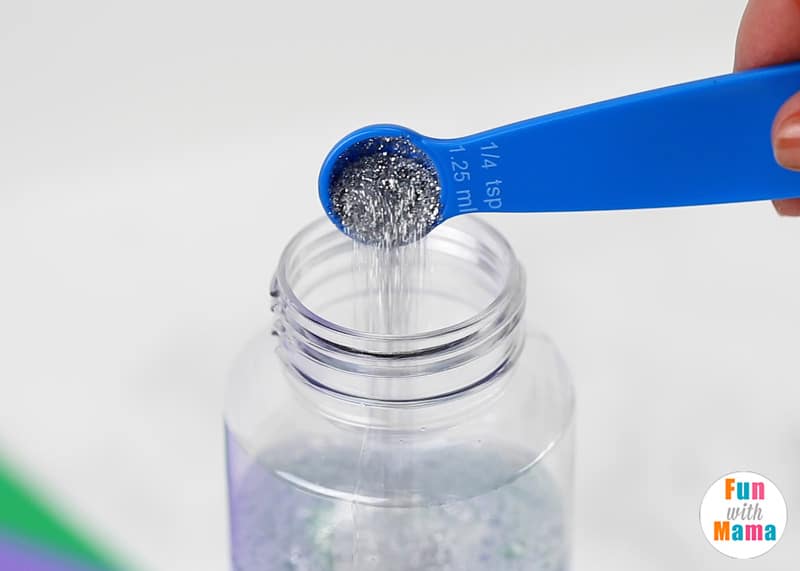
Add in glitter (approx 2 tsp) but you can always add in more.
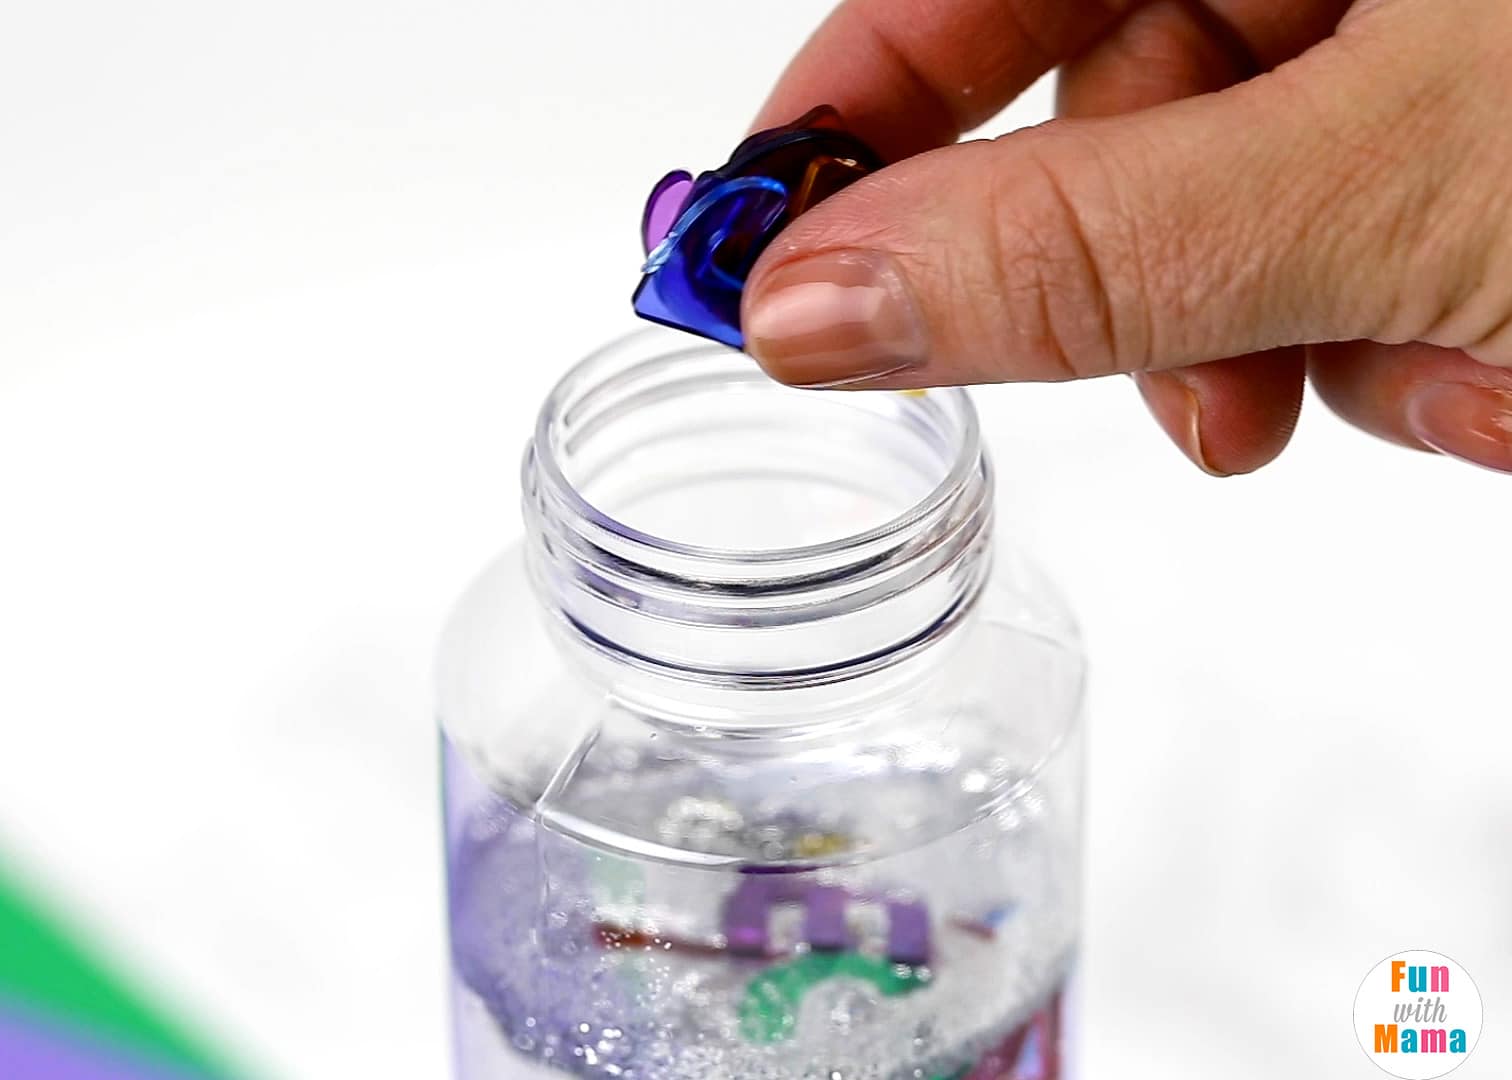
Add in sequins. (or other fun decorating items!)
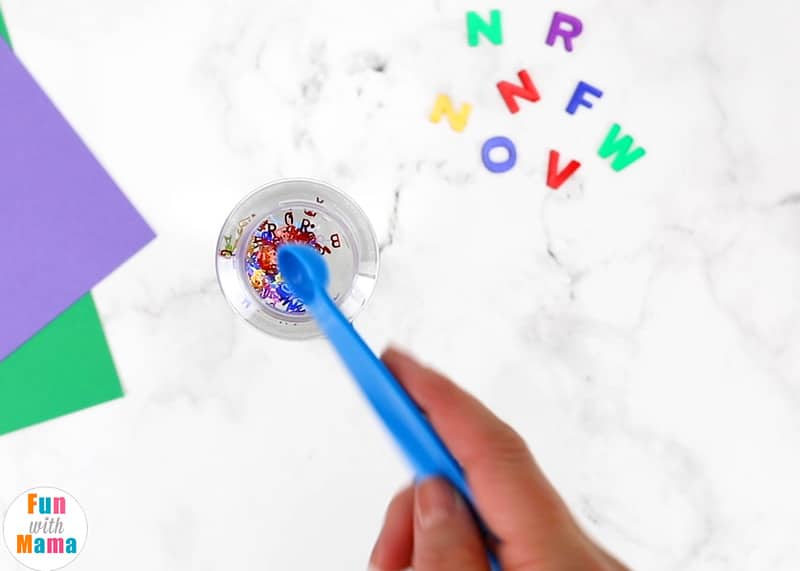
Add foam shapes and alphabet letters.
Glue the lid shut and give it a little bit of time to dry.
Tips for Making Homemade Sensory Bottles
Making glitter jars at home isn’t hard but there are a few tips to keep in mind.
Parental supervision is key because there is a lot of pouring and adding required. The kids can easily help out and do most of it on their own but be there with them to help out along the way.
Make sure to not overcrowd the sensory bottle because you want the items to move around when they’re shaken up!
These are also super fun to make for birthday parties, too!
More Sensory Activities for Kids
- DIY Sensory Foam Play Recipe
- How to Make a Thanksgiving Sensory Bin for Toddlers
- DIY Halloween Play Dough Kit & Halloween Sensory Bin



Leave a Comment