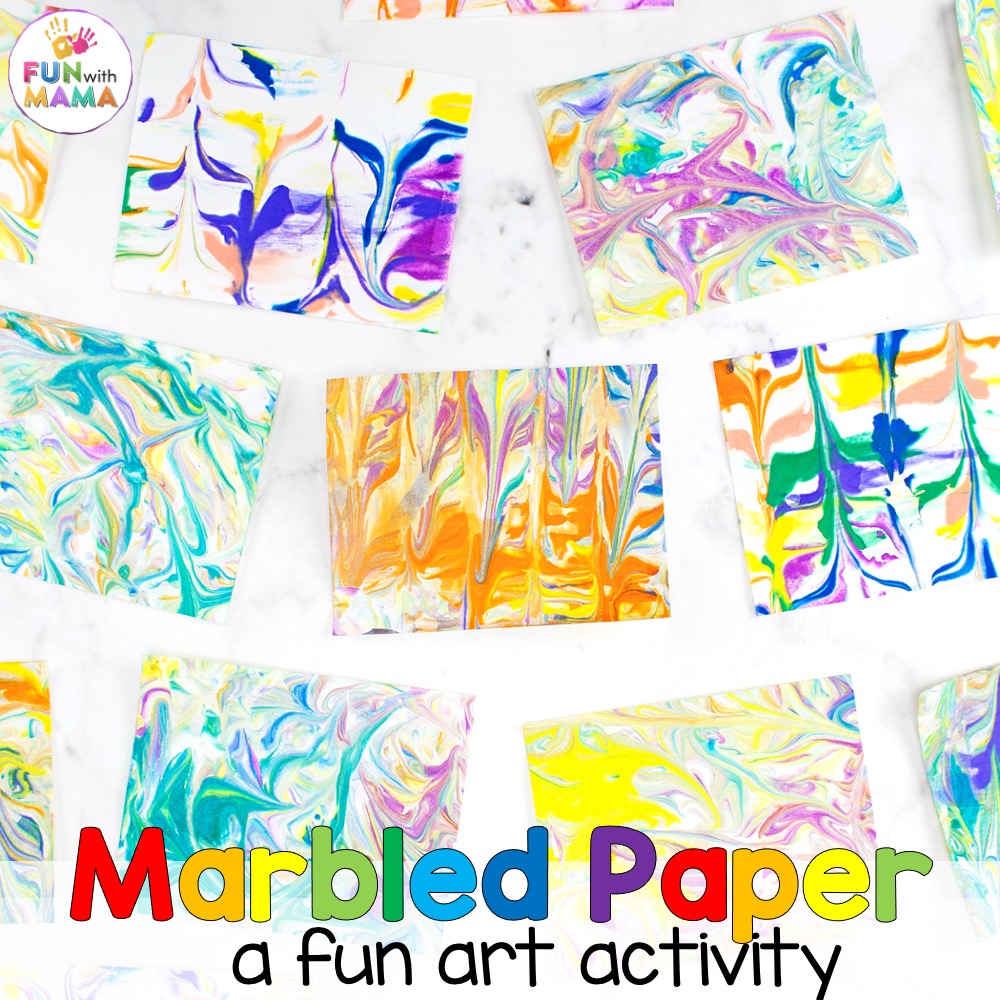
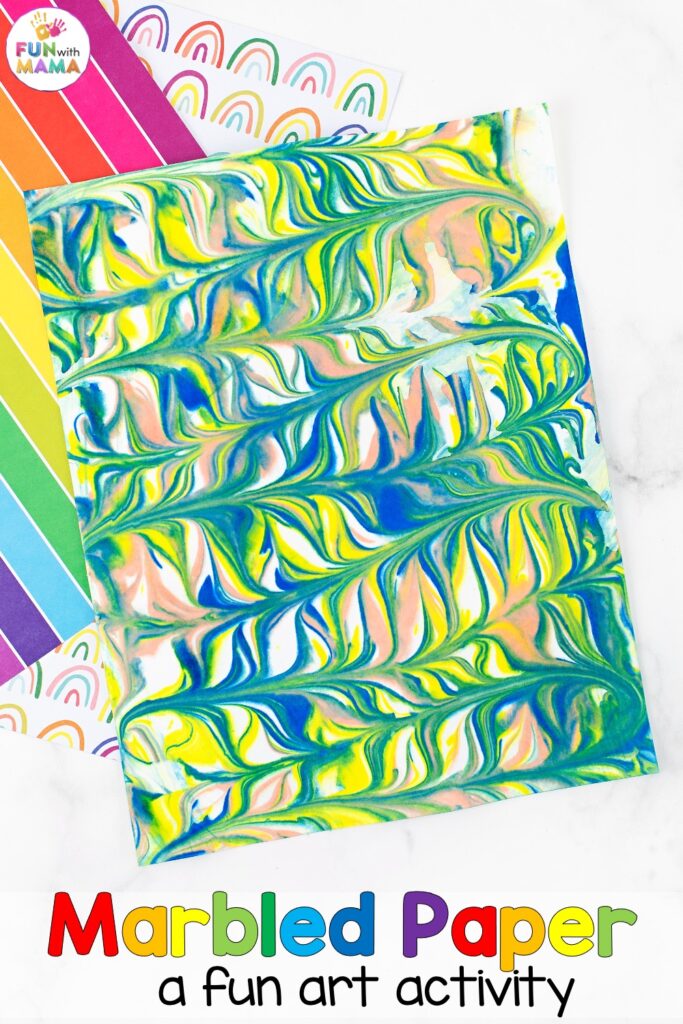
This marbled paper art is a fun process art activity with amazing results. Whether this is in a classroom or at home, creating art and crafts without strict instructions is a fabulous way to do so. Your children will love creating this marbled paper art using shaving cream! What’s even better is that I love turning this type of art into home decor.
What Is Process Art?
“The term process art refers to where the process of its making art is not hidden but remains a prominent aspect of the completed work, so that a part or even the whole of its subject is the making of the work” Bernard Cohen. Floris (1964). To put it simply, there are not specific instructions that need to be followed as well as, the result is not the goal. Marbling paper is a great process art activity that children will love.
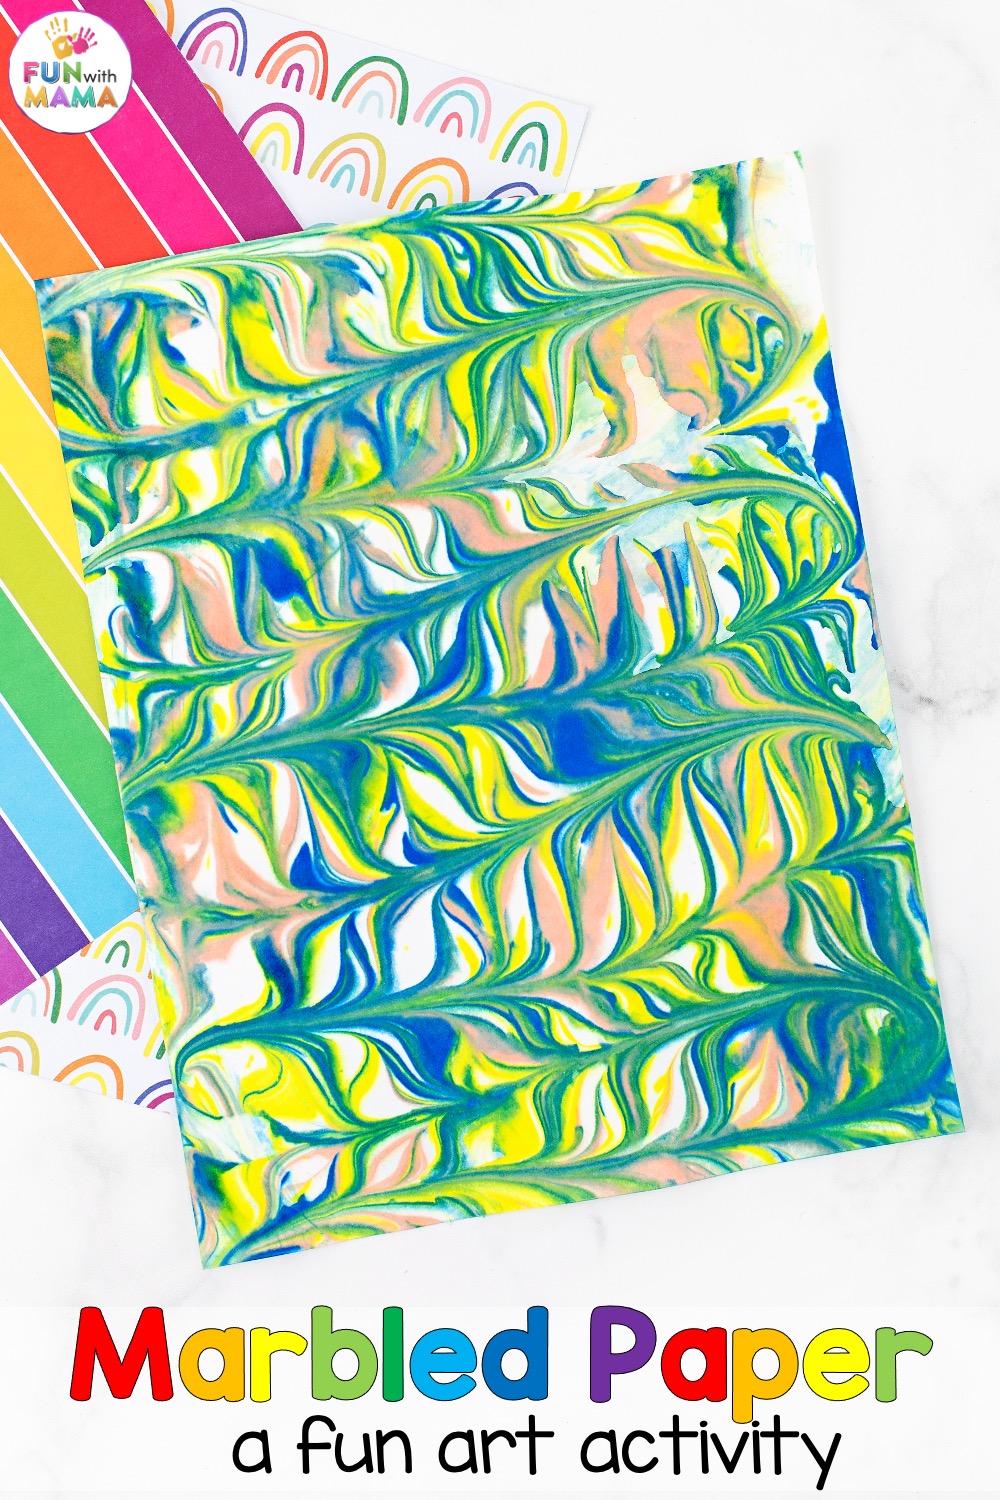
What Is Marble Paper?
This marbled paper is a super fun and versatile for kids of all ages. Children can strengthen a variety of different skills including fine motor and color recognition all while experiencing the magic of process art. This will quickly become a favorite art activity for both you and your children.
Marble painting began in the 12th century in Asia. It is a processed art that looks like swirls of color in the most natural way. This is such a historical type of art, creating this can be a history lesson, also. Marbled paper in Japan is called Suminagashiis. Therr are multiple names for this art, though. in Turkey it is called Marbleized paper, known as ebru, which translates to “the art of clouds”.
Materials Required
- Shallow Container
- Shaving Cream
- Watercolor paints (or alternatively, food coloring mixed with water but it wont be as vibrant.)
- Toothpicks
- Cardstock paper
- Squeegee
Video of the Marbled Paper Activity
Check out other shaving cream activities.
The Marbling Technique
As you can see from the video, this is a super fun and engaging marble paper activity. Children are going to love doing this marble painting activity and using their finished artwork for a variety of different things.
While I am providing a tutorial, it is not about specific instructions. The end result will most likely be different each time.
Let each child be their own creative director!
This project can be done on any work surface including a desk, floor or even outside.
However, I suggest doing it on a flat surface like a desk because it can actually be a bit messy.
I used an Ikea tray to help contain the mess.
How to create marbled paper
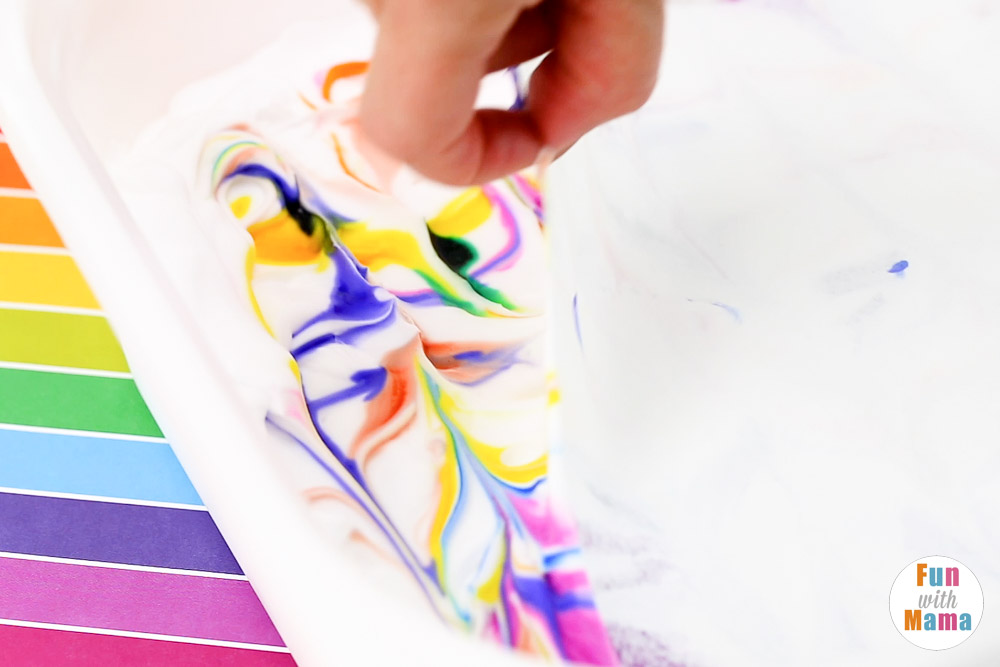
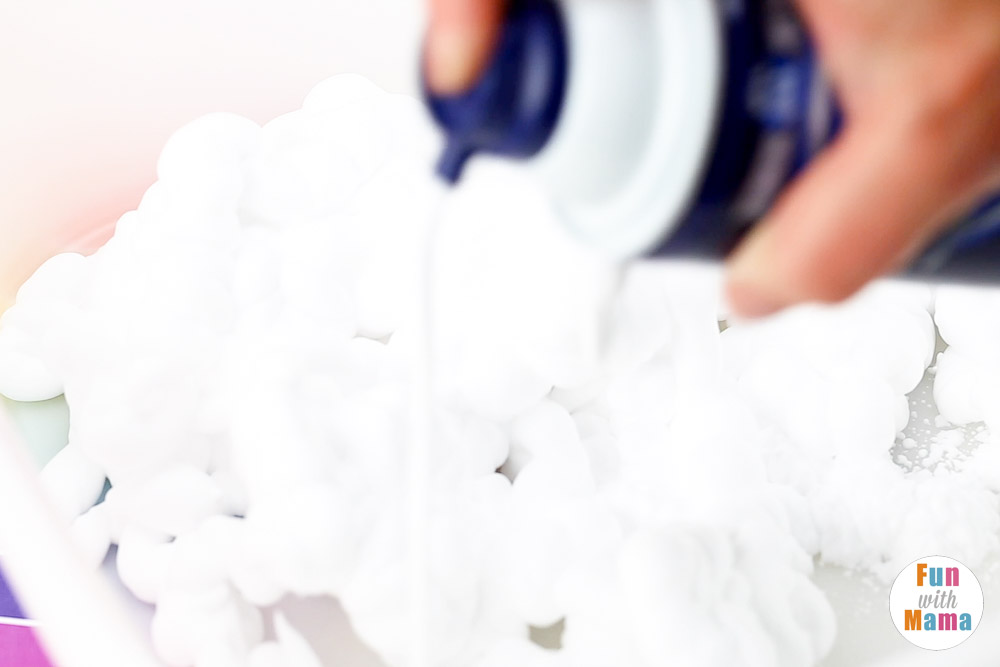
To start, fill your shallow tray with shaving cream. Use the foam kind, not the gel.
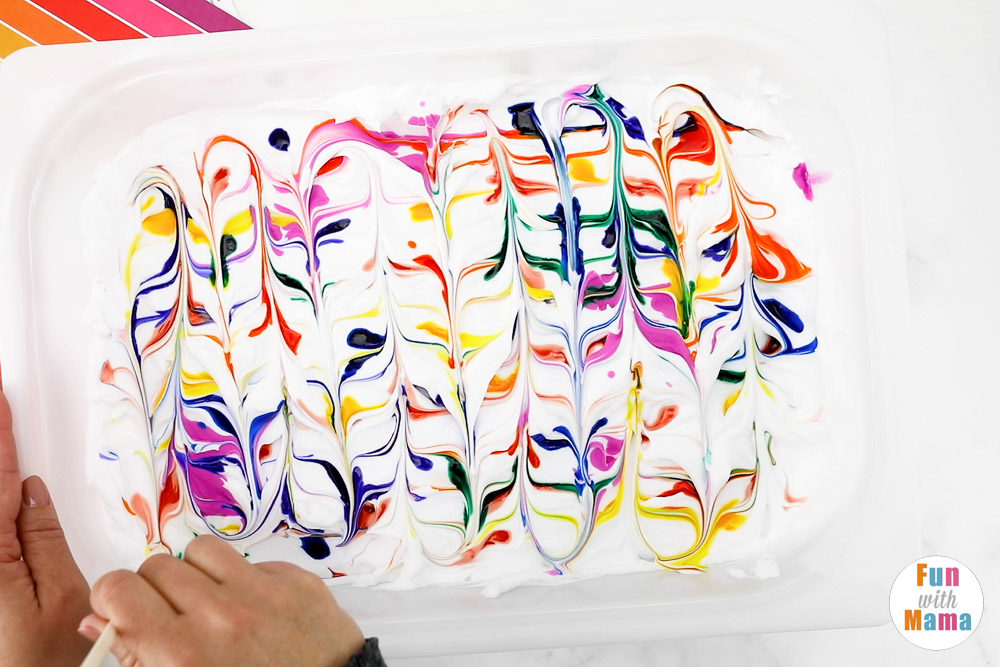
Next, small drops of food coloring should be added around the shaving cream in random spots.
There does not need to be a rhyme or reason for where each color is dropped.
Next, you will take a toothpick or other similar tool like a skewer or chopstick.
Drag it through the shaving cream, one line at a time about an inch apart from each other.
Once the mixture is how you want it, move to the next step. If needed, add additional colors.
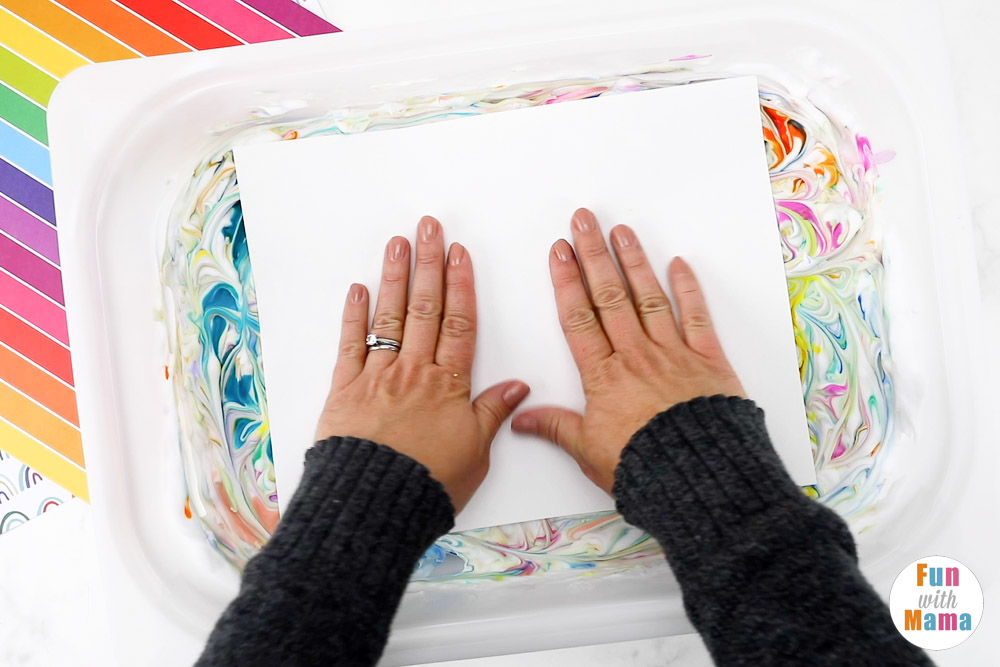
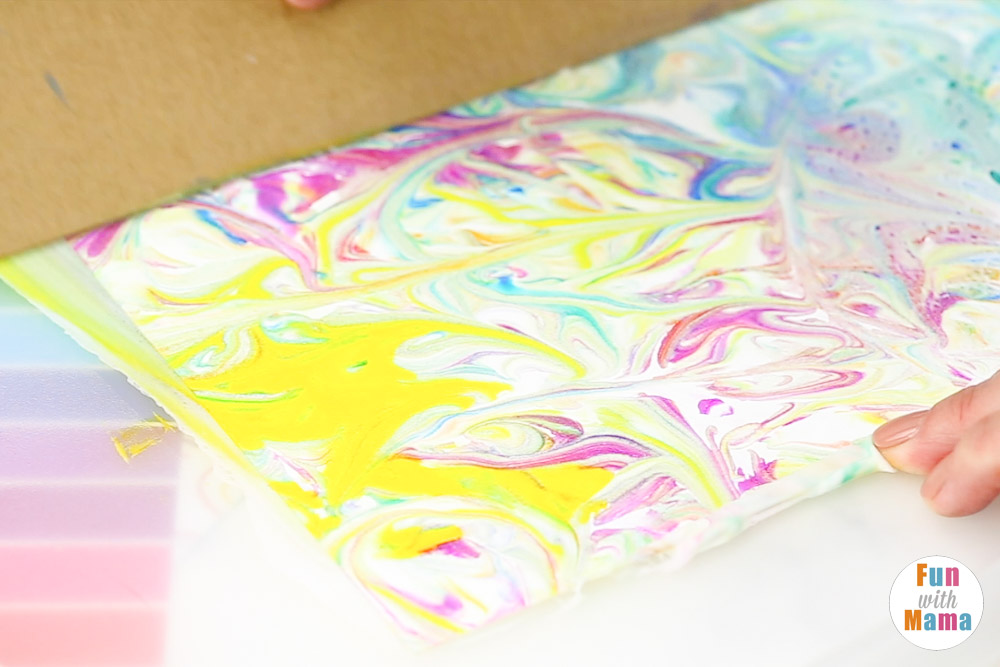
Take the paper sheets and gently press it against the shaving cream and food coloring.

Lift the paper up from one corner, pulling it up until the whole things is lifted. Next you’re going to take the squeegee and scrape off the excess.
I linked to a plastic one on amazon, above but I simply used a scrap piece of cardboard for mine. As long as it is straight across.
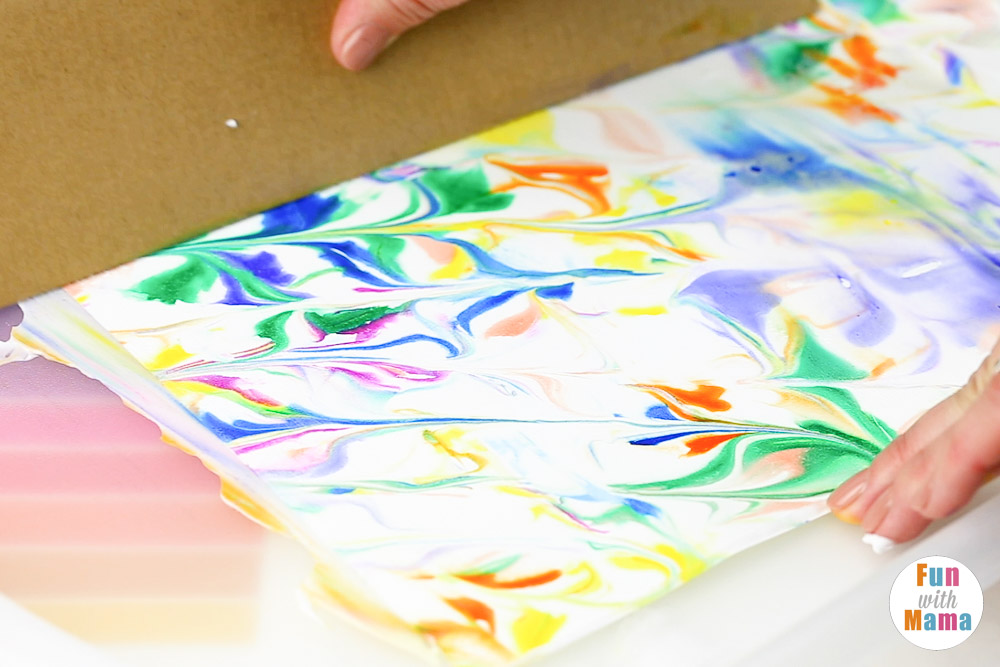
Scrape off the excess shaving cream and food coloring until you have a ‘clean’ piece of paper that looks as if it is marbled.
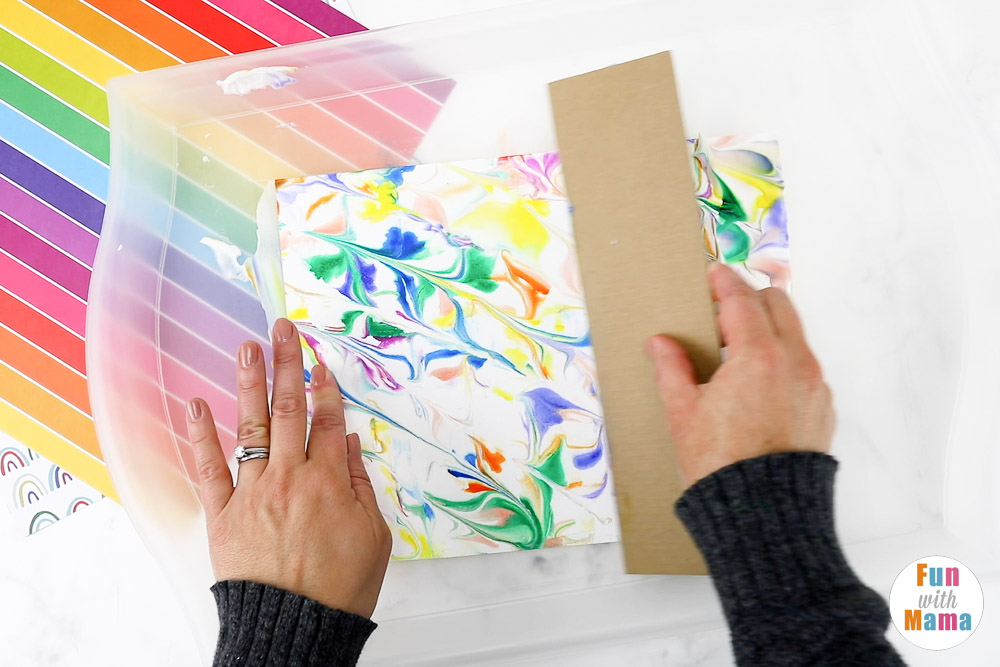
After the excess is scraped, let the paper dry.
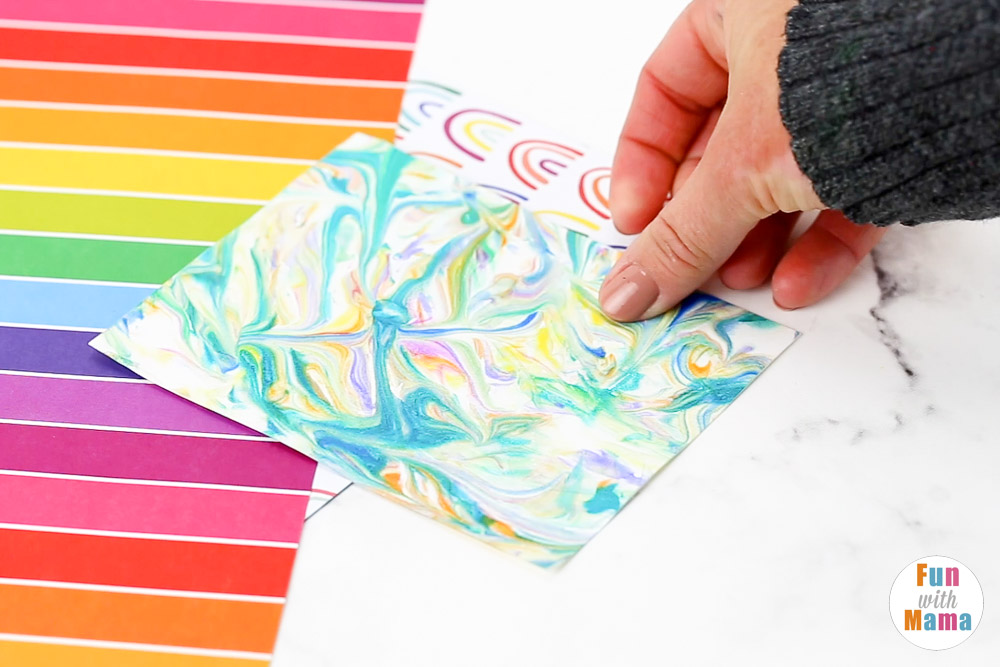
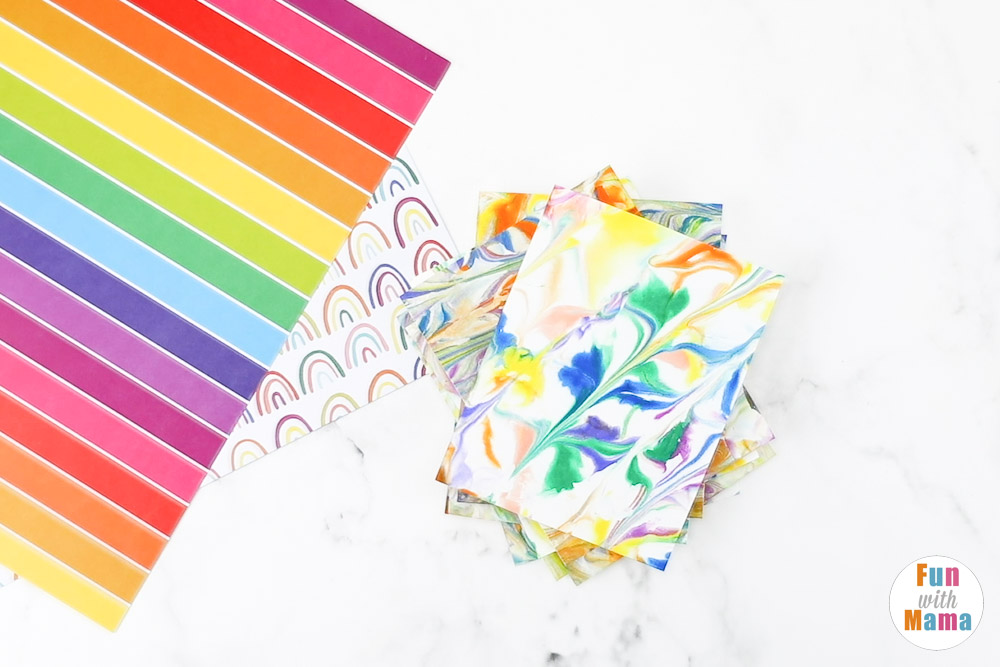
While it is drying, you can decide what to do with the art later. Here are some of my favorite ideas:
You may also like this other painting process art activity!


Leave a Comment