Paper flowers are so much fun. They are great for making cards, decorating, and just fun to make stuff. My kids and I are constantly creating beautiful with with paper and these flowers are by far my favorite so far. Creating these flowers could be done with scissors, but we found a way that is so much easier for my kids and myself.
Please note that I received the Silhouette Cameo 3 for free from Silhouette. All thoughts, ideas and opinions in this post are honest and true. I value my readers and would only review and post about products that I love.
Silhouette Cameo 3
Before I show you how we make our 3D Paper Flowers, I have to tell you about this beyond amazing crafting tool. Do you have a cutting machine? I know there are many options and versions, but after much research and fellow crafter surfing (like crowd surfing but just with my crafting friends) I decided that the Silhouette was the best option for me. I love that the software is so functional and user friendly and I appreciate the options that Silhouette offers.
To be honest I was a little intimidated when I received the Silhouette Cameo 3 Bundle box full of wonderful crafting but I quickly realized that Silhouette makes it simple to learn. I love that the software allows you to make adjustments to create pieces that YOU want. At the same time, though, there are a ton of templates available that take the work out of it for you.
I also love that the options are endless. You can cut vinyl, paper, heat transfer vinyl, craft foam, chip board, card stock, tissue paper and even light weight fabric. Last but not least, my other favorite aspect of the Silhouette is that I can cut out pieces, like for these 3D Flowers, and my kids can craft with them. It is like buying craft kits from the store but you customized them, chose the colors, and it’s less expensive too!
Are your crafty wheels spinning with the next year worth of projects you want to do? Mine too.
The great thing about this project is that the silhouette cameo 3 cuts out each piece individually. This makes it great for both adults and children. You can follow the tutorial to help make flowers by instructions but kids can also take the pieces and their creativity and go their own route. For this project we followed the tutorial that was given.
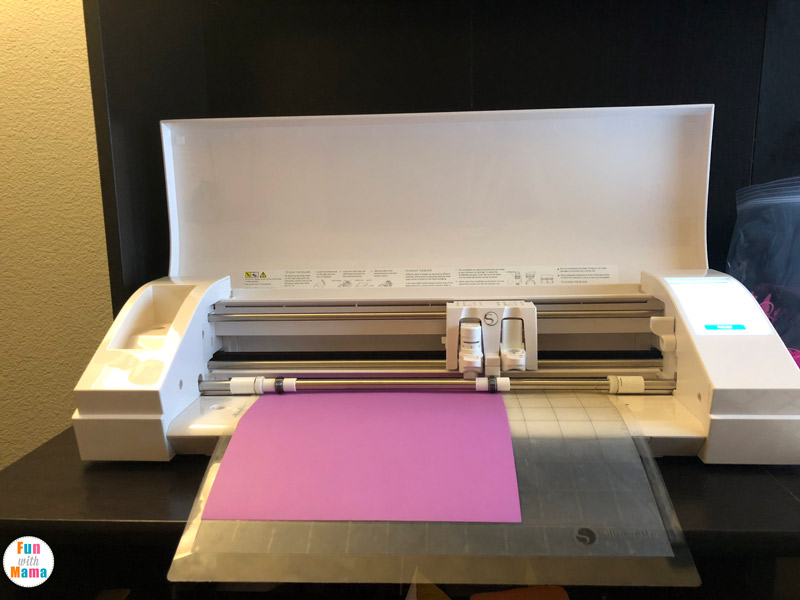
To cut the flower pieces and leaves we used cardstock and a Silhouette cutting mat (pictured below). The cutting mat has a sticky side which makes the paper stay in place while going through the cutting machine. The cardstock will just peel right off of the cutting mat with no issues. And no the sticky doesn’t get on the cardstock at all.
We’ve also made these fun paper flowers.
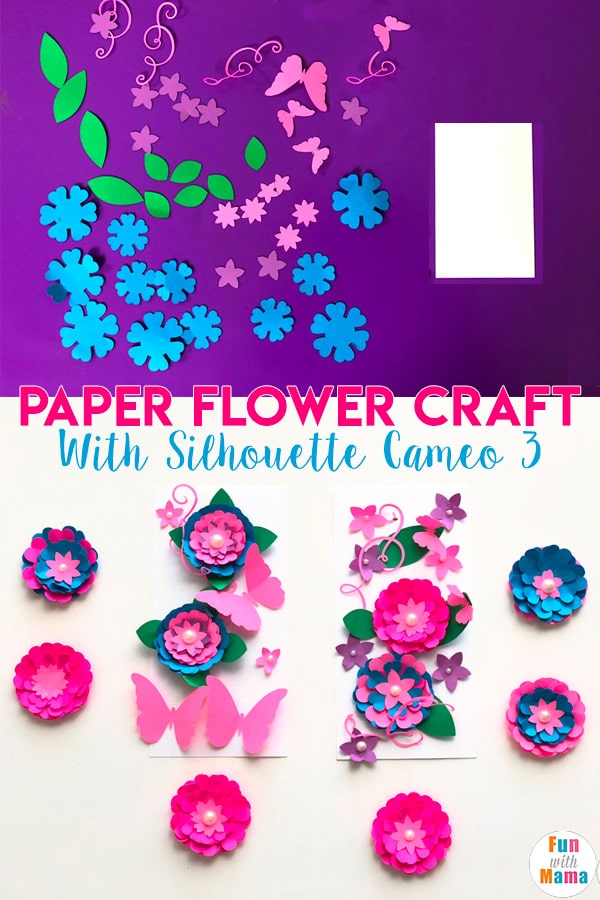
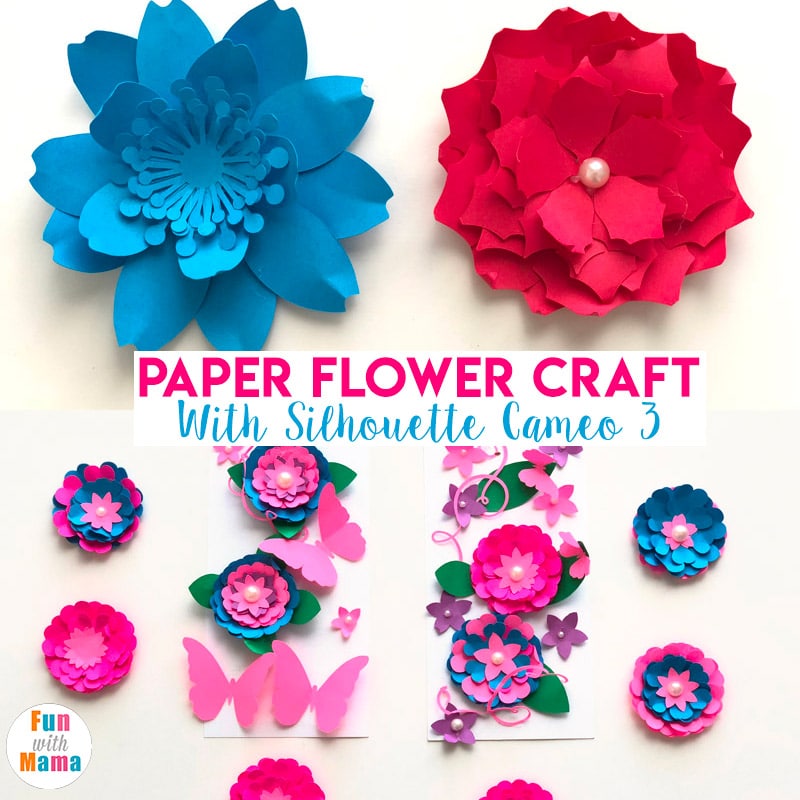
Paper Flower Craft
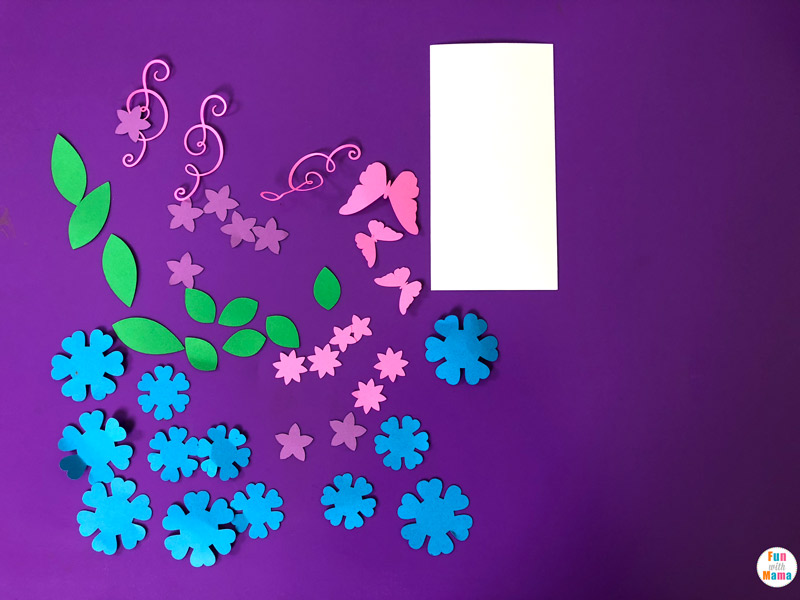
As you can see there are many pieces included. There are large flower pedals and then smaller and smaller pieces until you get to the center pieces. You may also see there is not a real right or wrong way to do this. In the wild, flowers are all individual with different patterns and styles. These paper flowers can be the same way.
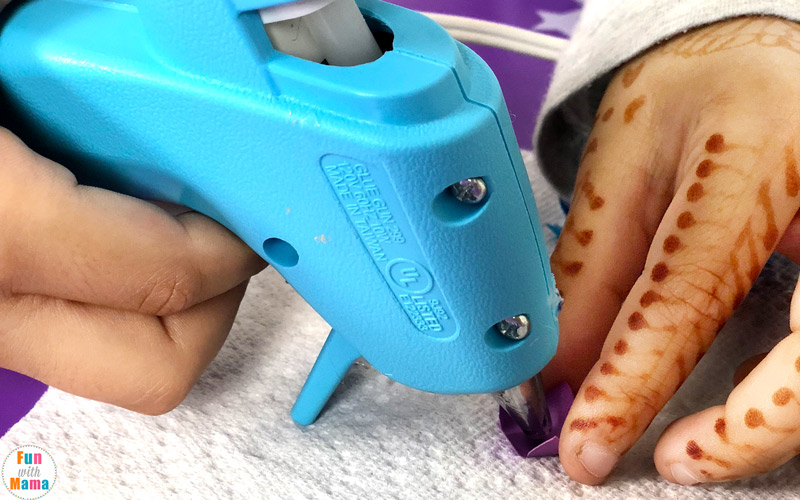
We used a hot glue gun to glue all of the pieces together. My daughter did use it, but I felt comfortable with this. PLEASE use your best judgement with your child. Hot glue can burn the skin.
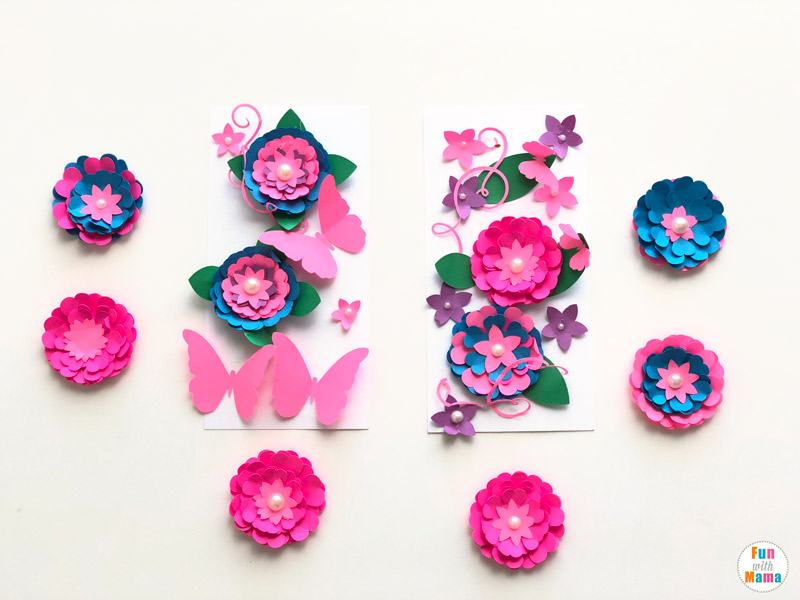
We found that glue not only kept the pieces together, but also added a little space in between each level of the flower which gives it a super cool dimension that otherwise wouldn’t be there.
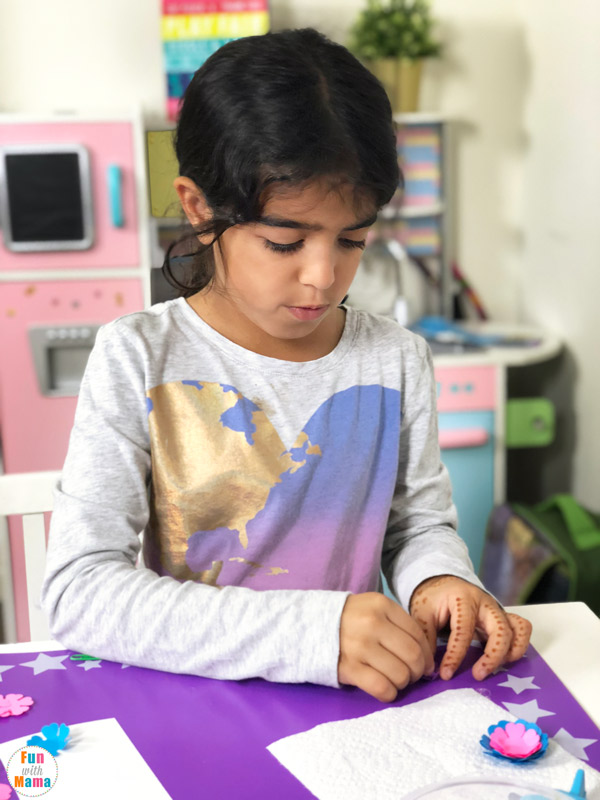
It was fun to watch my daughter pulling pieces together to form these absolutely beautiful flowers. The Silhouette Cameo 3 made it very easy for her to run with her creativity on this project.
As you can see the flowers turned out absolutely beautiful. We haven’t decided where we will display them permanently, but I am leaning towards gluing them on a picture frame and displaying them in my daughter’s room. How fun would it be for her to look up and remember that SHE created them? 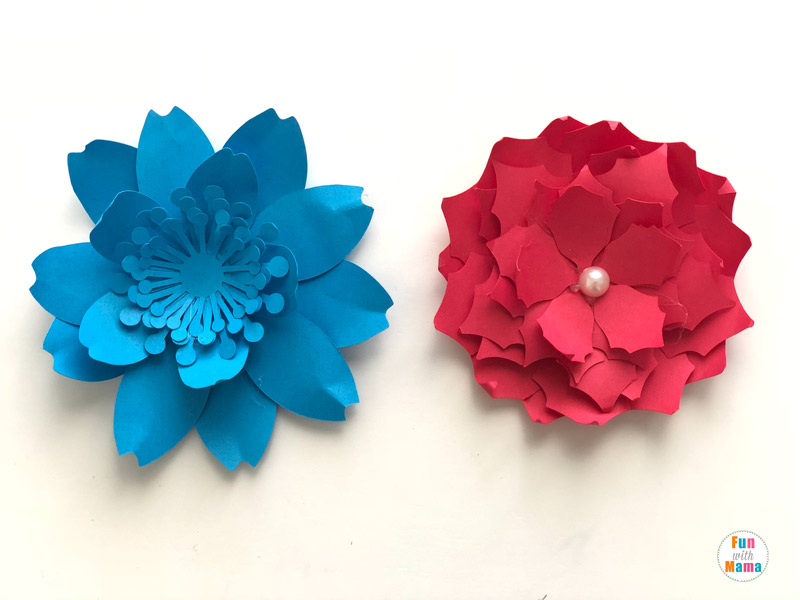
The possibilities with the Silhouette are basically endless. The only problem is not having enough time to craft everything that we want to craft! Can’t we just craft all day every day?


Leave a Comment