This magic art activity will bring out a look of amazement in your child’s eyes as they see the magic unfold. The best part about it is that it only requires 4 items that you likely already have at home: paper towels, water, washable markers, and a permanent marker.
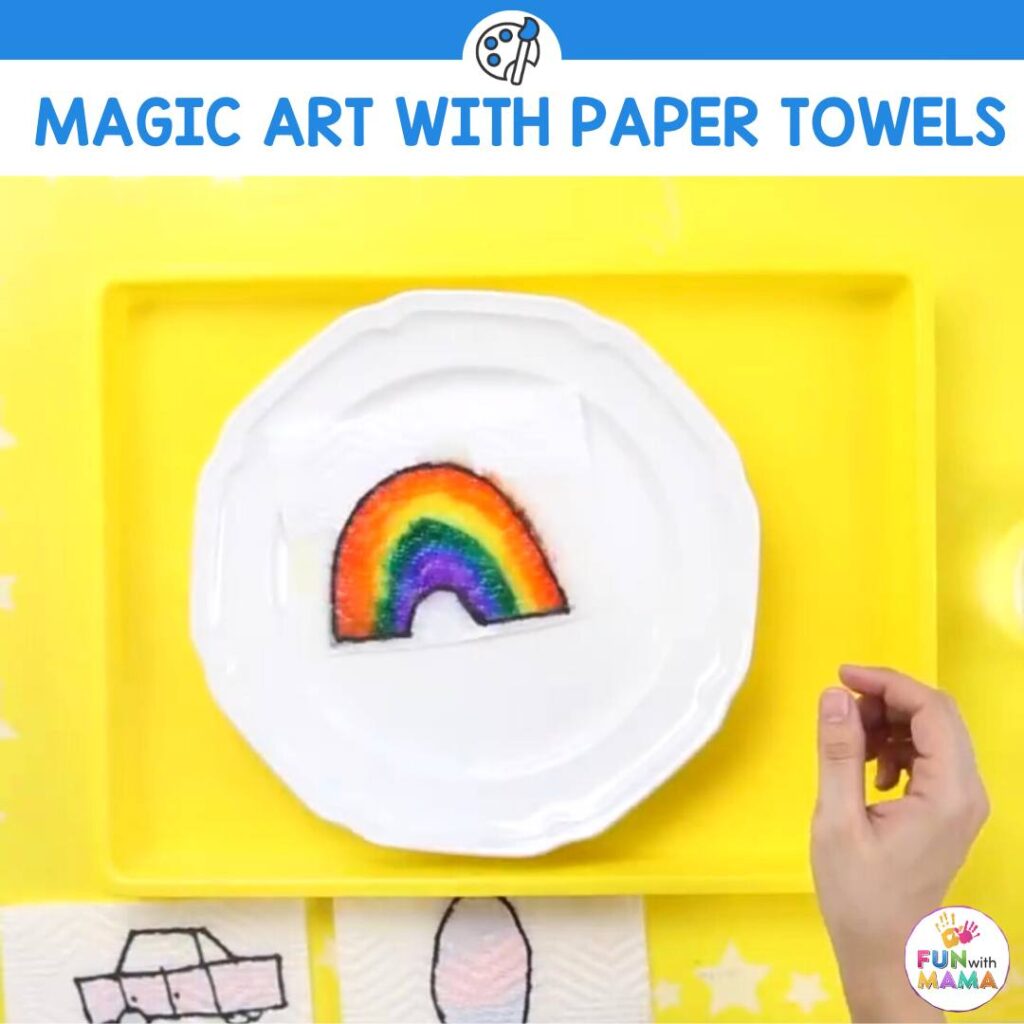
Unleash Creativity With This Magic Art Project
Besides this activity bringing your children an extra sparkle in their eye, it is also super easy and inexpensive for parents and teachers to prep and put together.
Watch the video below to see it in action:
The supplies needed to create this artwork are most likely already in your classroom or home.
This activity contains STEAM components. STEAM is a set of activities that include Science, Technology, Engineering, Art, and Math. It also incorporates fine motor skills.
Fine motor skills are important for children of all ages to develop and strengthen.
These specific skills are ones that children need in order to develop and perform certain tasks. Fine motor skills are strengthened as a child grows older and as they practice using those skills.
Children will work on those fine motor skills when they pour the water onto the plates, hold the markers and color, and when they are pouring water onto the paper towel.
Materials Required
As I mentioned above, prepping and setting up this activity is incredibly easy and inexpensive. We used the following supplies:
- Permanent Marker
- Paper Towel
- Washable Markers
- Plastic or Glass Plate
- Water
- Container To Pour Water From
Painting with paper towels is really cool. Check out this other easy paper towel painting activity.
Watch This Video To See What The Magic Art Project Looked Like
How to do the magic paper towel art activity
Step 1: Fold the paper towel in half. Now, cut the paper towel set into thirds (or in half, depending on how large your paper towel is.)
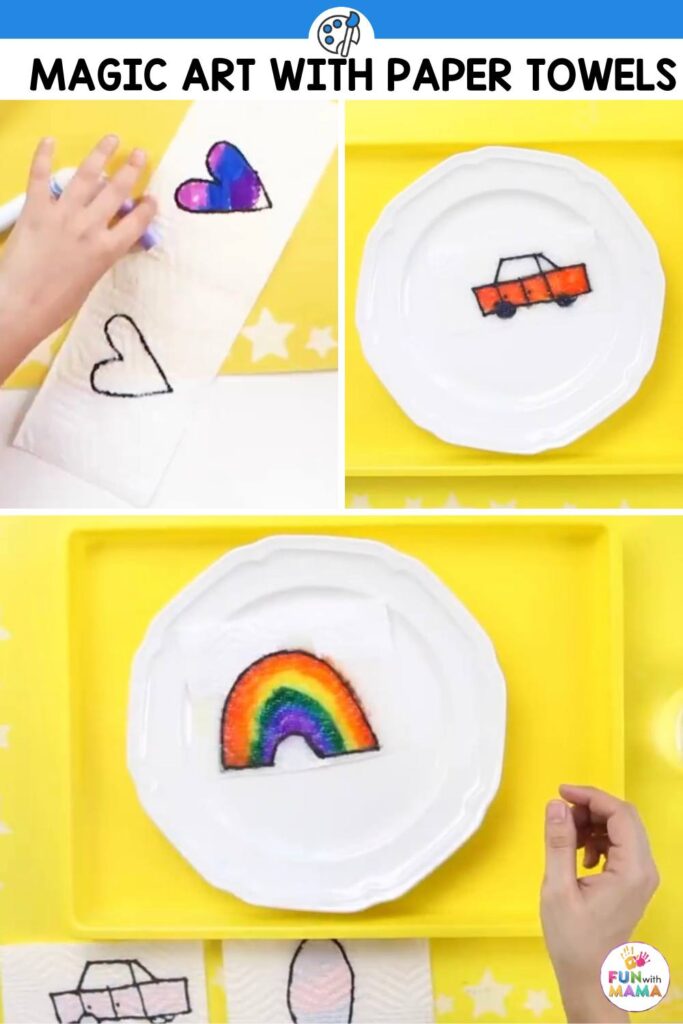
Step 2: Draw a design on the back half of the paper towel using a permanent marker to outline and washable markers inside the outline.
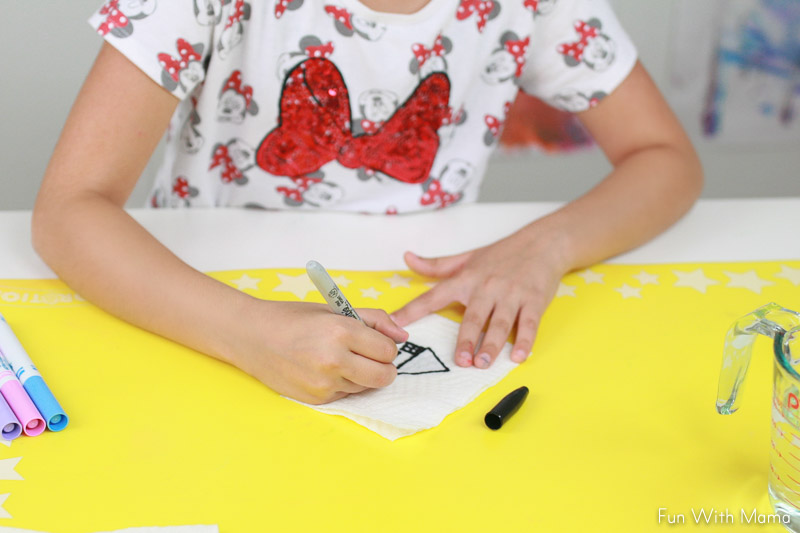
Step 3: Fold the paper towel back together and trace that shape. You will be able to see the permanent marker line from the back through the front because the permanent marker is pretty dark.
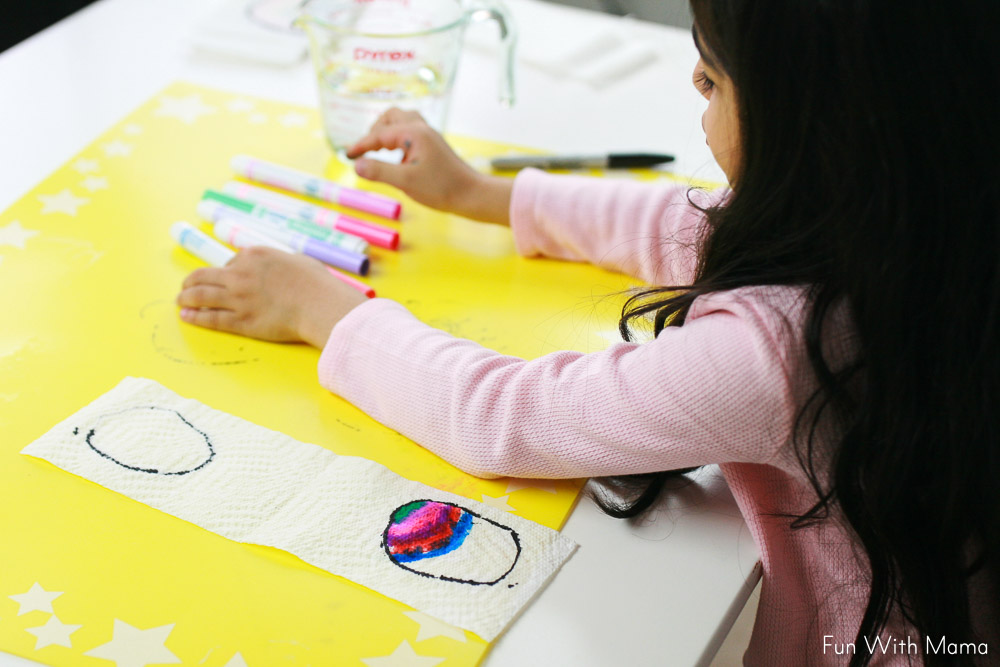
Step 4: Go back to the back page and start coloring it in with washable markers.
When the coloring portion is all finished, and your little artists have decided they are done creating, it’s time for the magic.
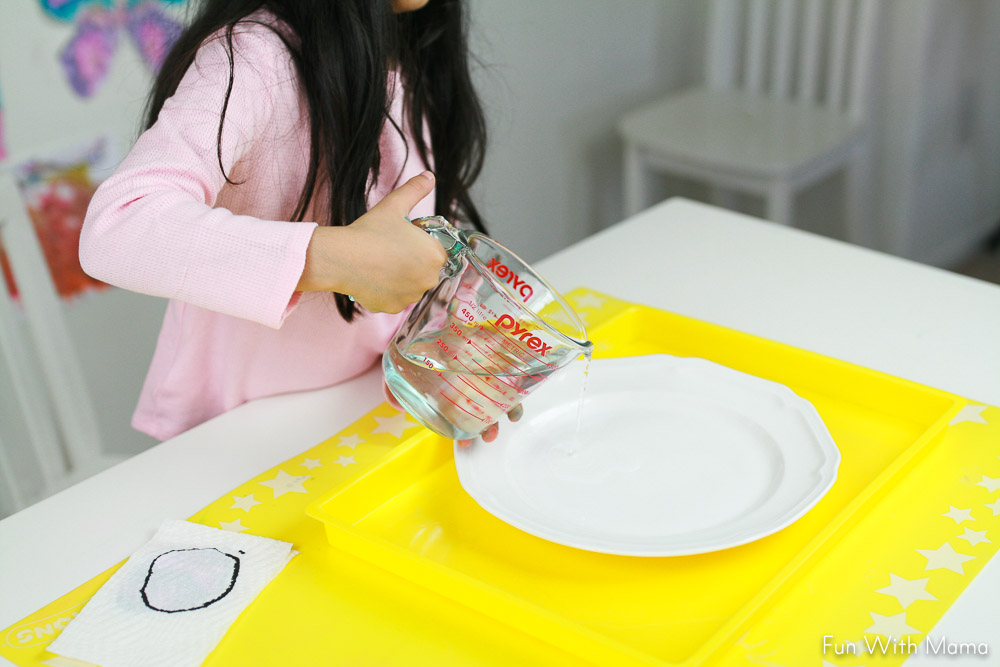
Step 4: Add the water to your plate.
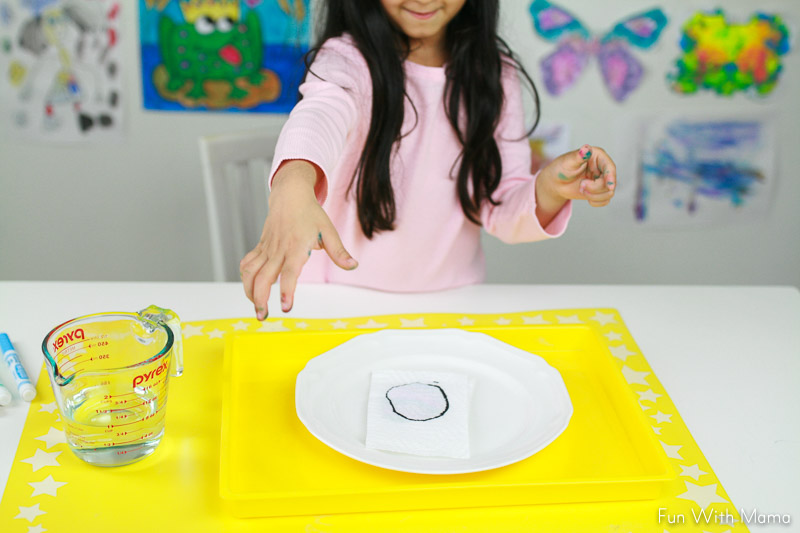
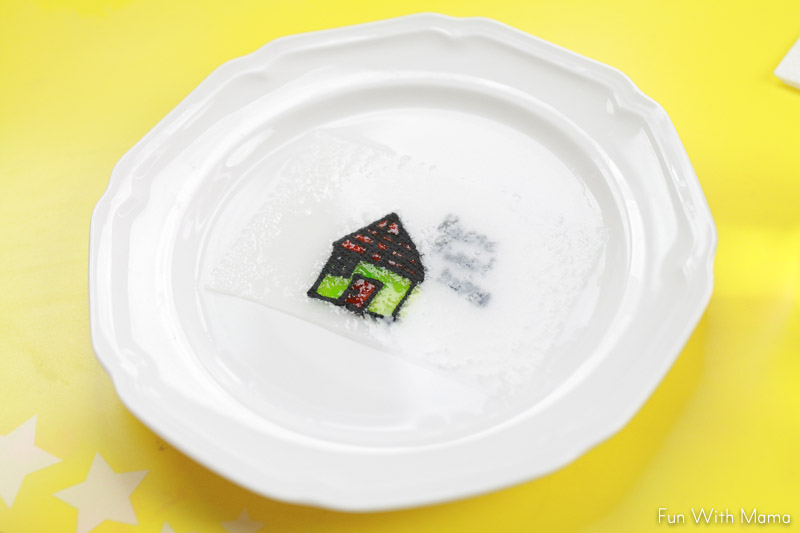
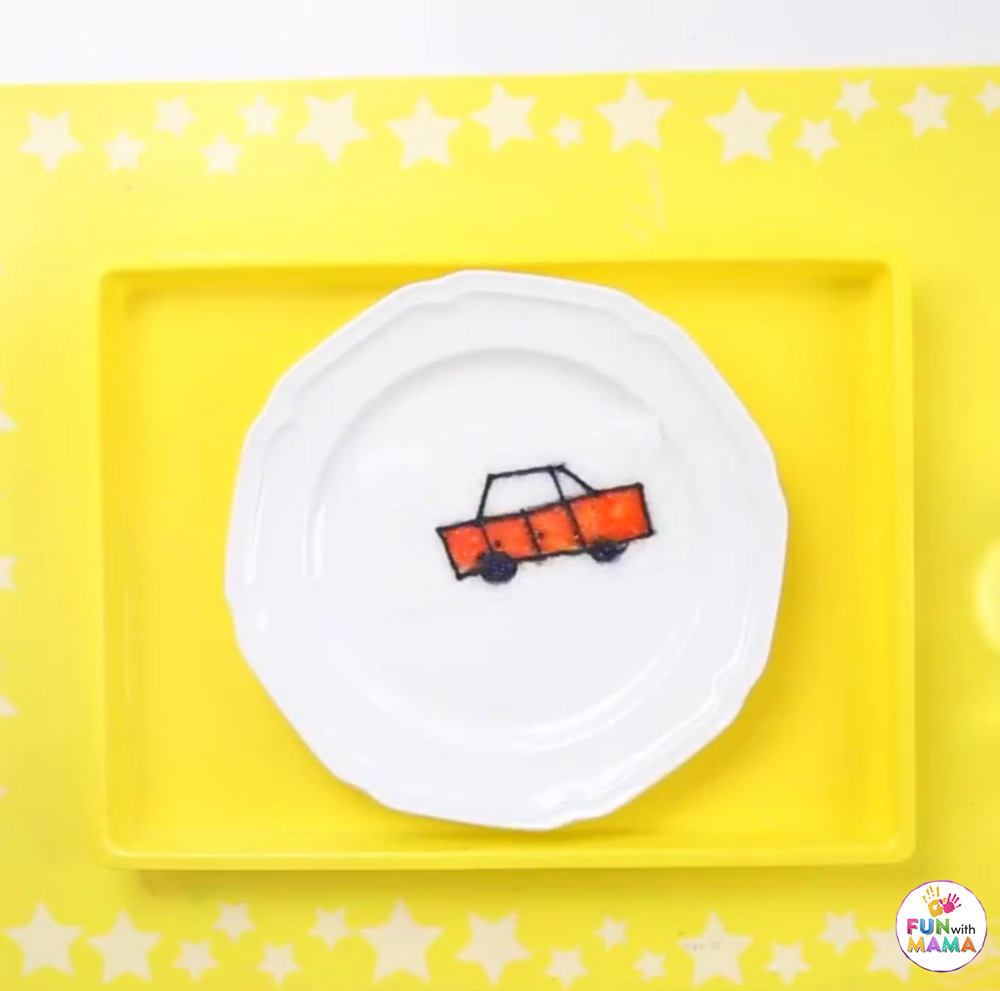
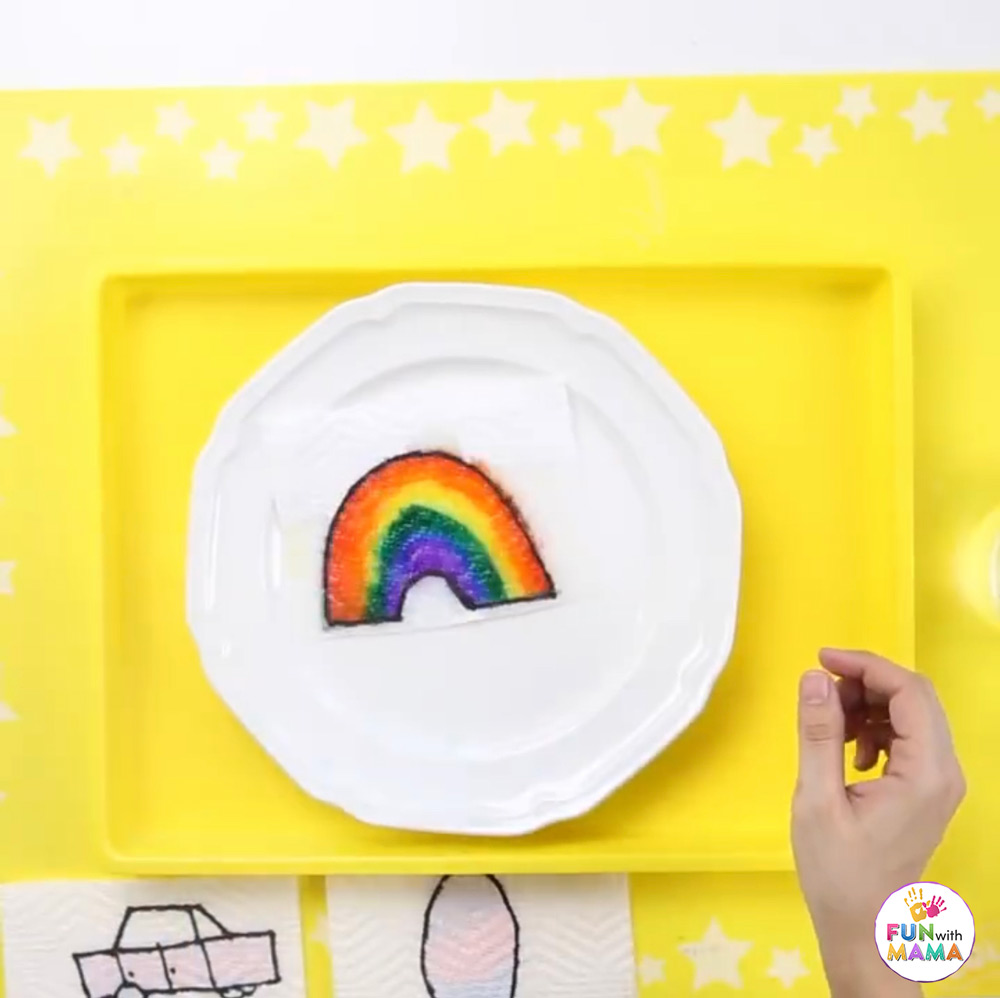
Step 5: Drop the paper towel into the water-filled plate/dish/bowl.
The more colors you used, the more interesting and exciting the magic art design will look.
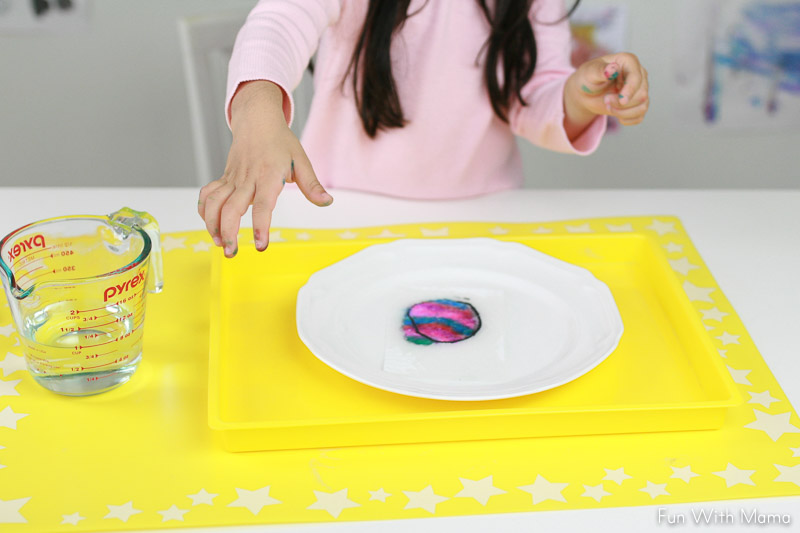
Pause and watch the look of delight on your magic artists face.
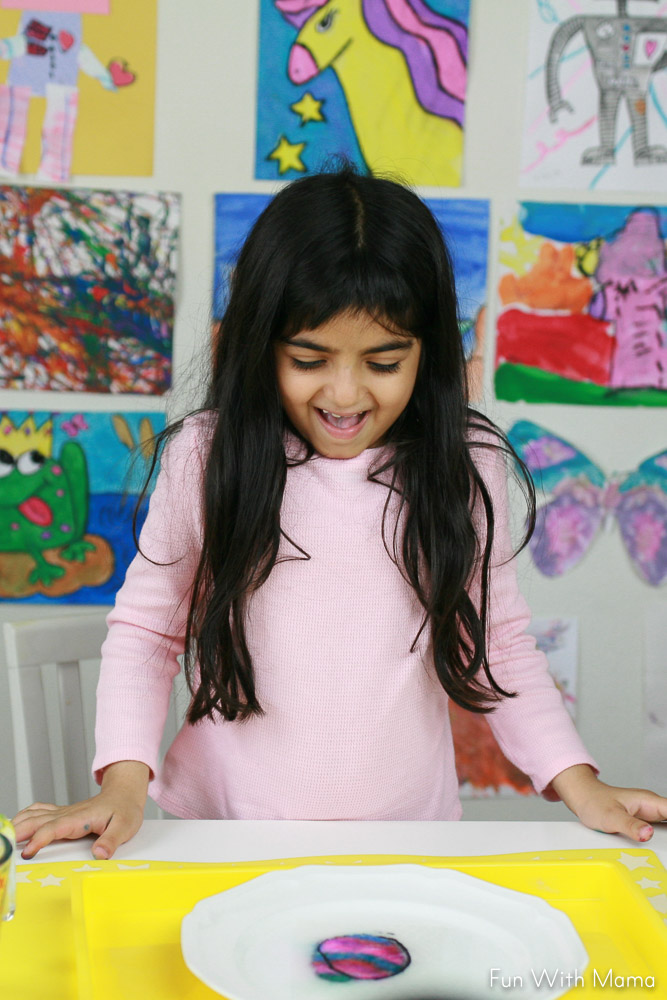
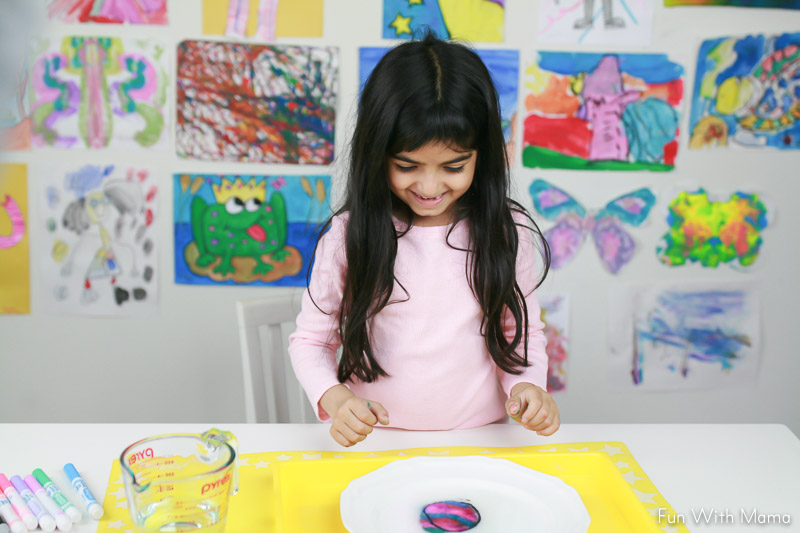
The water will saturate the paper towel and create a translucent effect on the top layer of the paper towel.
What once was hidden is now showing through. This is truly a magical art activity!
Have a crafty little one who likes DIY projects? Then check out this tutorial to learn how to make paper.
The designs can be as simple or as intricate as you’d like it to be. If your children are more interested in the drawing part rather than the magic, they can easily draw something bigger and add as much color as they would like!
You can also make the activity a surprise by doing the drawing part for them and then having them just drop the designs into water.
Have you seen our Coffee Filter Flowers? You can use washable markers for this activity too.
Which age group is the magic art activity most appropriate for?
Some activities are engaging for a specific age group or development level, but in my opinion, this magic art activity is excellent for children of all ages. Some may require more help than others, as far as pouring or drawing shapes, but all children should be shocked and surprised with how exciting this activity is.
Other ideas to draw:
- a car
- a quilt
- a rainbow
- an animal
- a heart
- bubble words



Leave a Comment