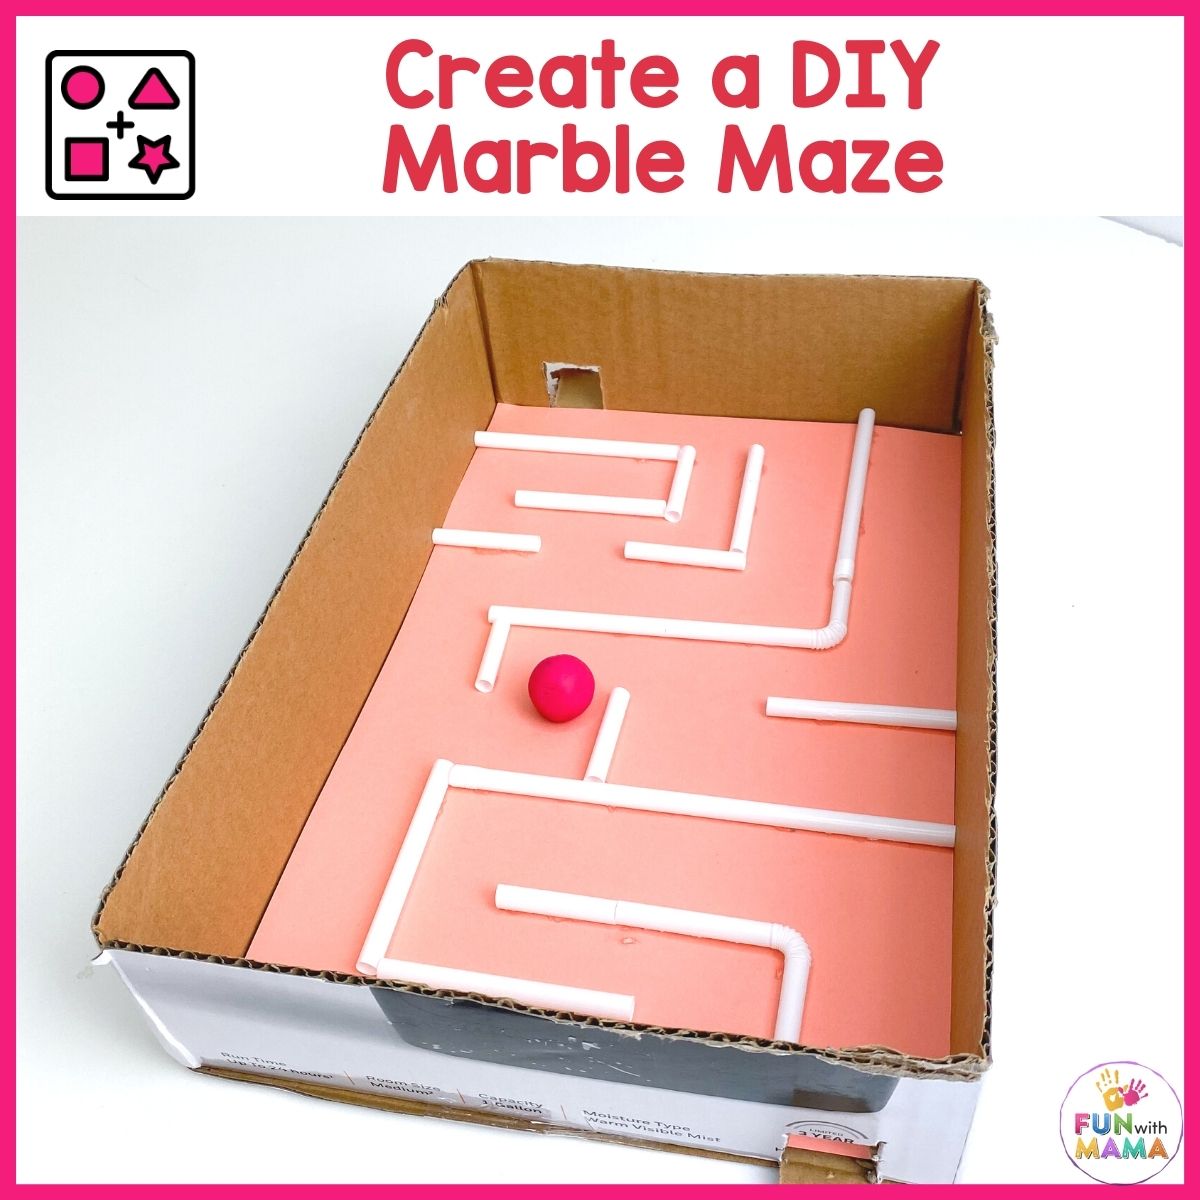
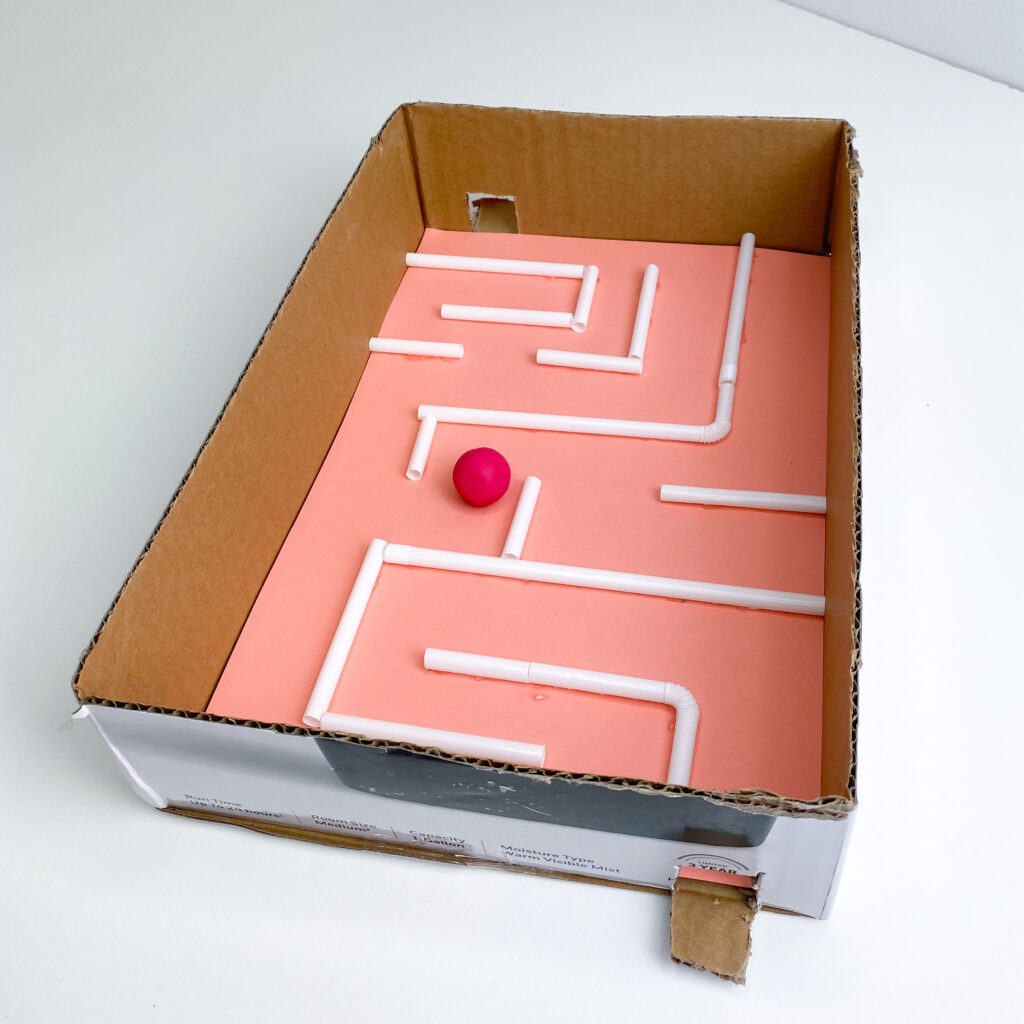
Learn how to make your own marble maze toy from simple materials that include household items such as cardboard, glue, and drinking straws. You will also need some marbles or other small objects like buttons or beads that can roll across the floor. The best part of this project is that everything you need can be found around the house or is already in your classroom.
This activity is a great way to develop hand-eye coordination, fine motor skills, and problem-solving. Kids will enjoy making the marble maze and playing with it over and over once it is complete.
What is a Maze?
A maze is a complex branching network of paths, typically from an entrance to a destination. Mazes are often designed as a puzzle that has only one path to the end.
There are different types of mazes:
Labyrinths: These mazes have multiple paths and require the traveler to find the route which will lead them to their destination. These usually have either no dead ends or all dead ends at the same point for there not to be any confusion about which path is correct.
False Paths: These mazes have many paths and some lead nowhere, others lead back on themselves, and still others lead off in completely different directions from where they started. The traveler must find the path which will take them to their destination without getting lost.
Blocked Paths: These mazes may seem impossible to navigate because the paths which lead to the destination are blocked off or out of reach for the traveler. The maze also has many paths, and travelers must find the correct path in order to reach their destination.
Your maze design won’t be as elaborate as these, but see how many of these common maze design elements you can use in your homemade maze.
What is a Marble Maze?
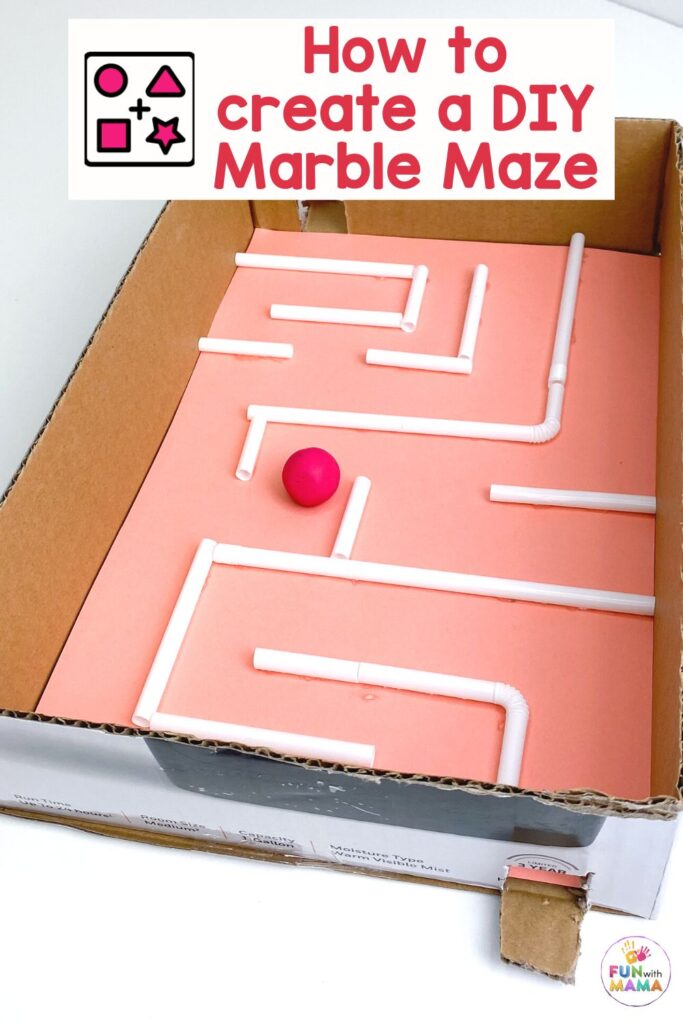
A marble maze is a type of game in which the player navigates a marble through a DIY maze by rolling it at different angles. The goal is to get the marble from the start point to the finish point without touching any of the walls.
DIY marble run toys are popular STEM challenges for kids in elementary school. Common materials to make marble mazes include cardboard, drinking straws, and LEGO bricks, but you can also create a marble maze out of nearly anything.

What Kids Learn Making a DIY Marble Maze
Learning toys are a great way to introduce children to the world of STEM. Not only are they fun and engaging, but they also help kids learn skills like hand-eye coordination, fine motor skills, problem-solving skills, and more.
The benefits of learning toys can be seen in the classroom as well. Studies have shown that students who use learning toys in the classroom perform better on tests than those who don’t.
Children use their own creativity when creating obstacles. They work on math concepts and cause and effect when designing their layout to create a unique marble maze game using different-sized pieces.
How to Make a Marble Maze from Drinking Straws
This project is perfect for a rainy day to do at home with kids or as a fun hands-on STEM activity in the classroom. Follow along with these instructions to learn how to make your own fine-motor marble maze using a cardboard box and plastic straws.
What You Need to Make a Marble Run Toy
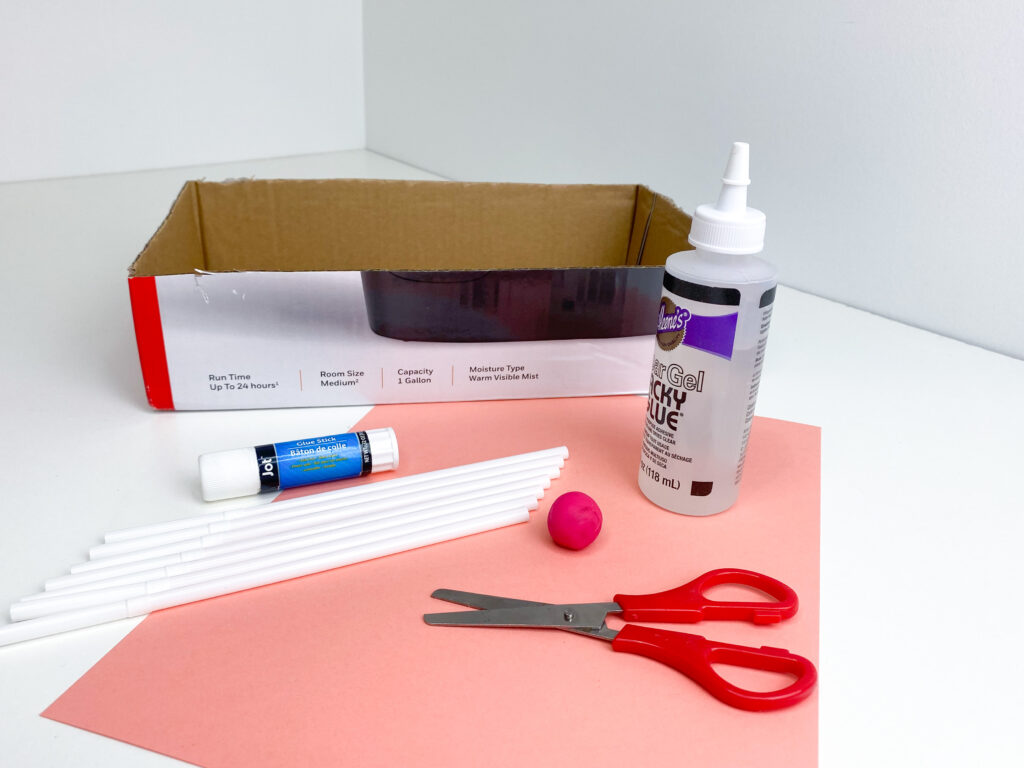
You will need the following supplies for this activity:
- Plastic drinking straws
- Cardboard box (the lid of a printer paper box works well, or a large shoebox)
- Glue sticks
- Tacky glue
- Marbles
- Pencil
- Scissors
Other Fun Marble Toys for Kids
Here are some fun marble maze STEM toys that will last a bit longer than your DIY version.
Related Activity: Check out the rubber egg in vinegar experiment.
How to Make a Problem Solving Marble Maze
Place the paper under the box and trace the outline of the box on the paper.
Cut out the paper with scissors and glue it to the bottom of the box with a glue stick.
Repeat for the sides of the box if desired, to make the marble maze more visually stimulating.
Create an outline of the box on scratch paper.
Use a pencil to sketch out a maze design, then lay straws on top of your design to see if it will work as a maze design.
You will probably have to tweak the design several times before it works like a “real” maze.
Once the design is set, copy the design onto the paper inside the box.
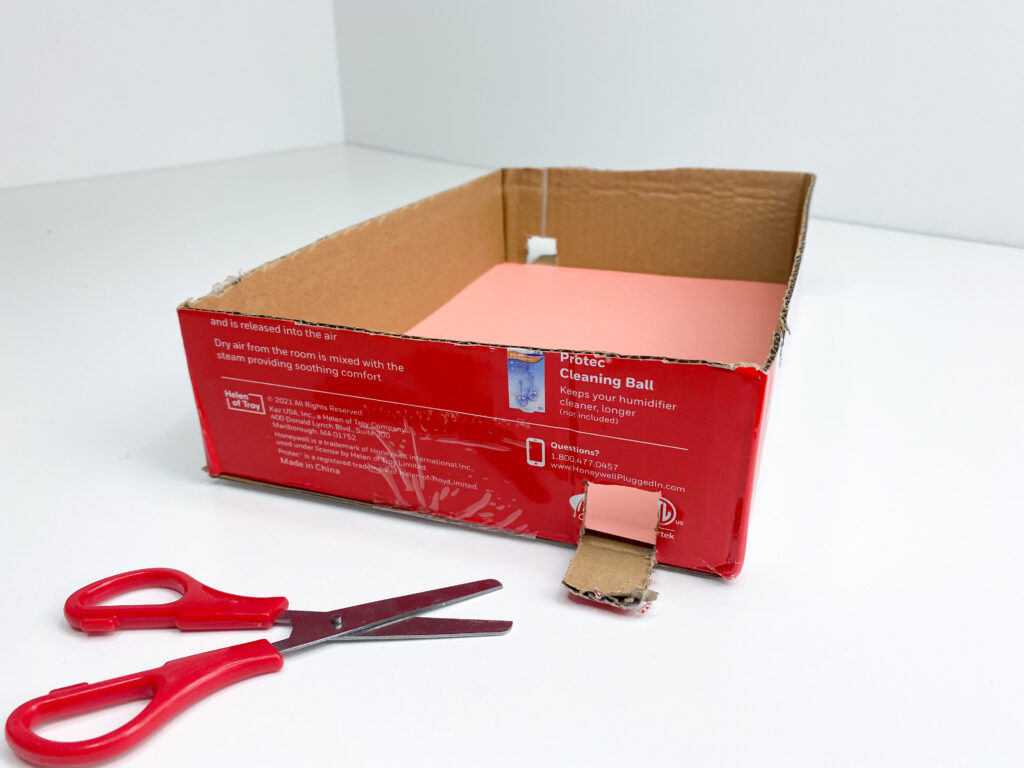
Cut a hole in the side of the box where the maze starts and ends.
Write “start” on the paper near the starting hole and “finish” near the exit hole to indicate which way the maze should go.
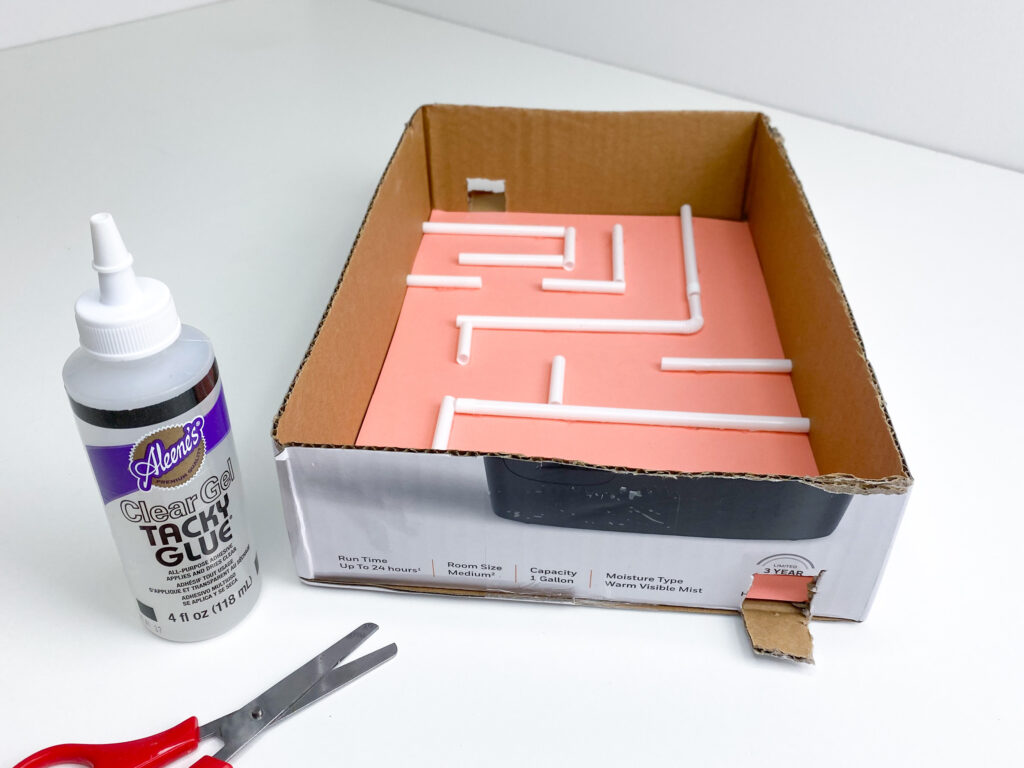
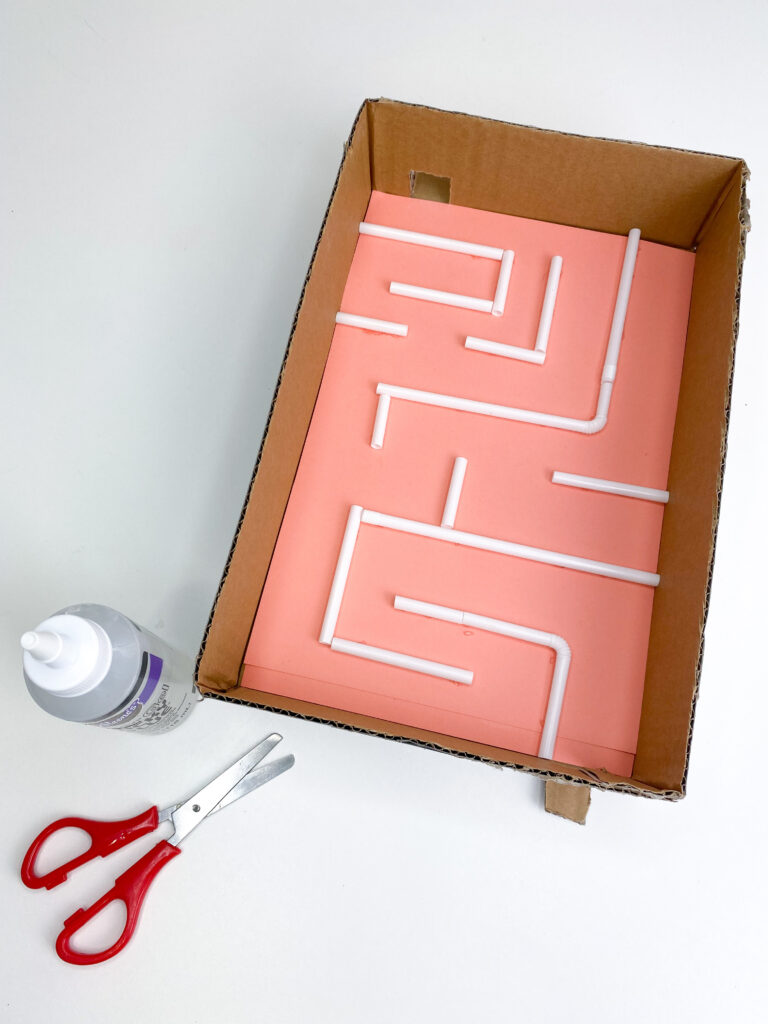
Use tacky glue to glue the straws in place. Wait a few hours for the glue to dry.
Once the glue is dry, place the marble inside the maze and guide it to the end of the maze. Try not to touch any sides of the straw!
Discussion Questions for the Marble Maze Project
When the kids complete this project, spend some time reflecting on the design process. Ask the kids some of these questions:
- What were the biggest challenges of this marble maze engineering challenge?
- How hard was it to navigate a marble through the maze?
- Were you able to complete the maze without touching any of the straws?
- What are some of the challenges that you faced when designing your maze?
- What engineering techniques did you use when making your maze?
- What did you learn whilst doing this activity?
- Why is the design process such an important part of making a DIY marble maze?








Leave a Comment