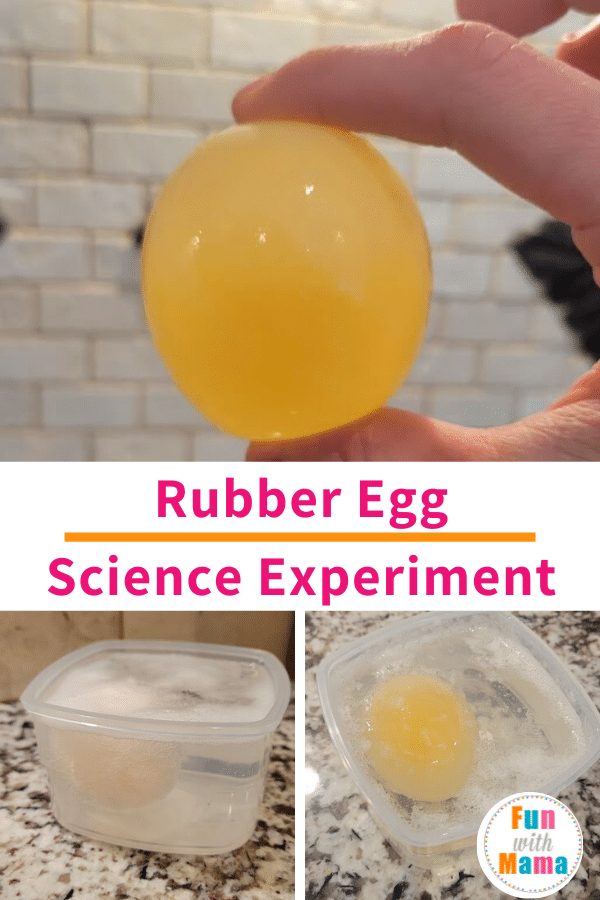
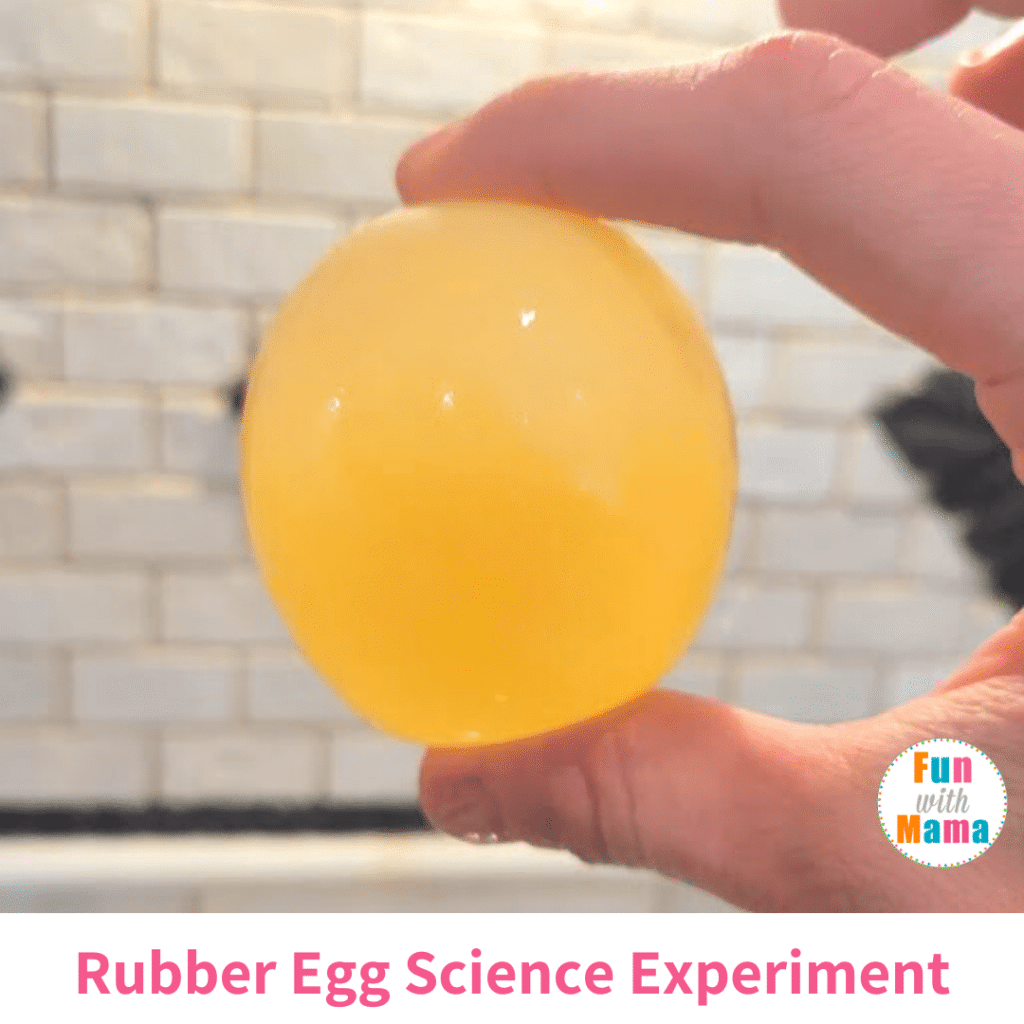
One of our favorite science experiments to do at home with kids is the egg in vinegar experiment! This rubber egg science experiment is a lot of fun for kids of all ages and it is a highly visual science experiment that is exciting for kids. Keep reading to learn how to do the experiment and to read about the science behind the egg in vinegar experiment!
Be sure to check out my Fizzy Egg Dyeing Science Experiment – The Best Way To Dye Easter Eggs as well!
Easy Egg in Vinegar Experiment
Follow along with these directions to learn how to make a rubber egg!
All the details on how to complete the naked egg experiment from start to finish are listed below, including supplies too.
Here is what you need to complete this science experiment:
- Regular eggs (raw white eggs)
- White Vinegar
- Water
- Clear cup, mason jars, or other container (plastic or glass will both work)
What happens when you put eggs in vinegar?
This is what this simple experiment is going to show! The combination of the vinegar with the raw eggs and water is nothing sort of “magic”. This is one activity that does an amazing job of combining learning and fun in a way that will keep the kids engaged and ready for more.
Video of the rubber egg experiment
The Science Behind the Naked Egg Science Experiment
When you place a raw egg in vinegar, the shell will dissolve overnight, exposing the membrane of the egg and the yellow yolk inside the egg.
The shell dissolves because of the acidic nature of the vinegar which triggers a chemical reaction with the shell of the egg.
Eggshells are made from calcium carbonate, which is a base. The acid in the vinegar (acetic acid) reacts with the calcium and breaks down the eggshell overnight. The acid in the vinegar reacting with the calcium carbonate in the shell produces Carbon Dioxide gas (co2.)
After the shell dissolves, the membrane of the egg remains. This is called a “semipermeable membrane” because the membrane can absorb some water.
Have the kids compare the size of the naked eggs with a shelled egg to see how the membrane absorbed some of the water from the vinegar and became larger.
The flow of water through a semipermeable membrane is called “osmosis.”
Directions for the Egg Soaked in Vinegar Experiment
Place 1-3 eggs in a clear container. Be careful not to crack the eggshell or the experiment might not work properly.
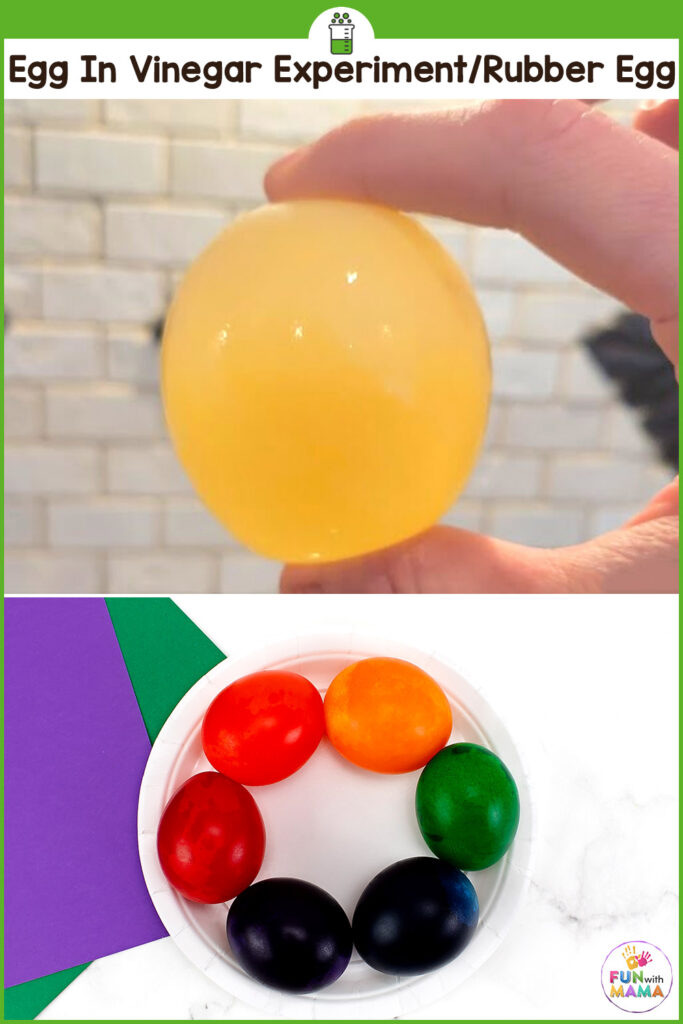
Pour enough vinegar over the eggs to cover them. You can add food coloring to the vinegar if you like.
Place the solution in an out-of-the-way place. While the egg sits in the vinegar some of the water in the vinegar will travel through the egg’s membrane
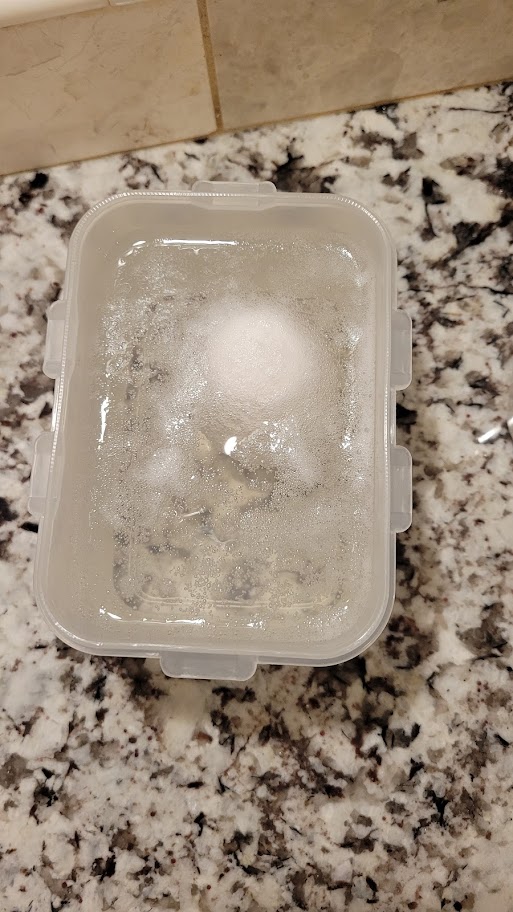
Check on the eggs in about one hour. You should see bubbles forming on the outside of the shell.
At the end of the day, stir the eggs gently with a spoon to help release the shell from the egg.
The next day, check on the eggs. The shell will appear as scum on the top of the vinegar.
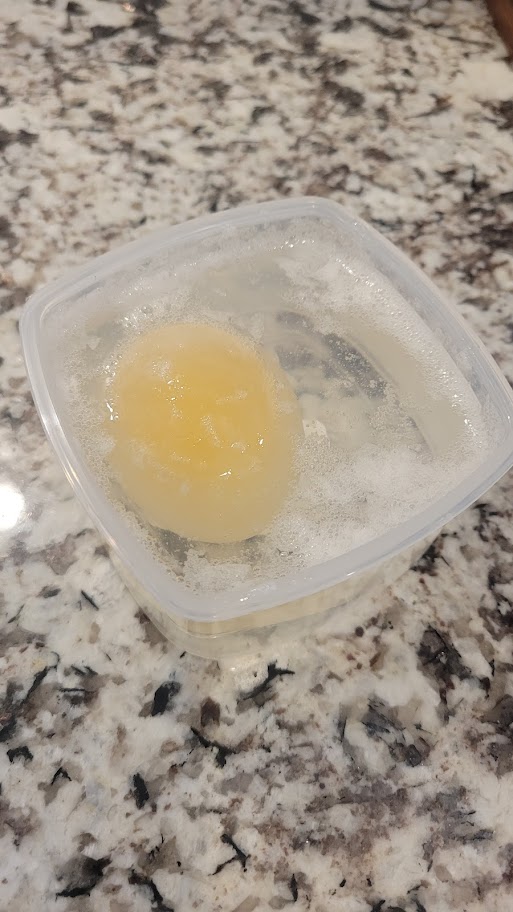
Take out the egg and inspect it. You may have to gently rub it to remove the last bit of the shell.
If the shell comes off easily, the egg is ready to inspect. If not, put it back in the vinegar and remove it the following day.
Rinse the egg carefully with cool water to remove any shell residue.
Another variation on how to do the activity:
- Place the egg in vinegar
- After 24 hours change the vinegar. Drain the old vinegar carefully then add the fresh vinegar.
- Place the egg in vinegar in the refrigerator untouched for 7 days. After 7 days, pour off the vinegar, rinse the egg, and the shell will be gone. All you will be left with are naked eggs.
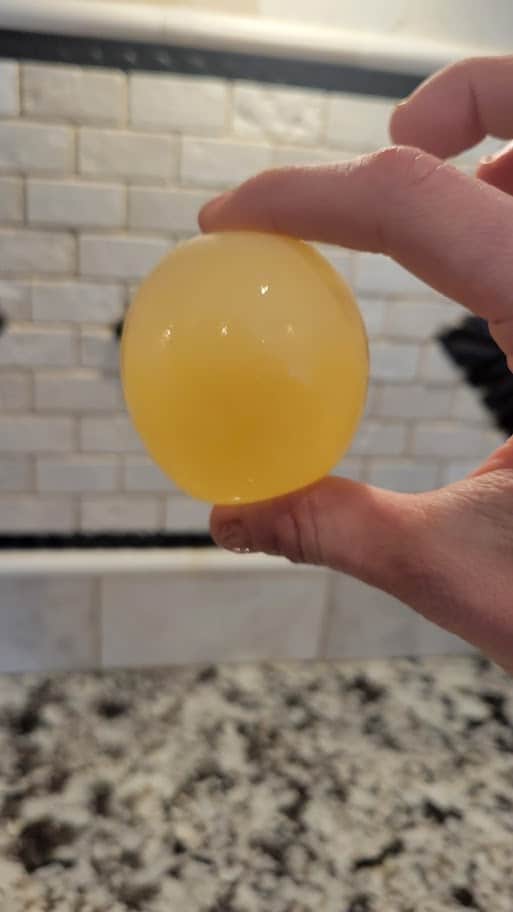
Inspect the egg under bright lighting to see the parts of the egg. Gently squeeze the egg to test the strength of the membrane!
The kids will love this rubber egg experiment! We also refer to this as our bouncy egg experiment because it does have a little bit of bounce to it, too!
What to do with the rubber egg
Do a bouncing eggs chemistry experiment. Can your rubber egg bounce?
Try placing your naked egg in a glass filled with corn syrup. The egg will shrivel up. The reason for this is that corn syrup has a lower concentration of water than the egg does. The water in the egg moves through the membrane into the corn syrup in order to equalize the water concentration levels on both sides.
Fun Ideas To Extend this Rubber Egg Activity
The fun part about creating science at home is that you can easily try out other hypotheses and ideas. Use this STEM activity as a way to get the kids to think outside the box. Talk to them about what they think is going to happen if other liquids are used and have them write out their thoughts.
Even if you don’t actually do the activity, this will show them the process of how a scientist’s mind works!
I hope you enjoyed this fun science activity. Simple science experiments are a great way to encourage curiosity in children by asking them questions, asking them to make a hypothesis on what will happen and will encourage further exploration.

More Fun Science Experiments and Activities for the Kids
- Homemade Thermometer Science Experiment – Making a DIY STEM Thermometer
- Exploding Ziploc Bag Science Experiment for Kids
- Fizzing Christmas Science Baking Soda Experiments
- Hidden Treasure Fizzing Ice – Easy Science Project for Kids
- Rain Cloud In A Jar Science Experiment


Leave a Comment