Being able to dye Easter Eggs is always a lot of fun. Since it’s that time of year to start thinking about how to dye Easter Eggs, why not create a learning lesson out of it as well? This Fizzy Egg Dyeing Science Experiment is the best way to dye Easter Eggs and is so much fun!
RELATED: This adorable Easter Printable Activities Pack is jam-packed with math, literacy, and fine motor activities for preschoolers.
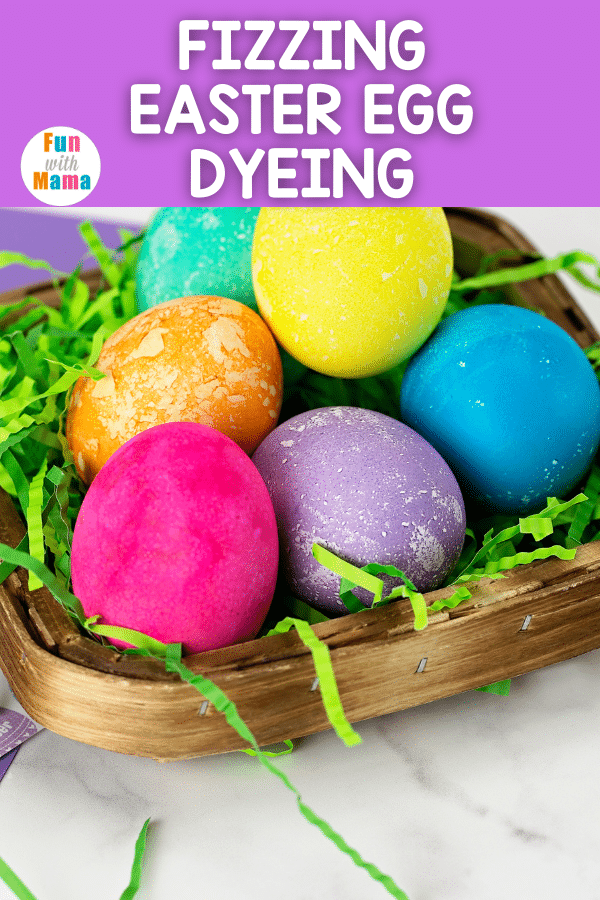
Fizzy Egg Dyeing Science Experiment
Anytime we can combine STEM learning and fun, we know it’s going to be great! We’re pretty obsessed with making things fizz in our house and this cool way to dye Easter eggs proves that.
This is a simple and fun Easter egg science activity that is great for all ages. Just gather up the simple supplies listed below to get started on this baking soda science experiment fun!
Be certain to check out our other fun Fizzy Science Experiment as well!
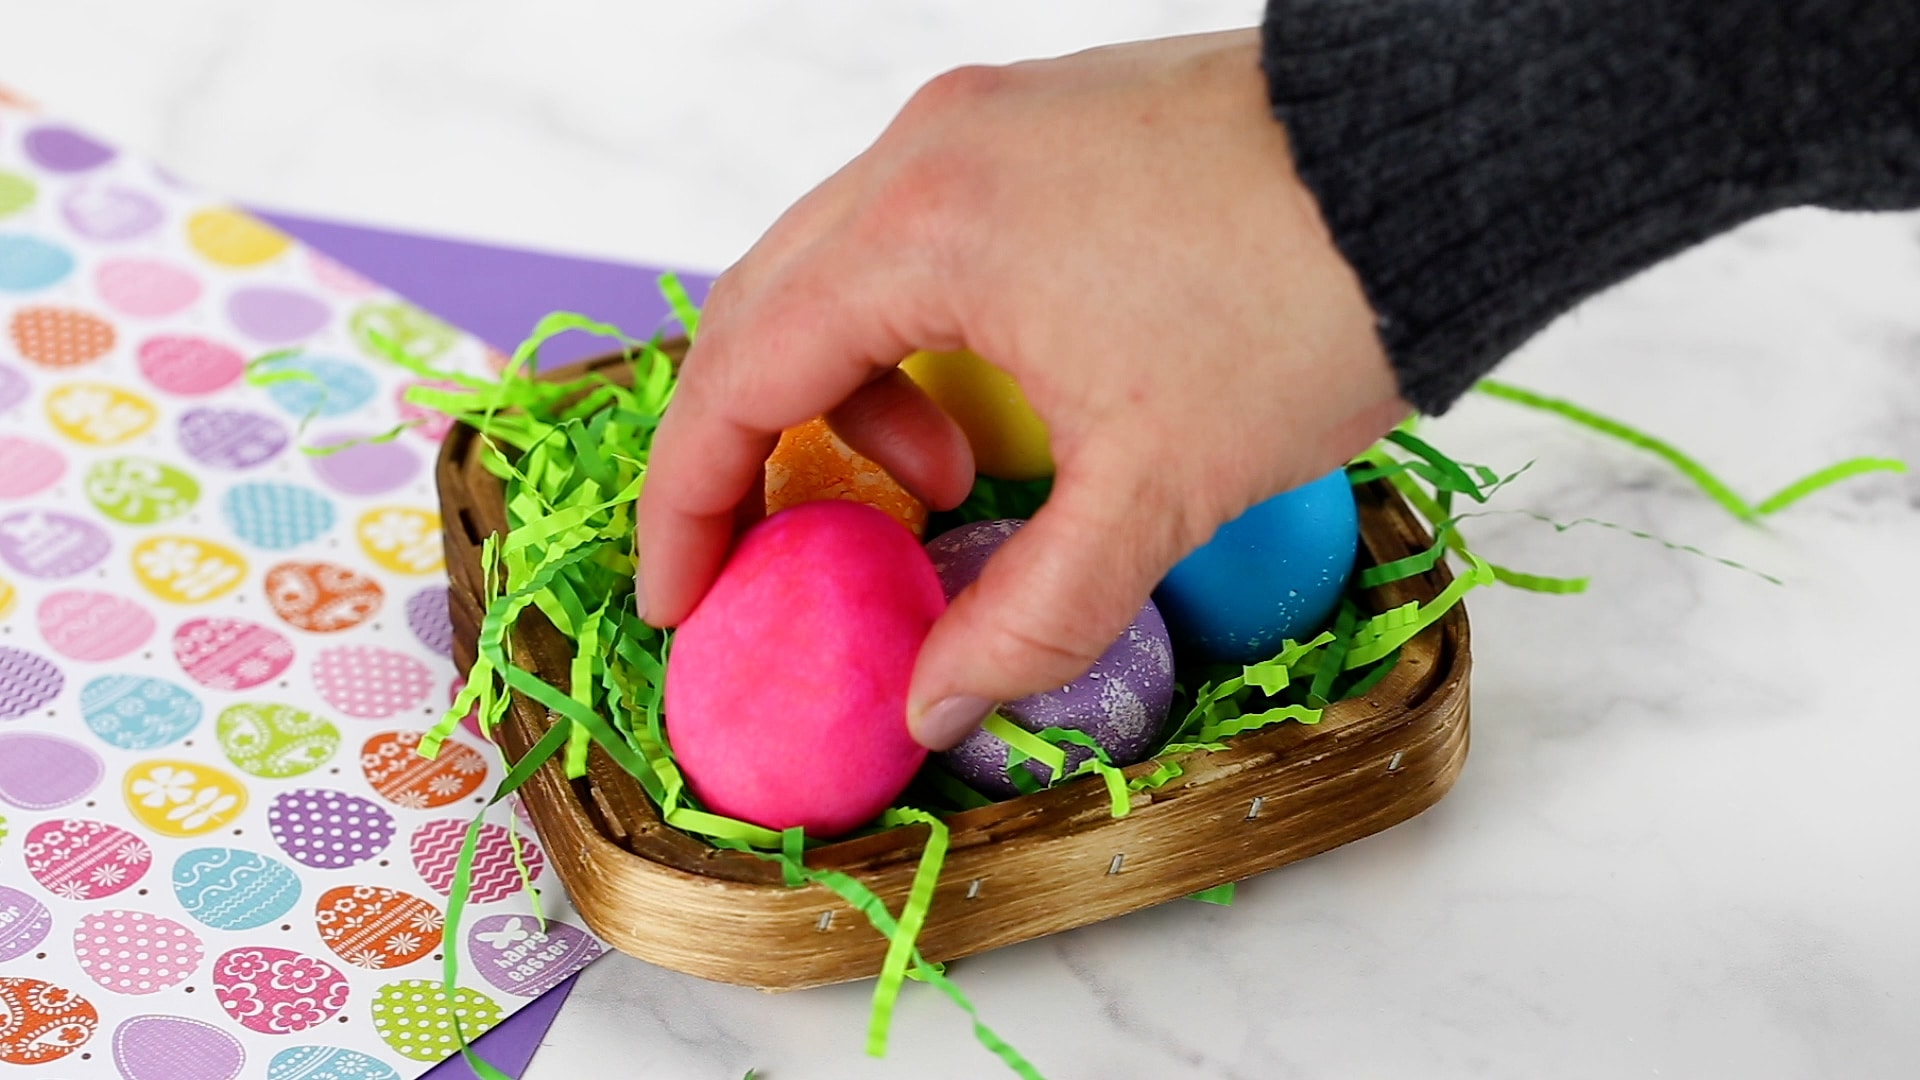
Supplies Needed
- Large plastic tray – these are my favorites
- Clear containers (plastic or glass)
- Gel Food Coloring
- Baking soda
- Vinegar
- Eggs
- Plastic squeeze bottle
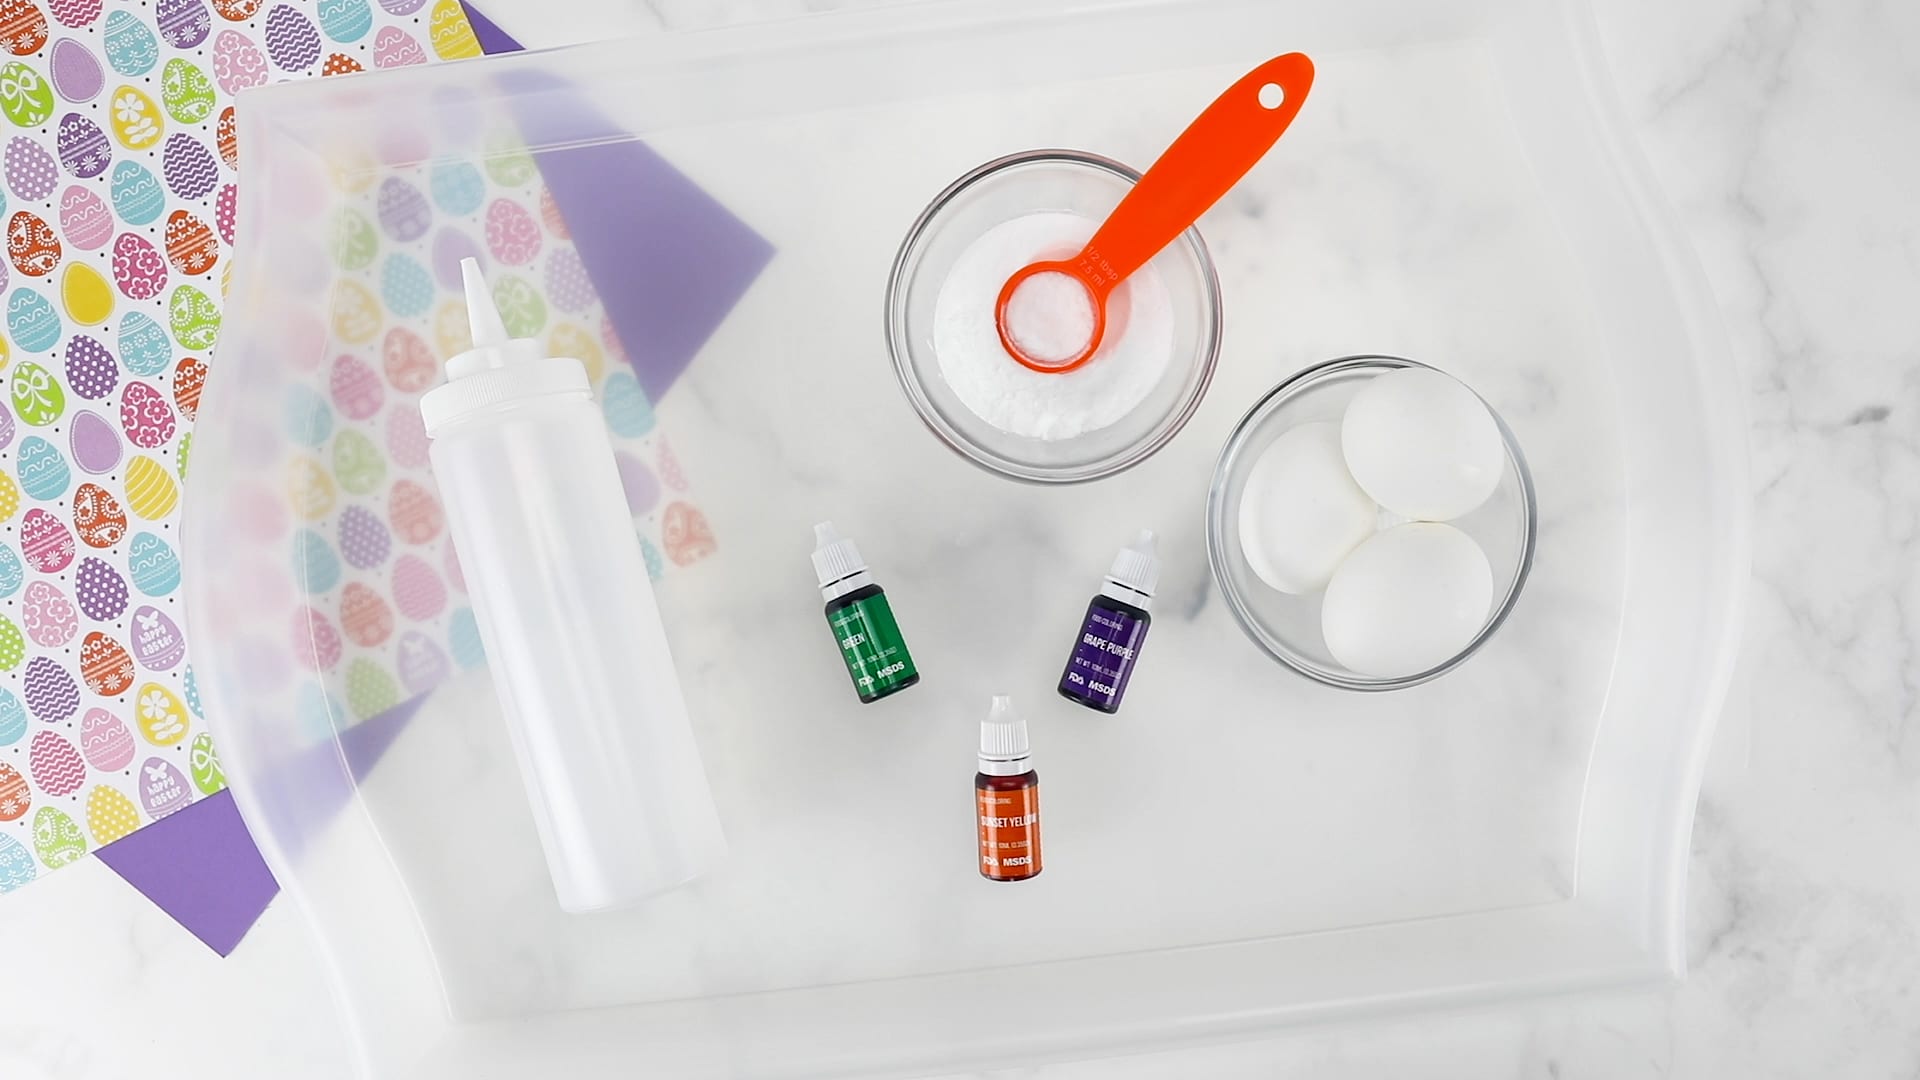
Step by Step Directions
Begin by prepping your workspace. Place all your materials and ingredients on a plastic tray or bin. Make certain to use a large plastic tray as there will be liquid overflow out of the container. This will contain any spills or messes, allowing kids to enjoy the fizzing reaction without worrying about cleanup.
To prepare the eggs for dyeing, boil them until they reach a hard-boiled consistency. Wait for the eggs to cool to room temperature before dyeing to prevent cracking during the process.
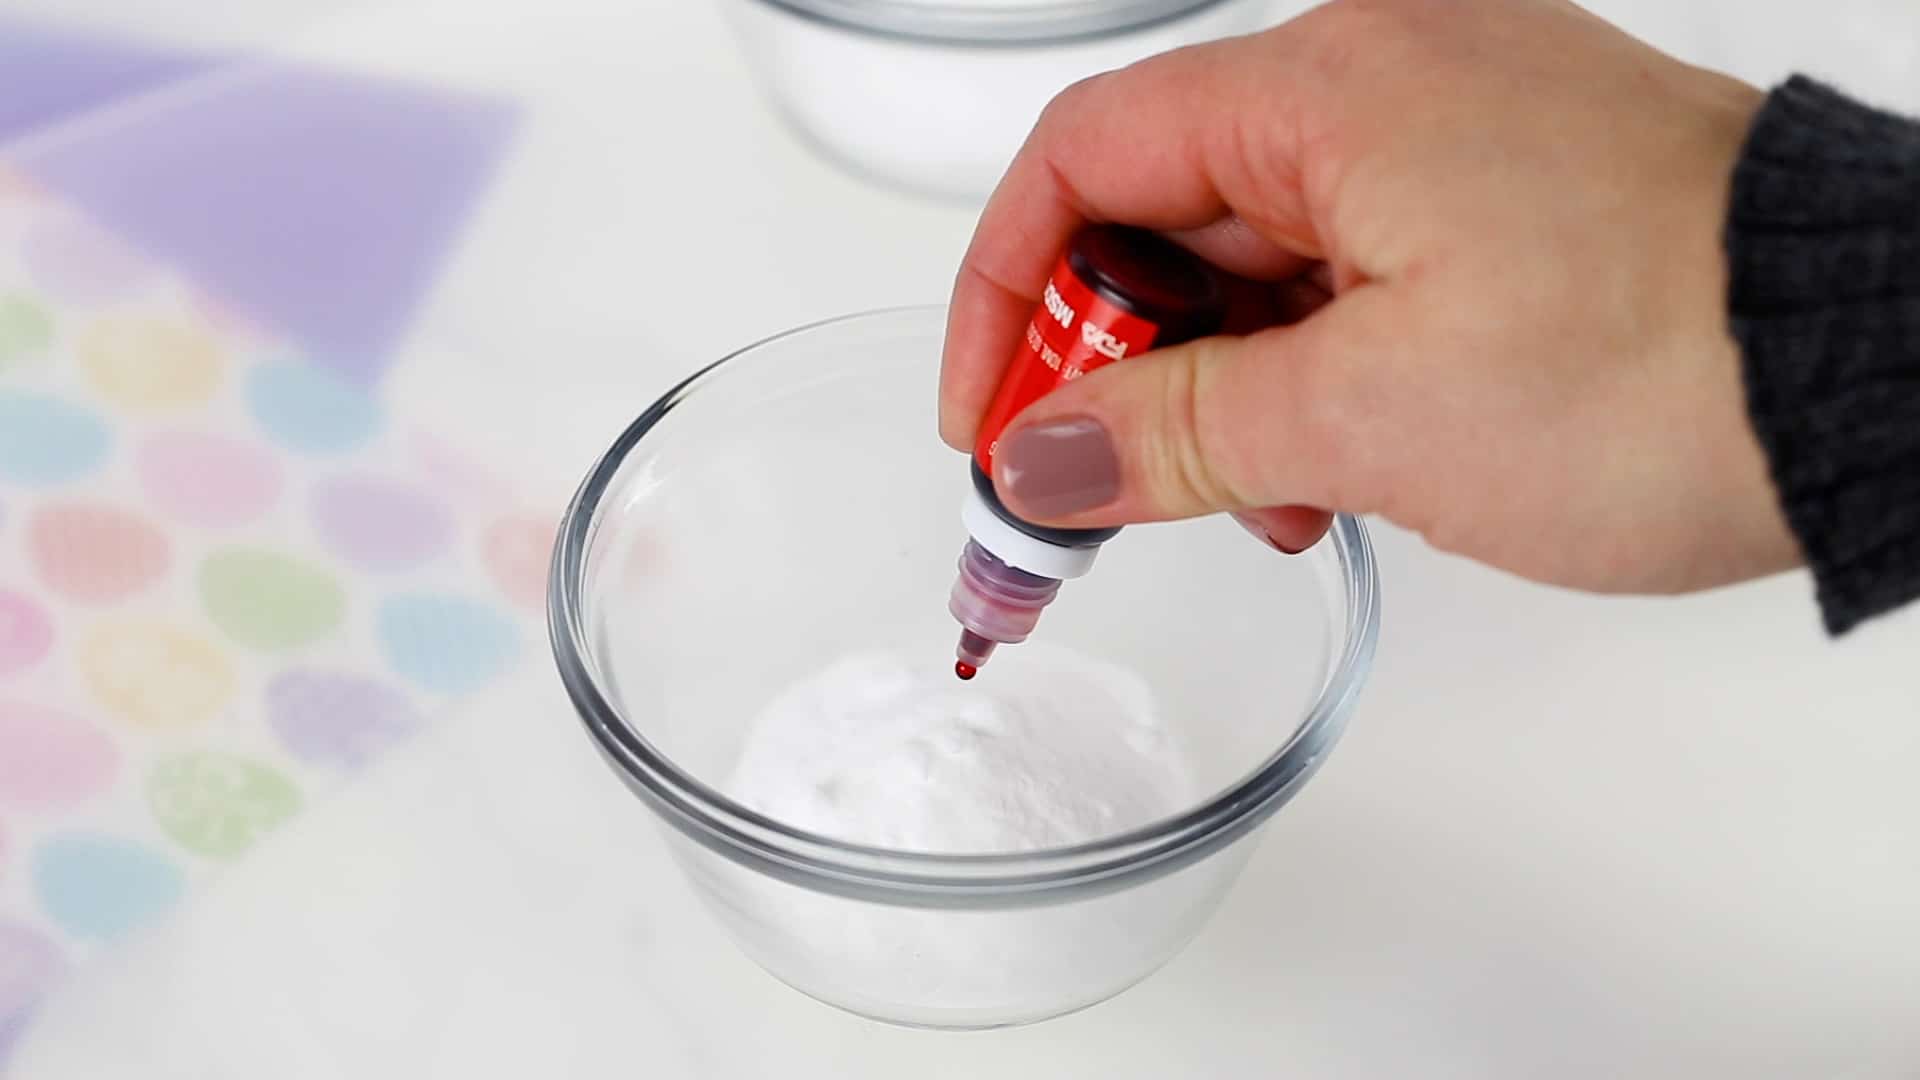
Prepare the dye solutions by placing 1 TBLSP of Baking soda into each cup. You’ll need one container for each color you want to use. Add a few drops of food coloring over this (5 drops).
Gently place one hard-boiled egg into each of the baking soda paste mixture, ensuring it’s fully coated.
Use a spoon or your fingers to carefully roll the egg in the mixture until it’s evenly covered with color.
Repeat this process for each color you want to use, using separate containers for each color to prevent mixing.
Thereafter, pour some vinegar into a squeeze bottle. You’ll use this to activate the color-changing reaction with the baking soda.
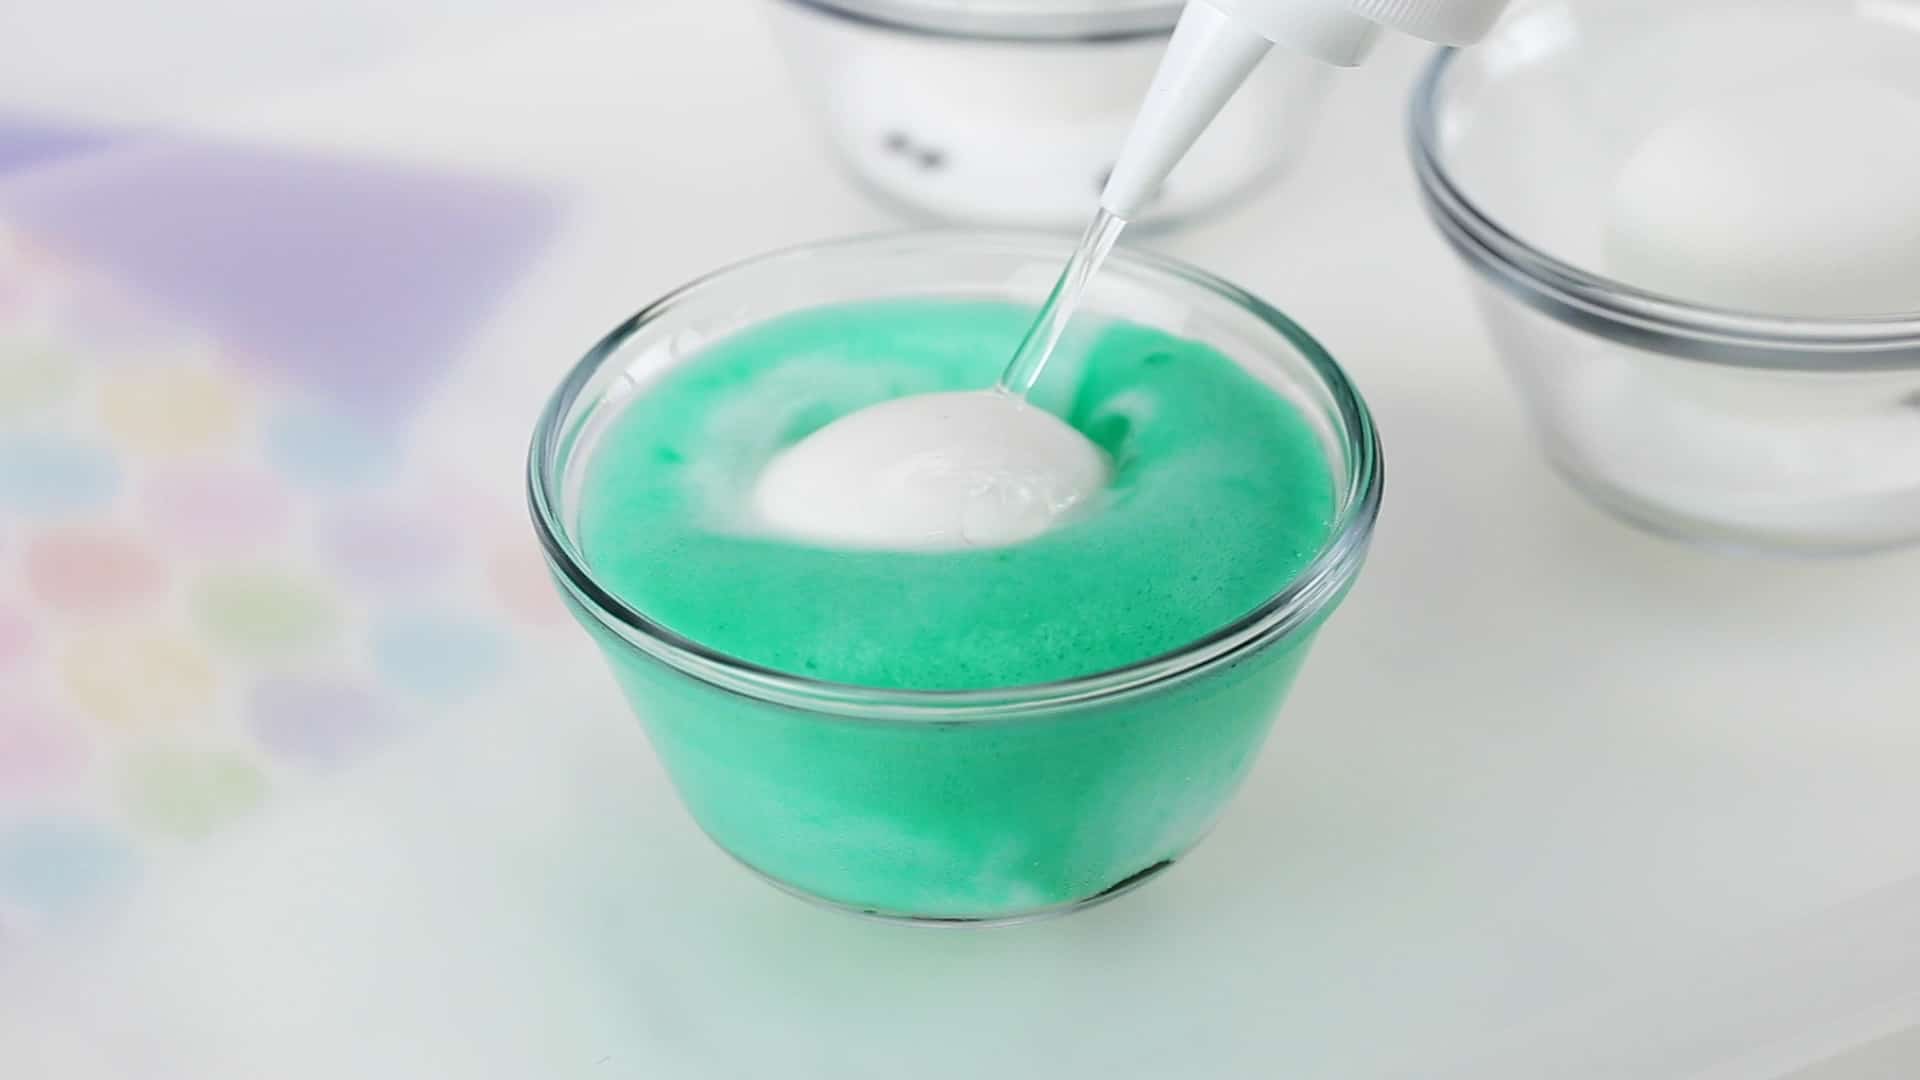
Pour 1/2 or 1/3 cup of vinegar into each container using a squeeze bottle, and it will bubble. (The amount of vinegar you add will depend on the size of the container). As the vinegar reacts with the baking soda, it will create a fizzing reaction and reveal the vibrant colors underneath.
Observe and experiment as the colors on the eggs change and blend together due to the reaction between the vinegar and baking soda. Submerge the eggs fully in the dye mixture for about 5 to 10 minutes.
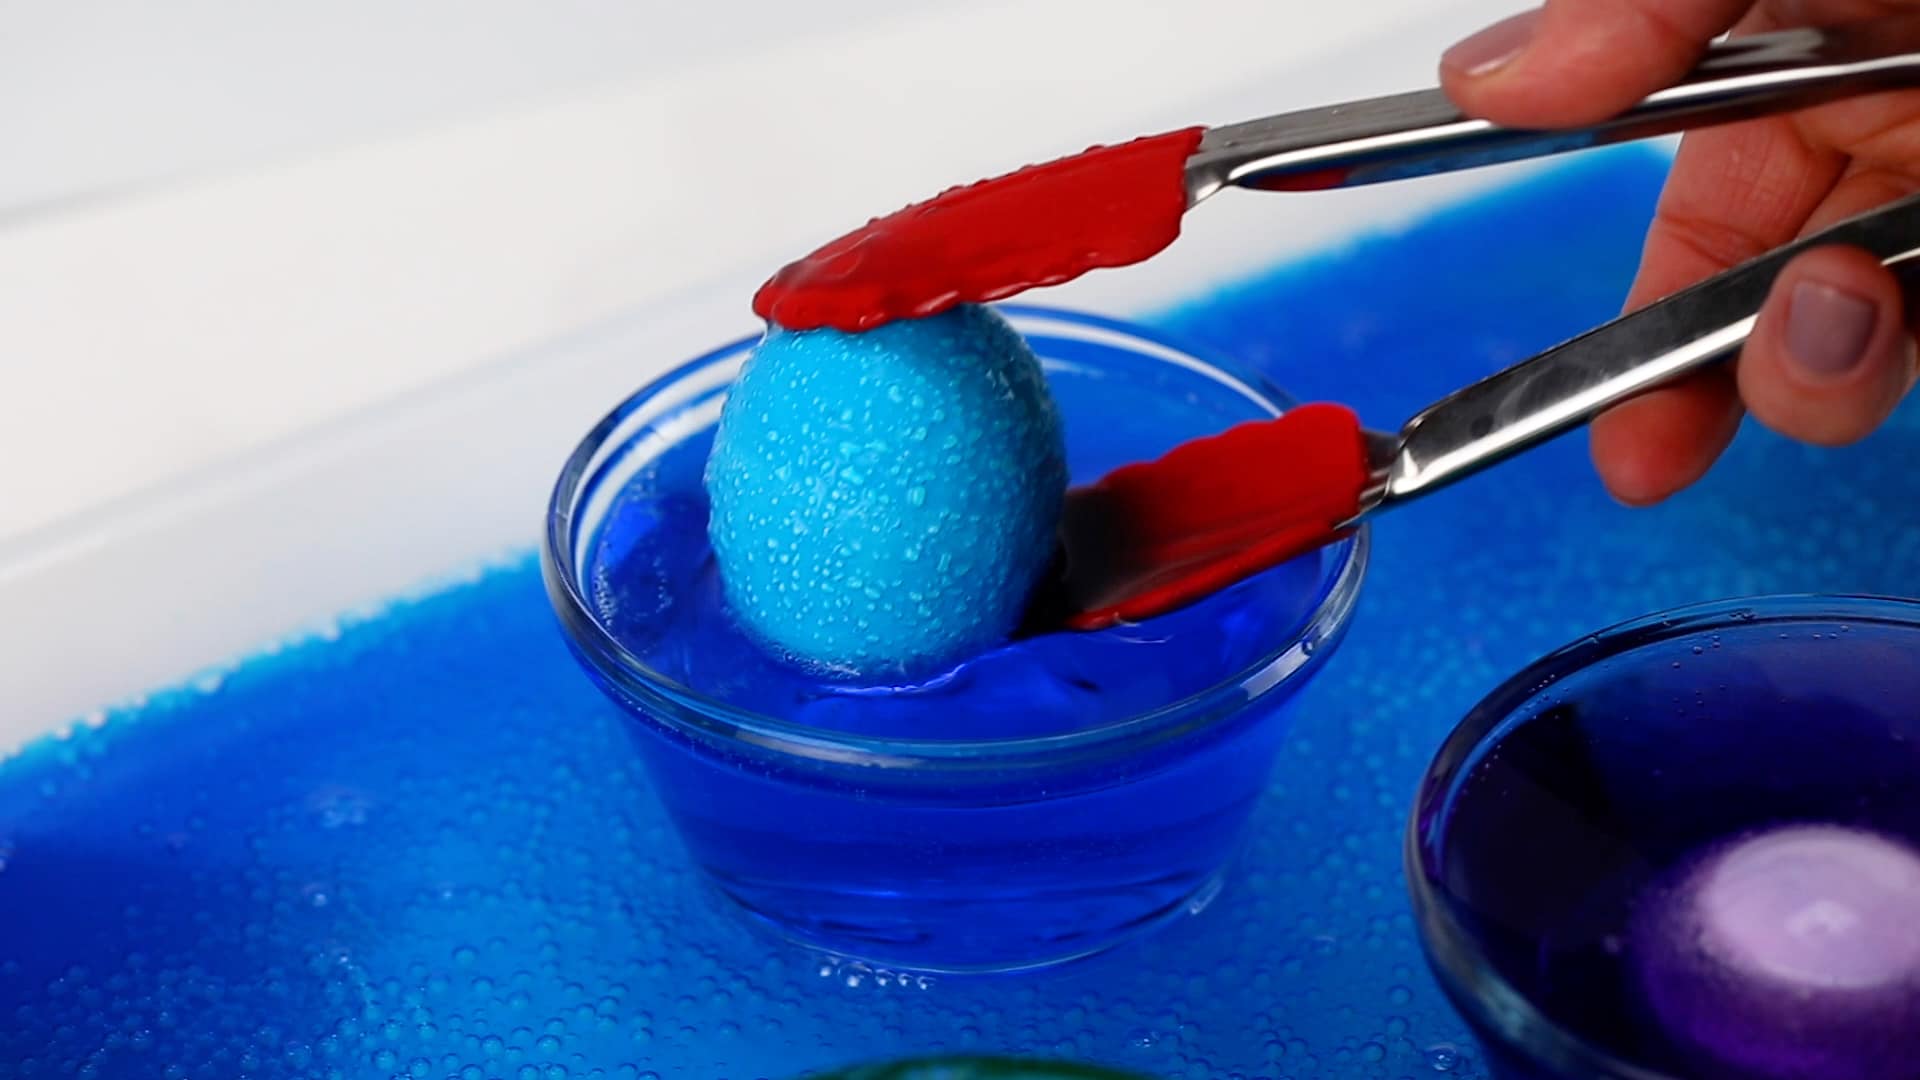
Once you’re satisfied with the colors on the eggs, let them dry completely on paper towels or a wire rack before handling or displaying them.
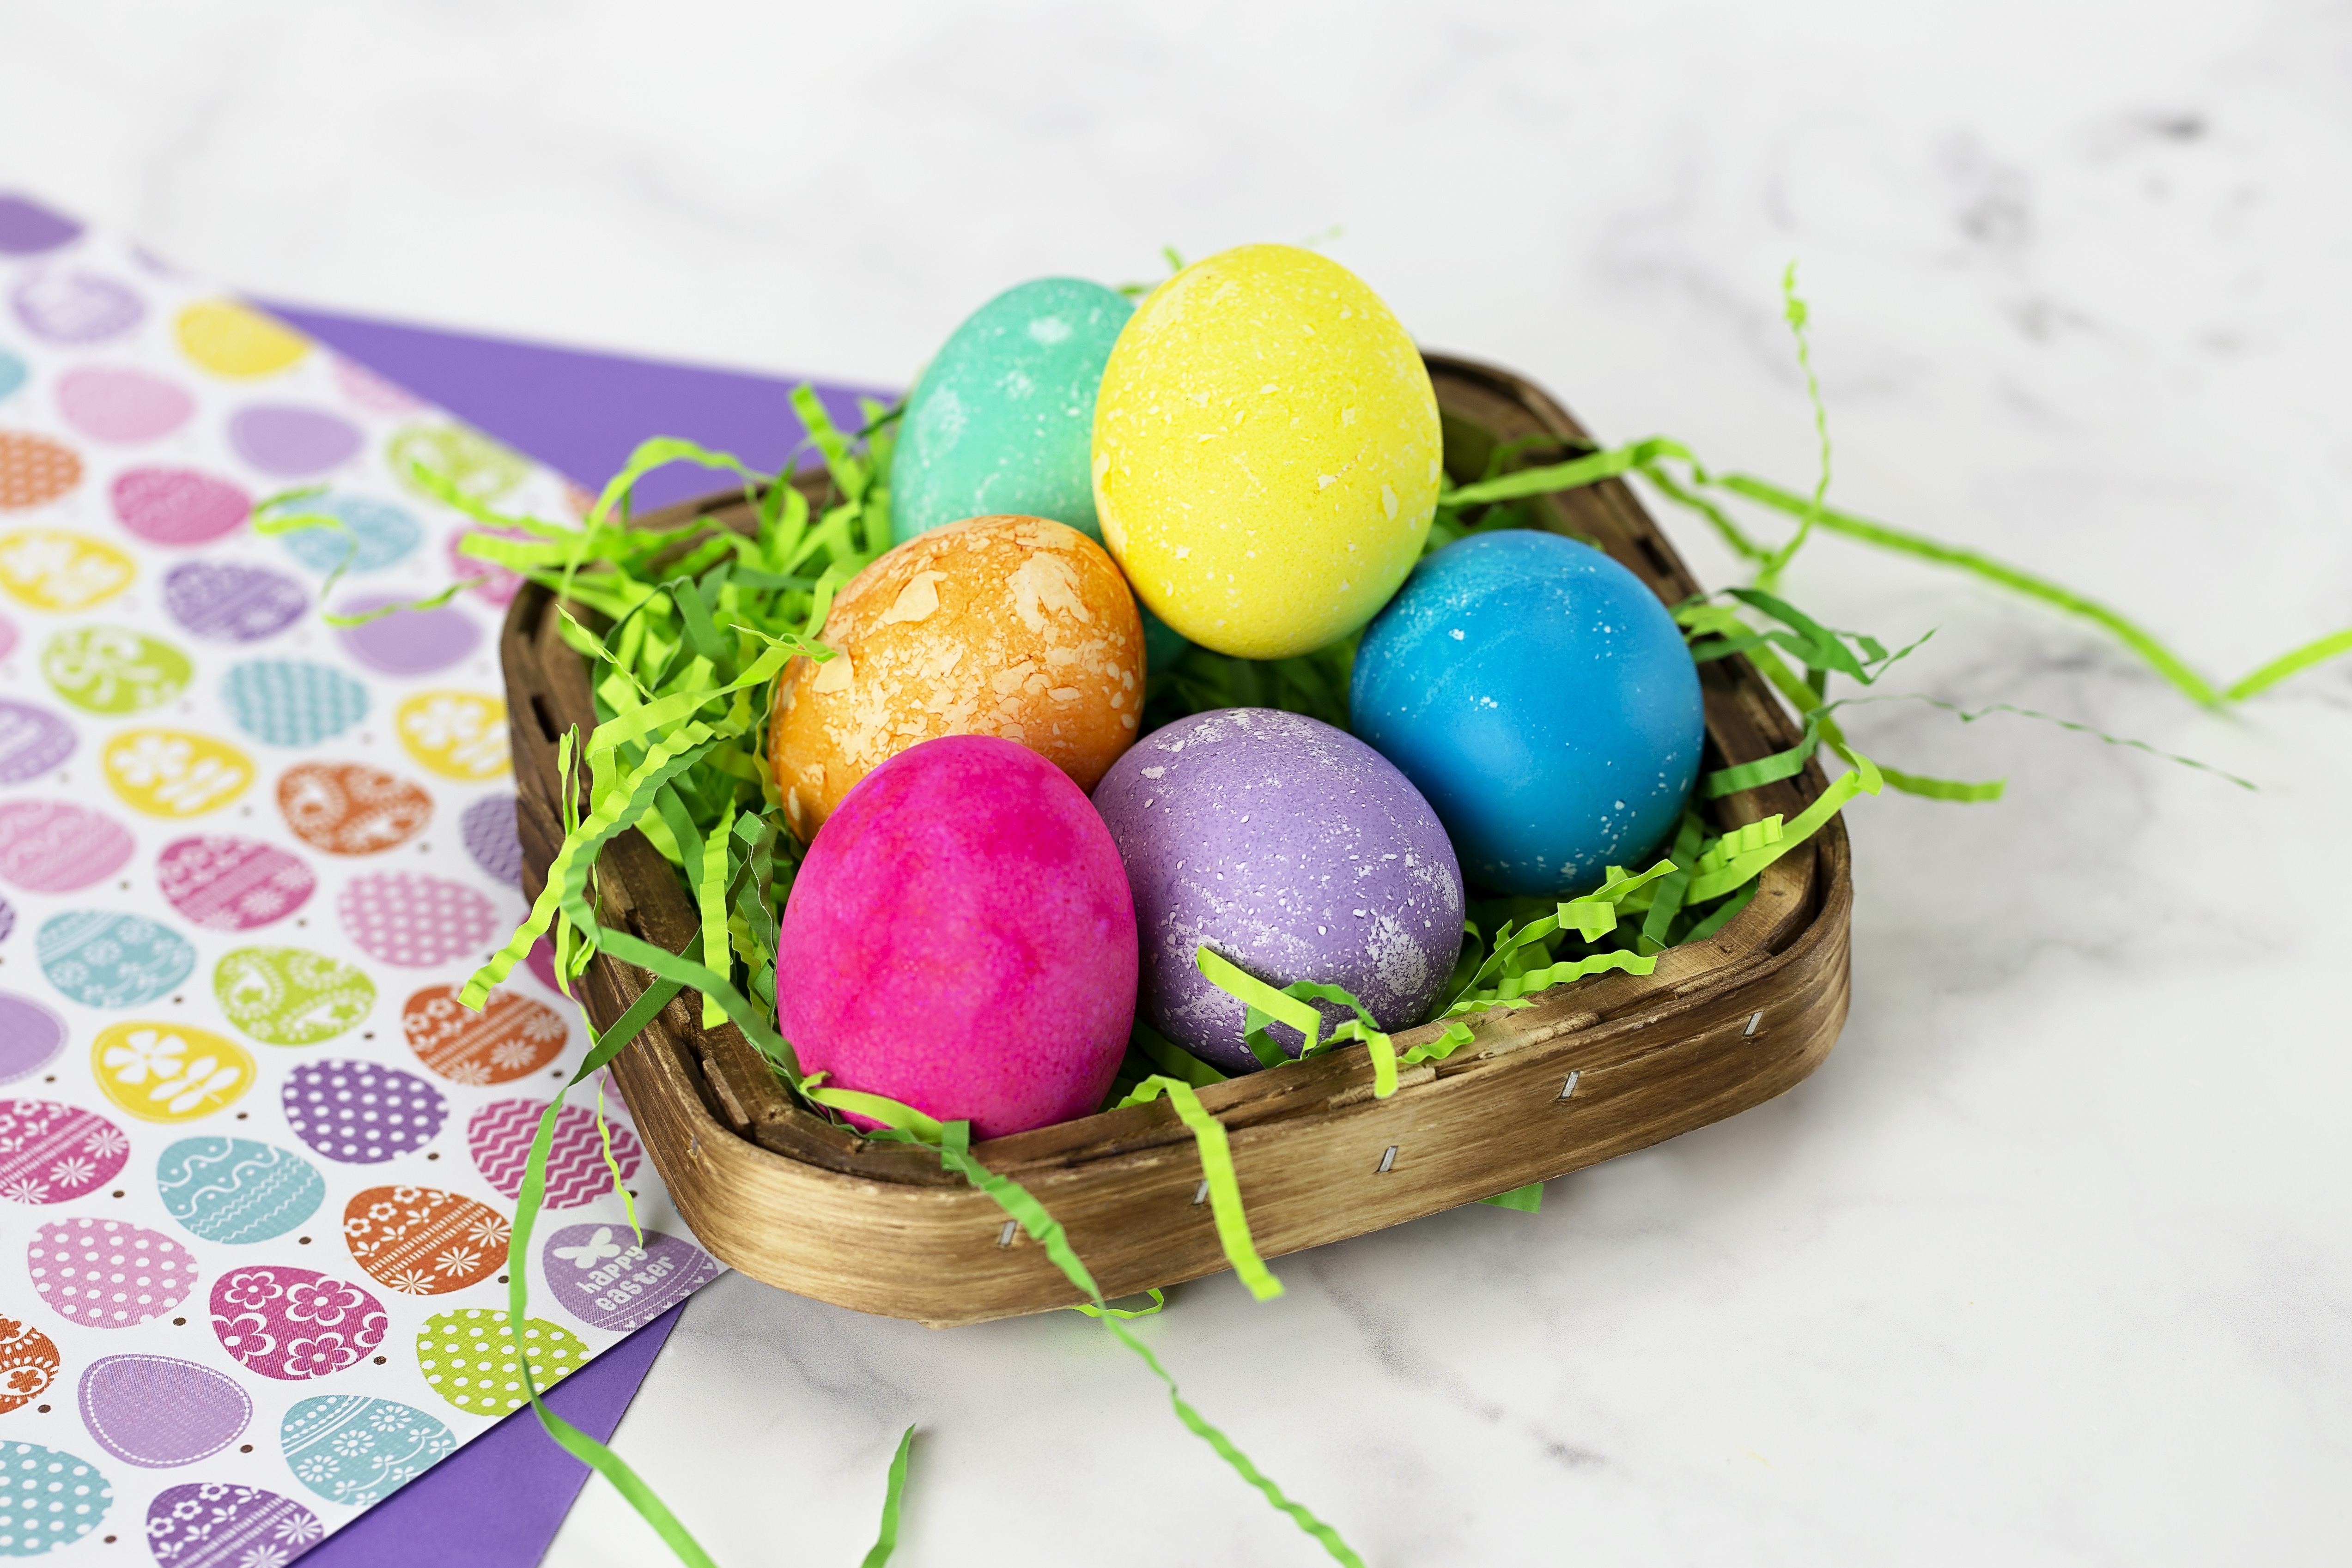
You’ll have beautiful and bright-colored Easter eggs for wonderful decorations!
The Science Behind the Activity
What causes the combination of vinegar and baking soda to fizz?
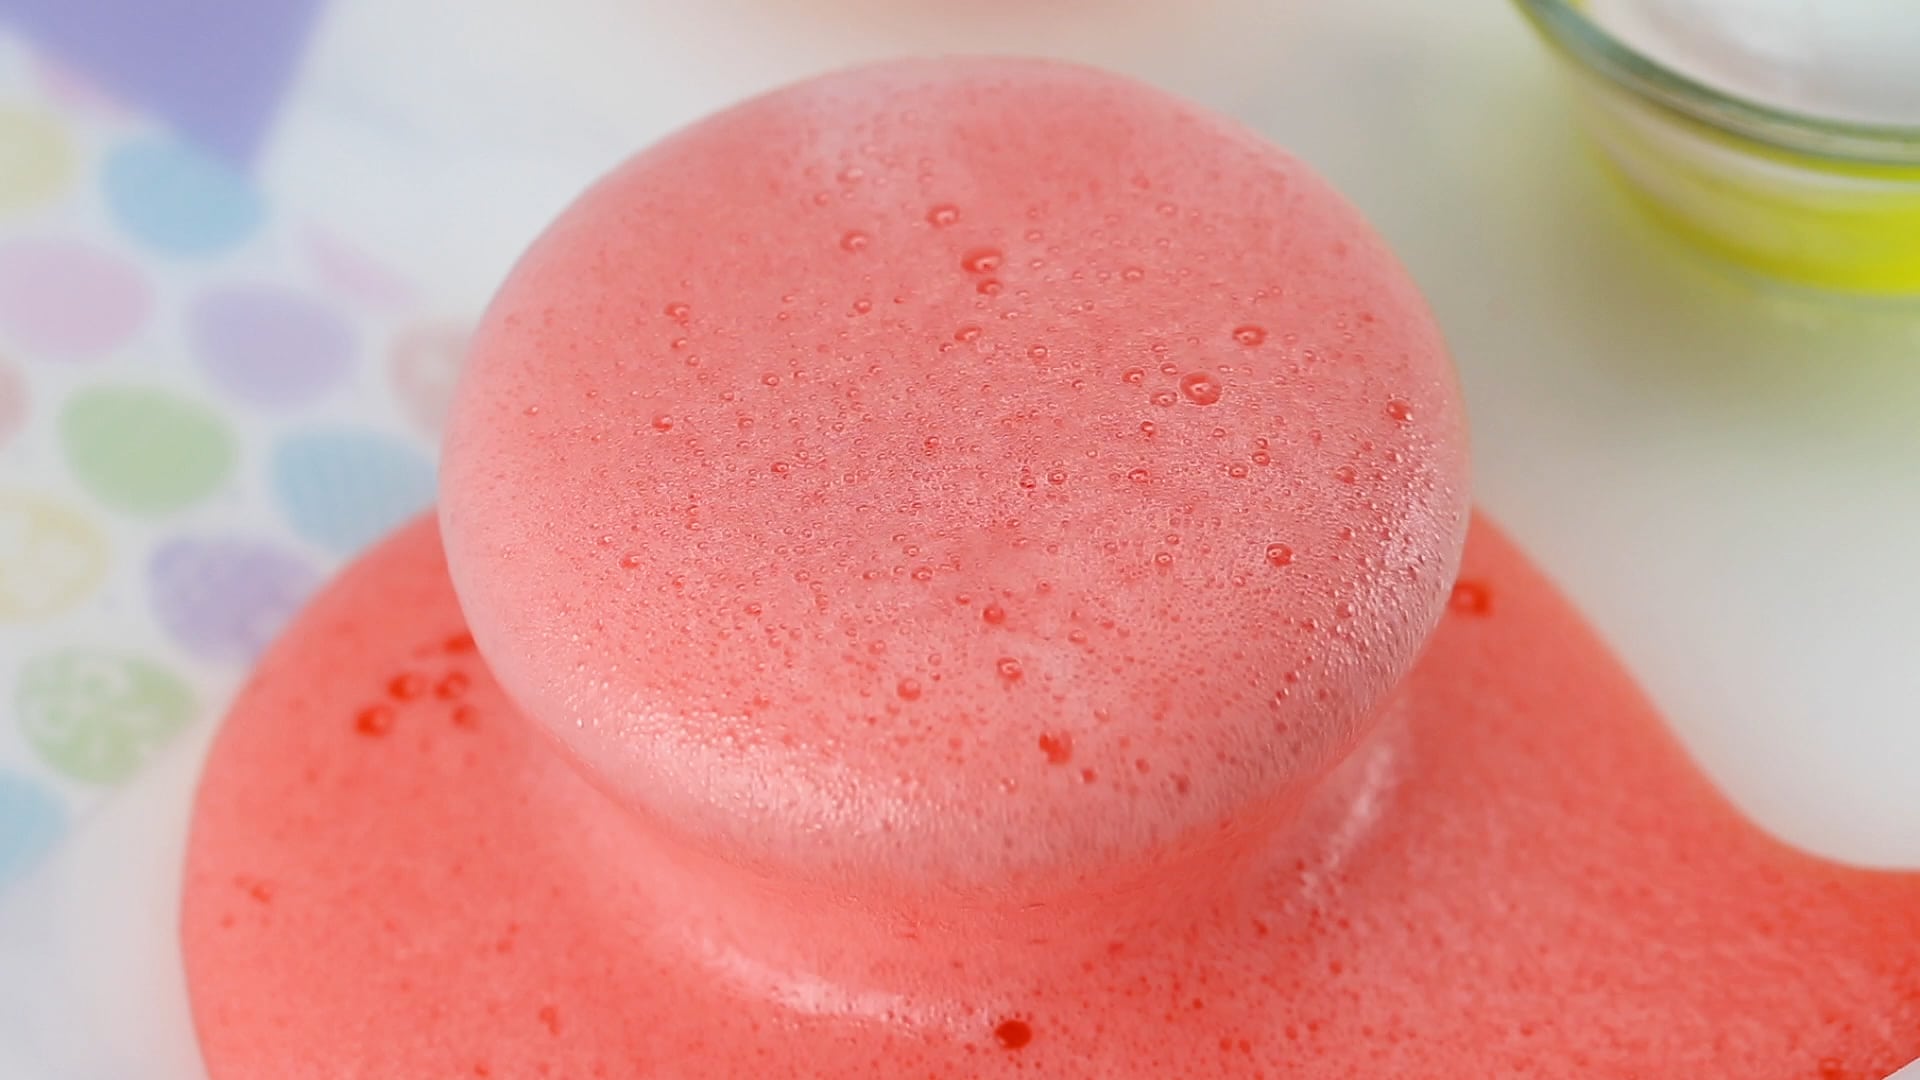
It’s science! (or magic!). Basically, when the two ingredients are mixed, they release carbon dioxide which is how the fizzing occurs.
Is it harmful to mix vinegar and baking soda together?
Mixing vinegar and baking soda together is not harmful. However, if you’re concerned, ensure you supervise the kids while completing the activity.
What type of reaction is baking soda and vinegar?
When you combine baking soda with vinegar, it forms an acid-base reaction. Talk to the kids about this type of reaction and about how vinegar is acetic acid and baking soda is bicarbonate.
So many options for even more science and learning fun! This is also a great time to talk about this Baking Soda And Vinegar Reaction, too!
Tips for dyeing Easter Eggs
You can encourage creativity by mixing primary colors to create secondary colors and experimenting with different patterns and designs.
Creating patterns on Easter eggs using masking tape. Before dyeing the eggs, kids can place strips of masking tape in various patterns or shapes on the egg’s surface. After dyeing and drying, they can carefully remove the tape to reveal the white areas underneath, creating a pattern.
For the color purple, you will likely want to only use 2 drops of the gel food dye to make it a bit darker in color.
And why stop here? Hide the dyed eggs around the house or yard for an Easter egg hunt once they’re dry. This adds an exciting element of discovery to the activity.
Check out my printable Easter egg hunt and some Easter Activities to do. We also have a whole Easter Activities printable, too.
Looking for more Easter activities?
- Easter activities
- Easter egg alphabet matching activity
- Easter sensory bin
- Plastic egg painting activity







Leave a Comment