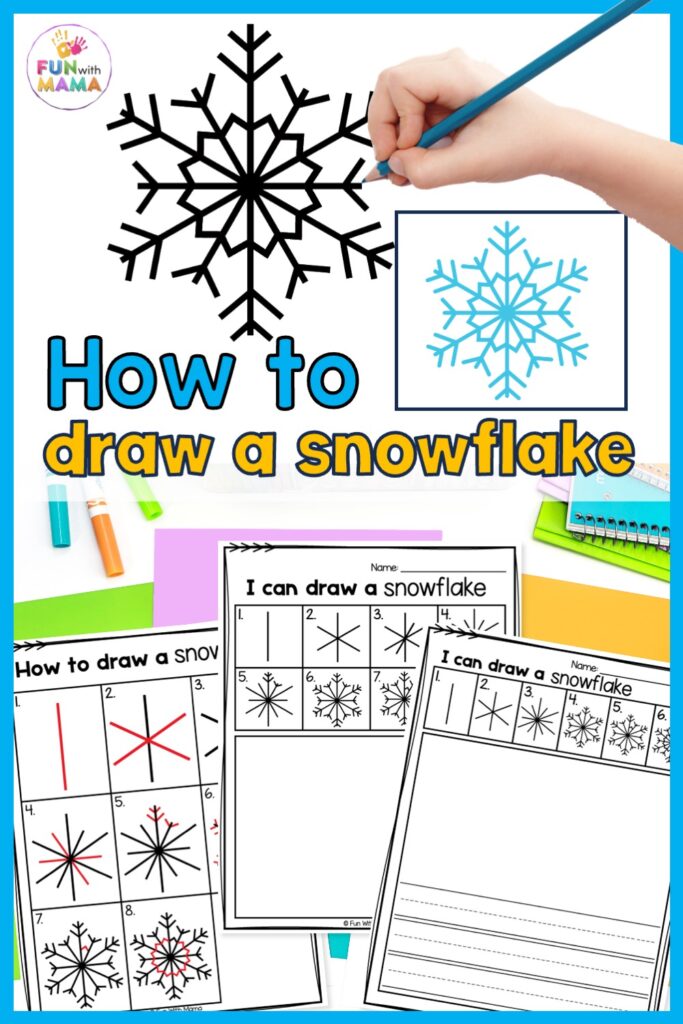
Try out our FREE step-by-step tutorial to help teach your kids how to draw a snowflake this Winter. I also created a free PDF printable which you can get and print right away. It doesn’t get easier than this!
Whether you’re looking for an indoor classroom activity or something to keep the kids busy with over the holidays, this easy snowflake drawing activity is perfect! Following our step-by-step drawing guides will help the kids engage the left side of their brain through a creative outlet. You can also engage the right side of their brains with our cool STEM facts about snowflakes. It’s time to make learning fun again!
Drawing activities are fun, simple, and easy to prep! I love creating and sharing step-by-step drawing guides with my readers. Check out How to Draw a Snowman for more winter-themed excitement.
Is a snowflake simple to draw and understand? Let’s find out.
Snowflake Facts for Kids
If you experience snow in the area that you live in, you and your little ones know all about the magic! Kids really love the fun of a snow day, and so do I! It is breathtakingly beautiful.
Snowflakes are fun to draw and they’re awesome to learn about. Here are some interesting facts about snowflakes:
- Snowflakes are made up of ice crystals. Some are made up of just one ice crystal whilst others are made up of up to 200 crystals.
- Snowflakes typically have 6 points. They look like needles.
- There are several types of snowflakes. Some scientists say that there are 35 different types, some say 41 different types, and others say that there are 80.
- Snowflakes have symmetry just like the paper snowflakes you’re going to make!
- Each snowflake is unique.
- Snowflakes aren’t white. They are translucent.
- The most common type of snowflakes are called stellar dendrites.
- It snows on the planet Mars.
- It takes about 1 hour for a snowflake to reach the ground.
- The highest snowfall in the United States in 24 hours fell in Silver Lake, Colorado, in 1921.
- Snow is just one form of precipitation. The other types are drizzle, rain, sleet, graupel, and hail. Graupel is a soft version of hail.
- Snowflakes grow as they fall to the ground.
If your kids are intrigued by facts, check out these 50 Mind-Blowing Facts About Snow for Kids.
Key Concepts
I recommend printing out these key points and giving them to each child to extend the activity. You can also file it with their snowflake drawing.
- Clouds are made up of either water droplets or they are a combination of water droplets and ice crystals.
- If the temperature is cold enough, and there is sufficient moisture, the ice crystals from the cloud can grow into snowflakes as they fall to the ground.
- Most snowflakes have six arms with a hexagonal shape. This is what makes it symmetrical.
If your kids are interested in How Snow Forms, check out this article to integrate more STEM concepts during your art lessons.
Art Supplies
- Paper or white cardstock
- Markers- these are ideal for the outline
- Pencils- young children tend to prefer these or crayons
- Pens- these are ideal for older children and even adults
- Acrylic paints, watercolors, or any other art mediums you have- different media make it more special
- Scissors- you can use these to cut out decorations to add to your drawing
You can find links to our favorite drawing supplies here.
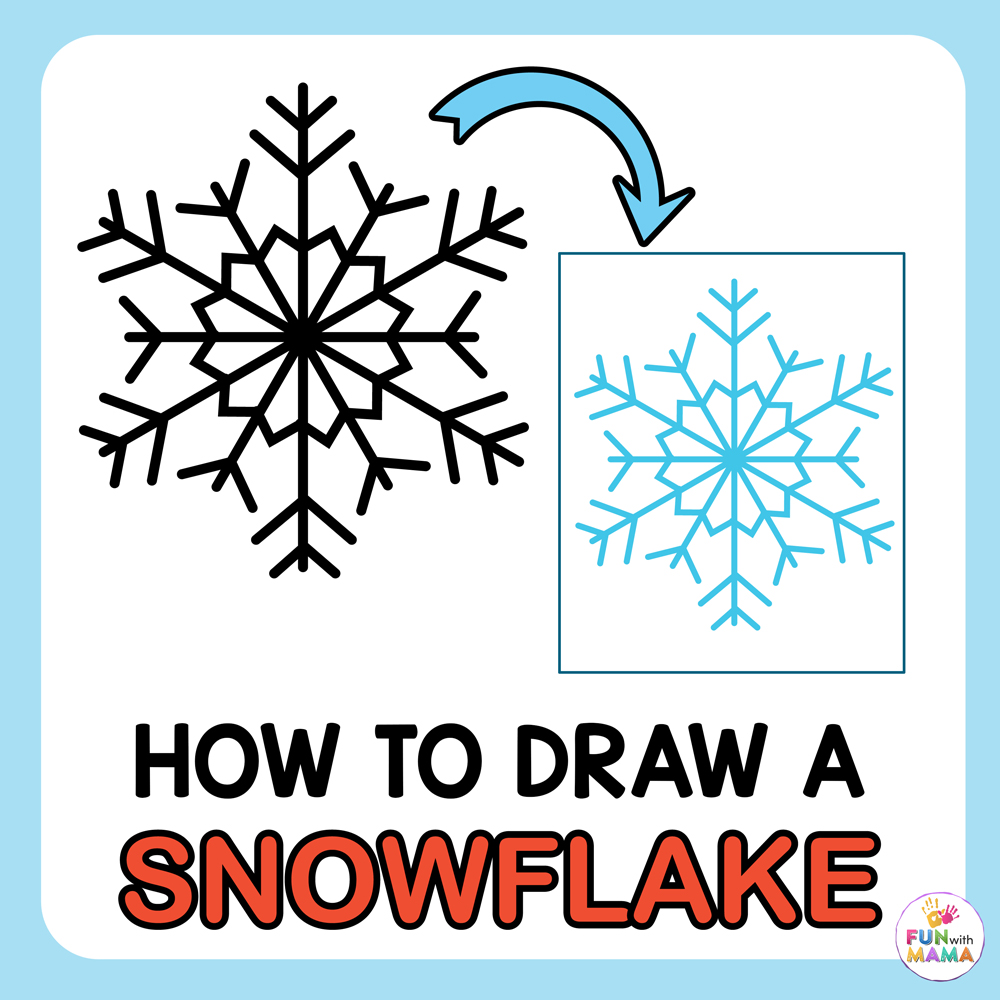
How to Draw a Snowflake
Here is a DIY, simple snowflake step-by-step guide. Remember to let each child make it their own, as each snowflake is unique and doesn’t have to be perfect. This is a famous winter art project for a reason!
My favorite part is that each child creates their own unique snowflake drawing! If you journal, they add a magical touch to those bullet journal spreads!
Snowflakes are one of the best examples of symmetry. This fine motor, math, and art activity is ideal for STEM learning.
Part 1: Build the Skeleton of your Snowflake Drawing
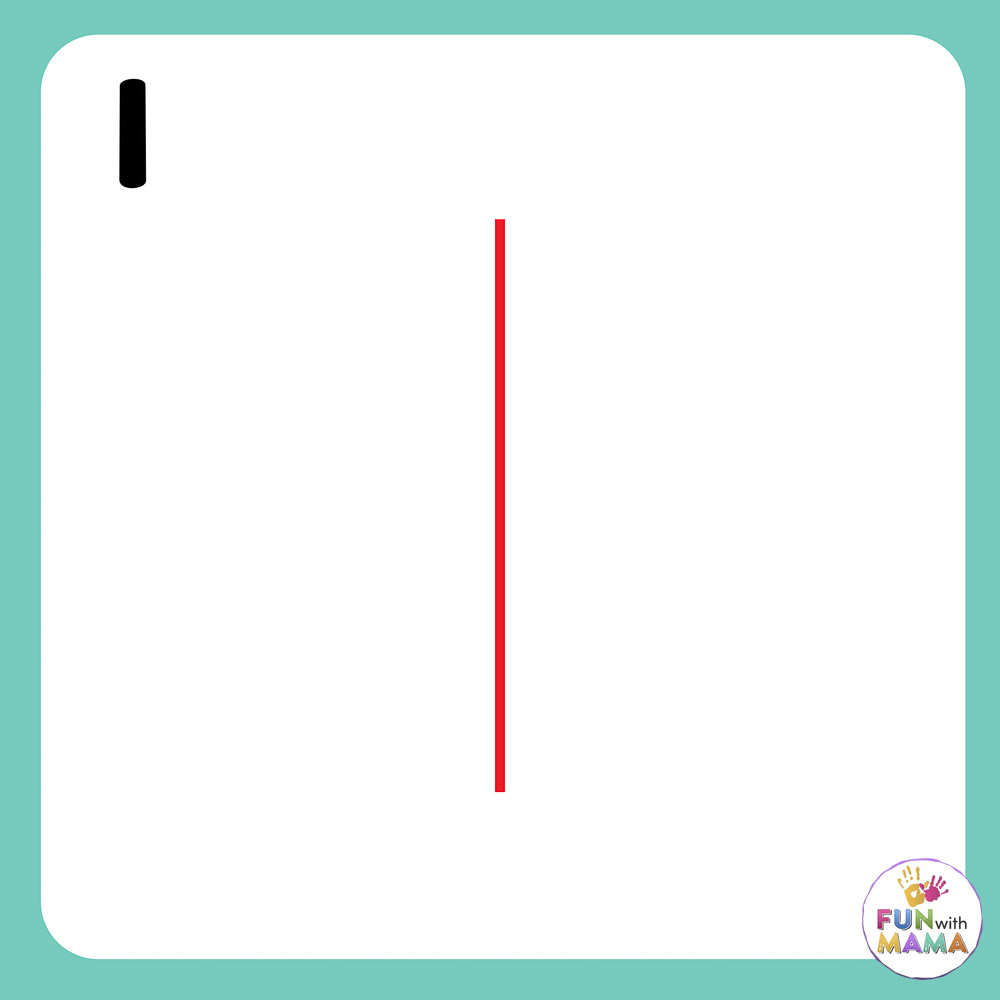
STEP 1: Draw a straight line. You can use a ruler, or you can let the kids draw free hand.
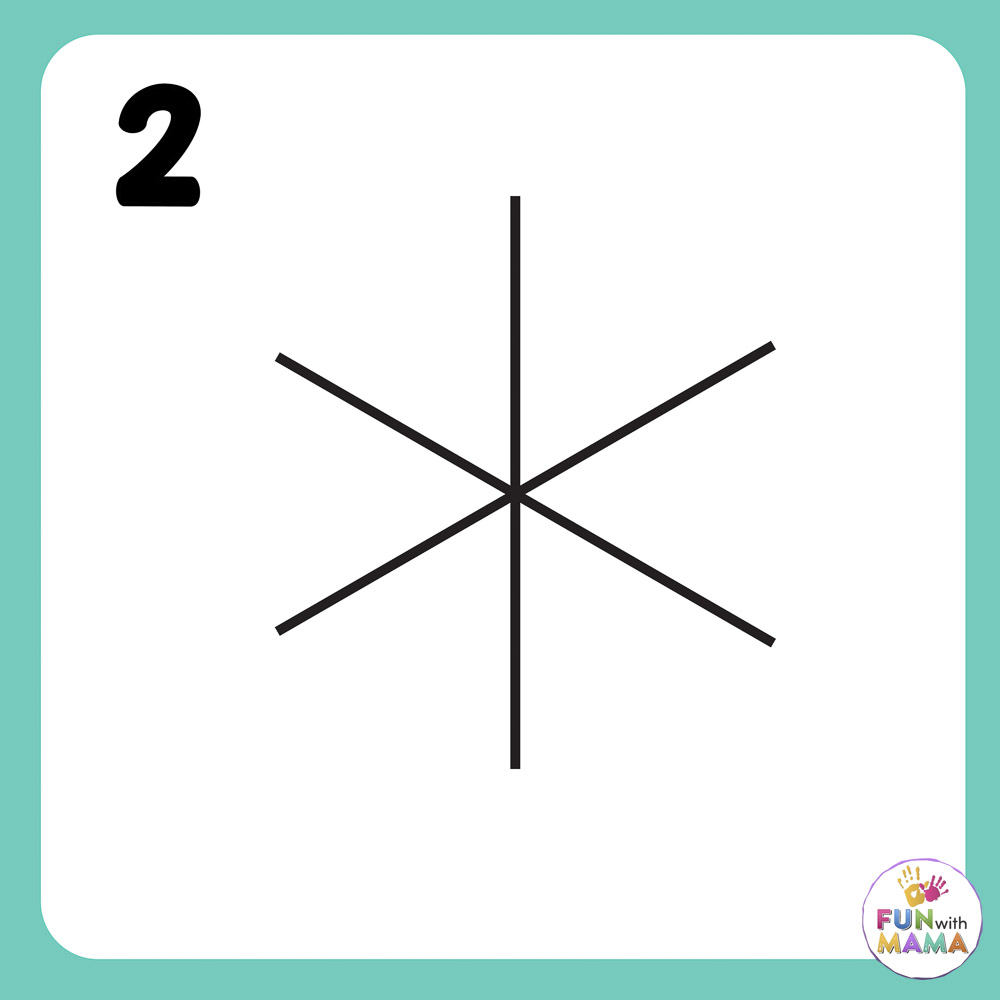
STEP 2: Draw two intersecting lines by adding an ‘X’ at the center point. I like asking the kids to say words that have the letter ‘x’ in them as a fun vocabulary exercise.

STEP 3: Add a line at an angle through the middle of the snowflake.
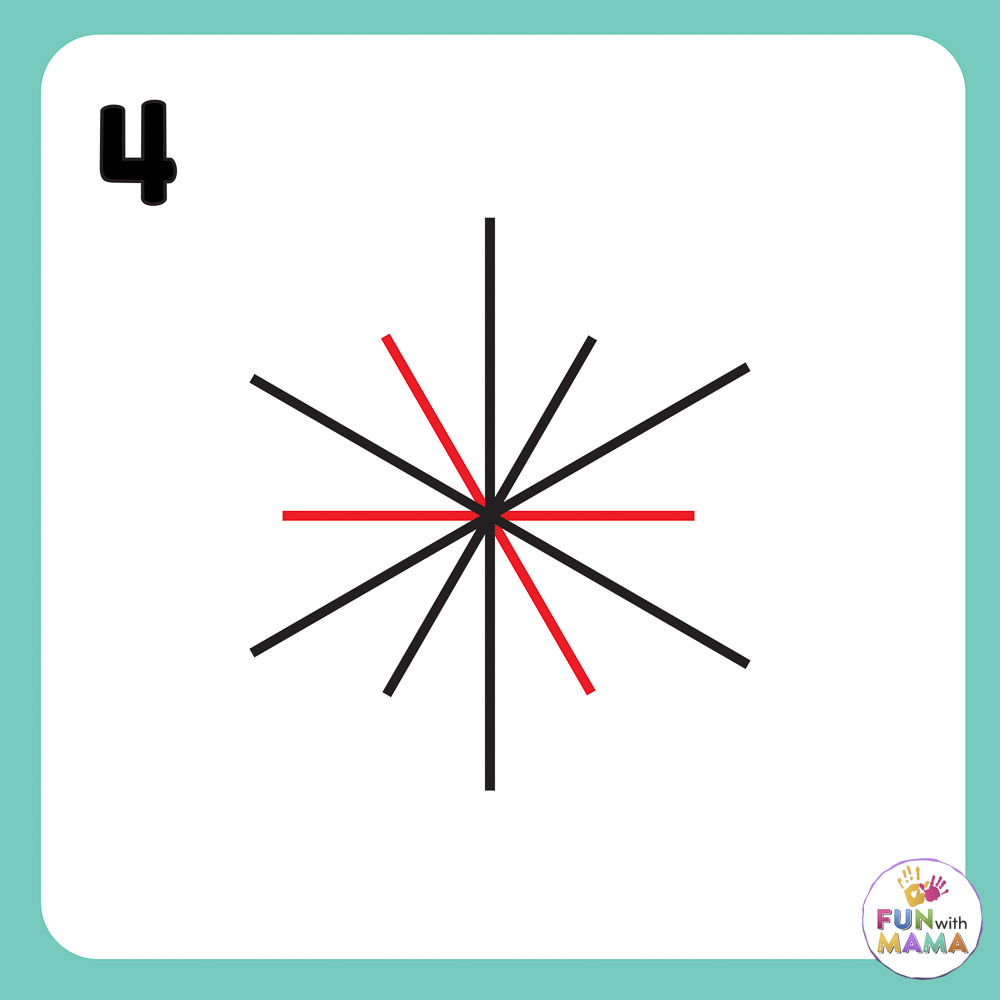
STEP 4: Keep adding lines that pass through the centre of the snowflake – think of them as the arms of the snowflake! Add two more intersecting lines. Now you have the basic shape of a snowflake with 6 long arms.
Part 2: Detailing your Snowflake Drawing
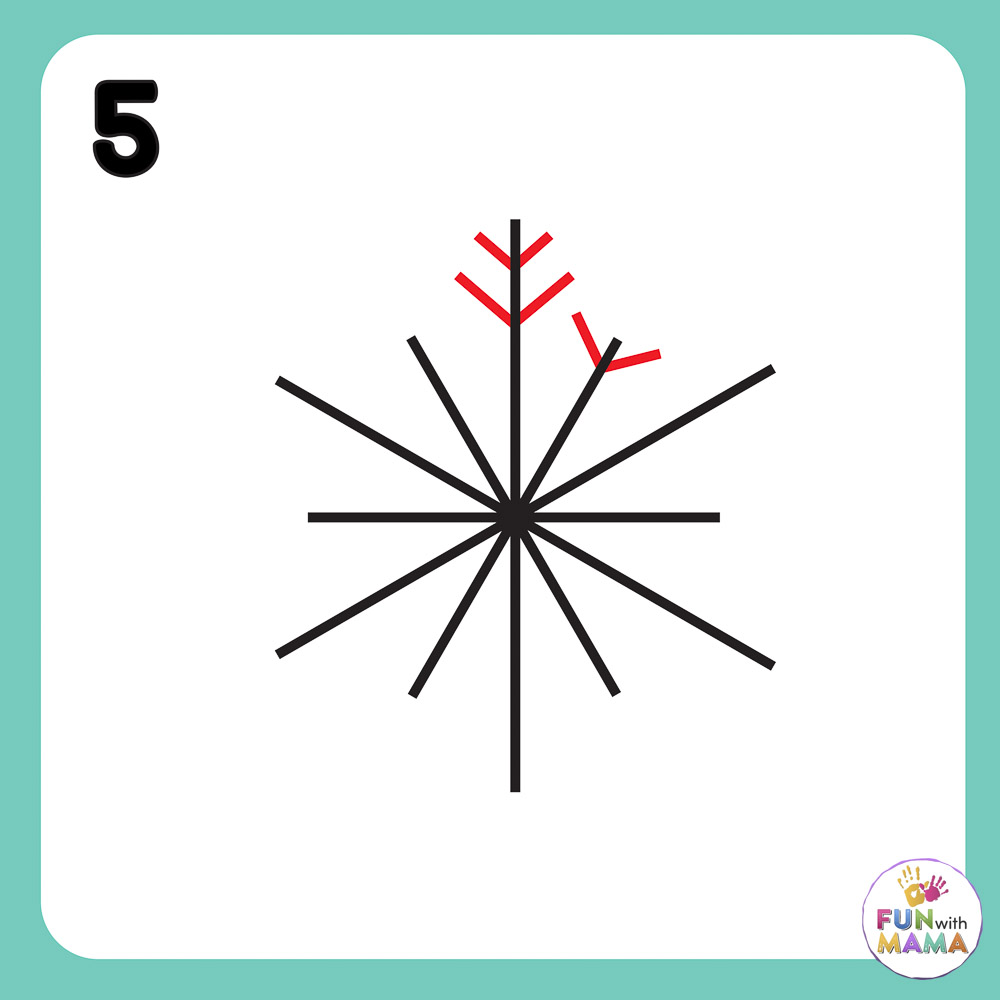
STEP 5: Now you’re going to add the baby arms. These are little branches drawn at the tips of the snowflake arms. They are similar to a vein on a leaf!
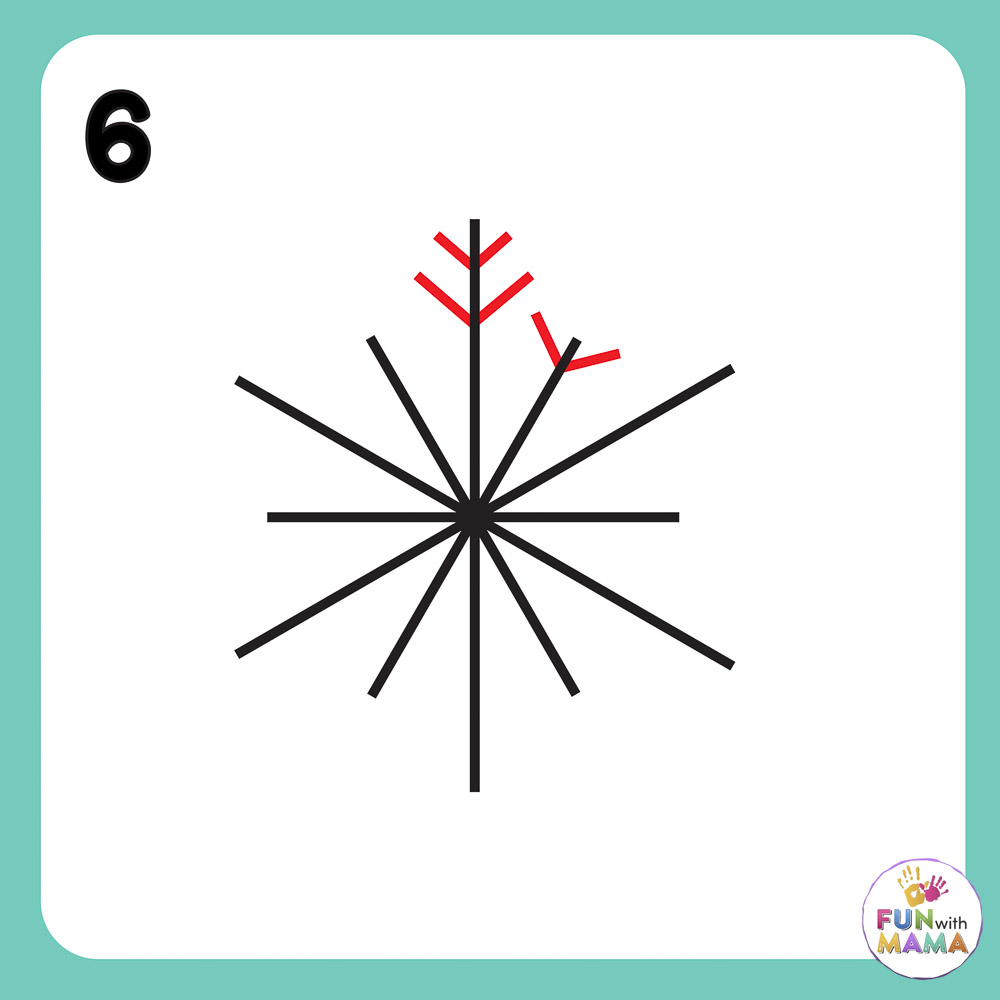
STEP 6: Keep adding those tiny branches. Alternate each branch with single and double V shaped arms. It doesn’t have to be straight lines. Hand-drawn snowflake doodles are very cute art pieces!
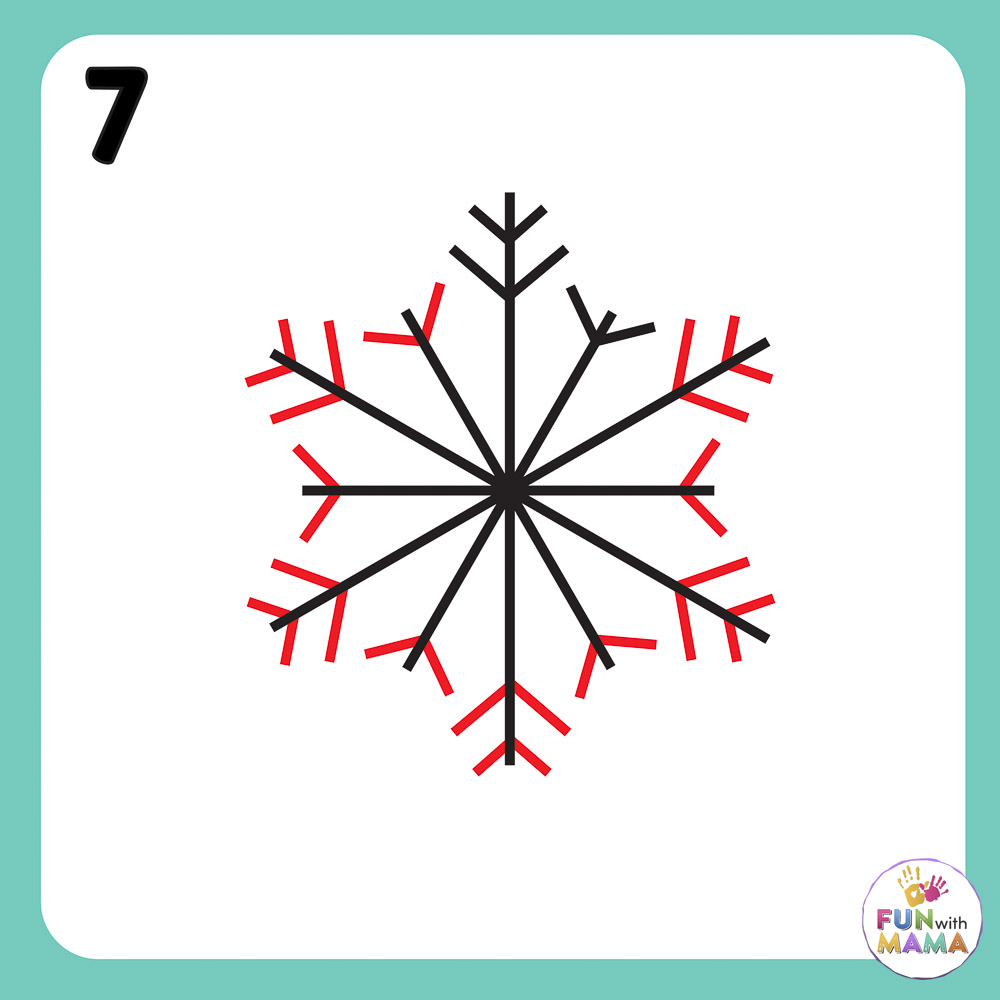
STEP 7: Now it’s taking shape! The inner circle has branched off into your very own beautiful snowflake! Keep drawing the ‘V’ around the tops of each arm.
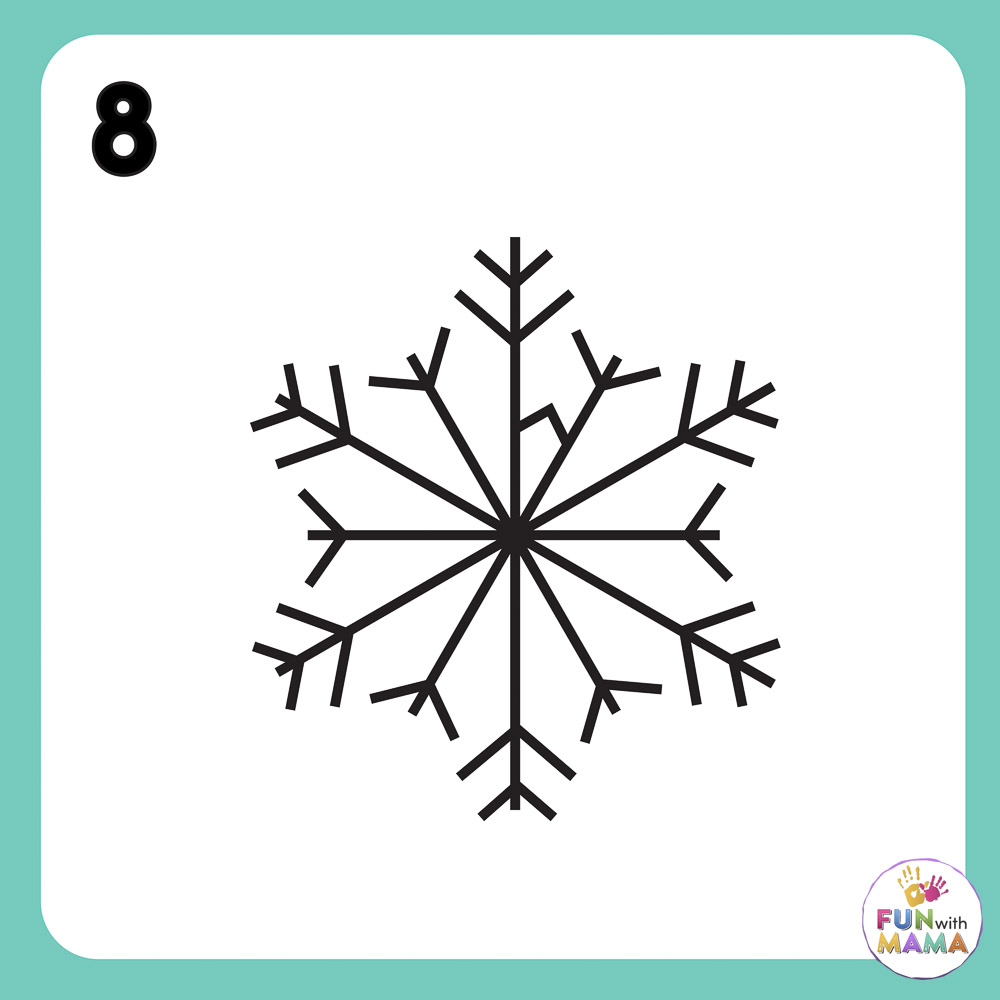
STEP 8: Add an upside-down ‘V’ to certain branches for more depth and detail. It’s like a triangular shape (just with a missing base!)
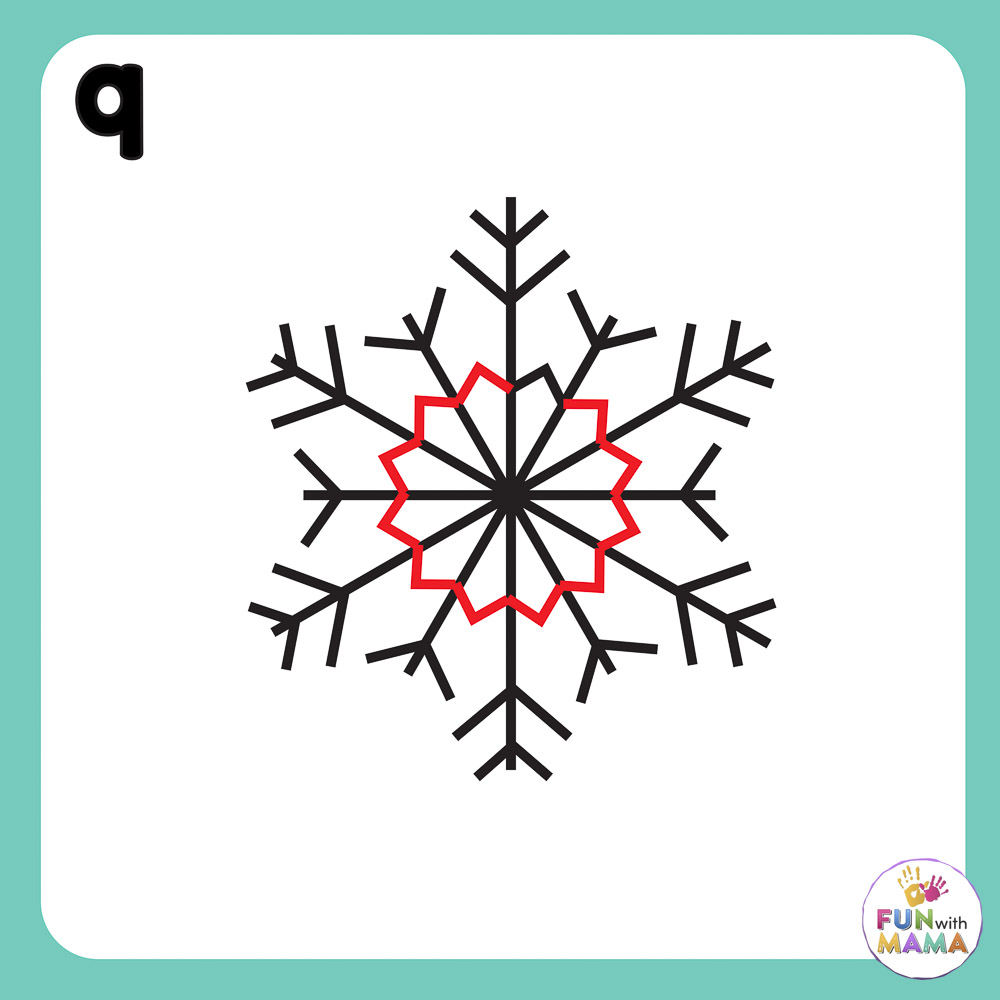
STEP 9: Continue adding the upside-down V arms. As you join the arms in the middle of the snowflake, it will slowly start to look like a star.
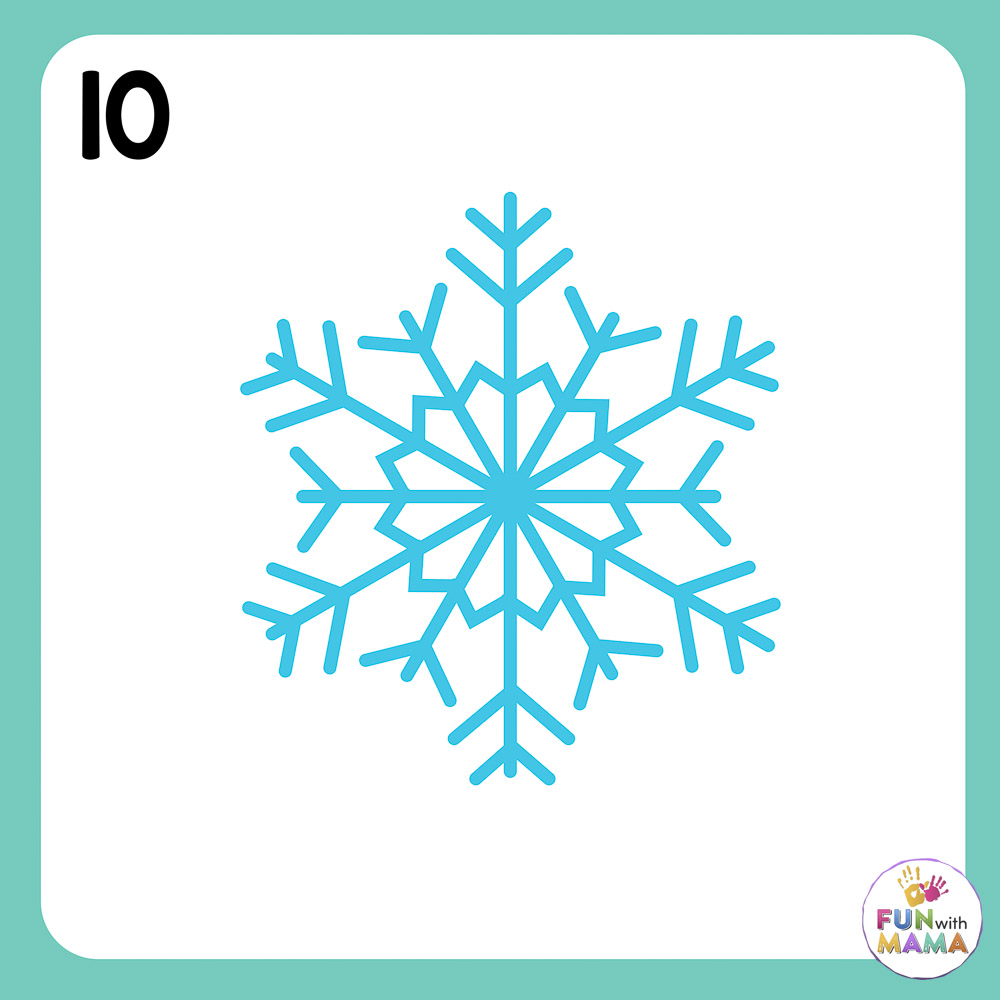
STEP 10: Now your snowflake drawing is complete! Color, decorate, and make it extra special. My kids always opt for glitter and glue!
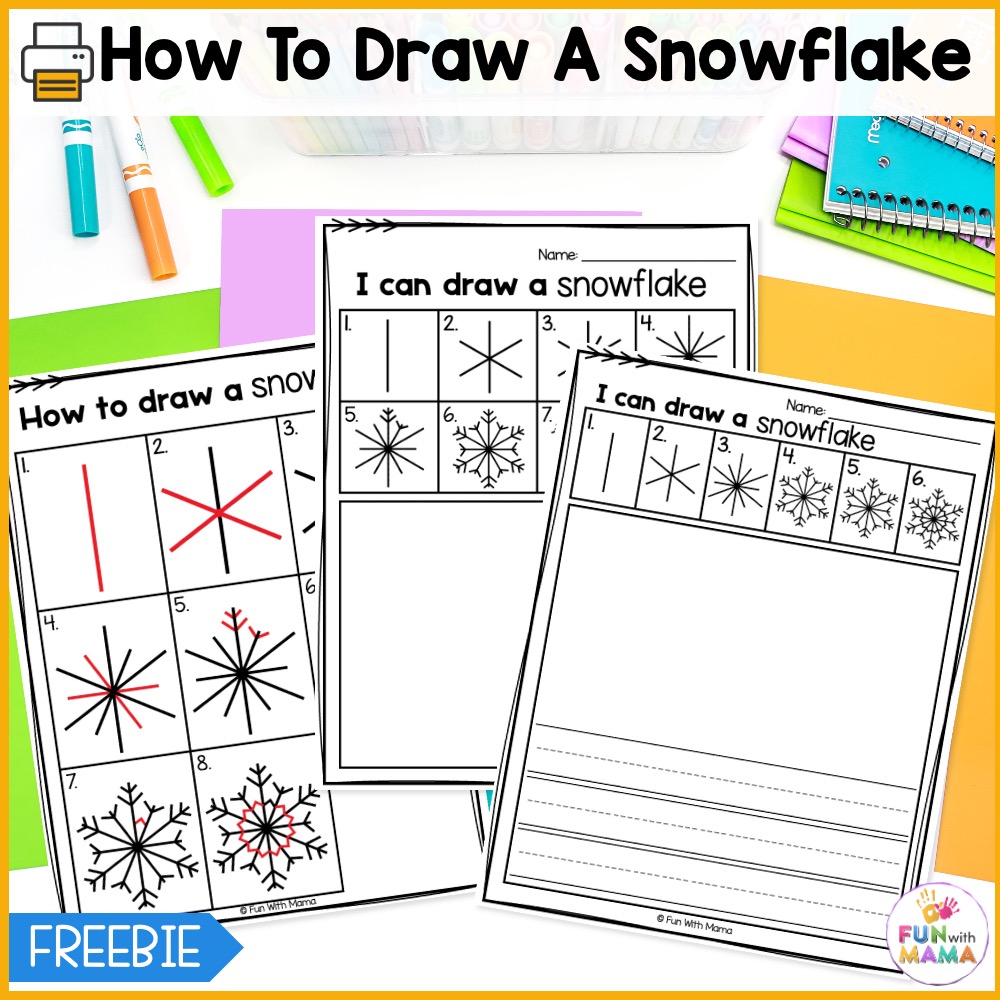
Where to get the free printable
The freebie includes 3 different printables. You can let the kids follow a printed guide, or you can have them follow along per your own instructions. Click the image below to get your free PDF.
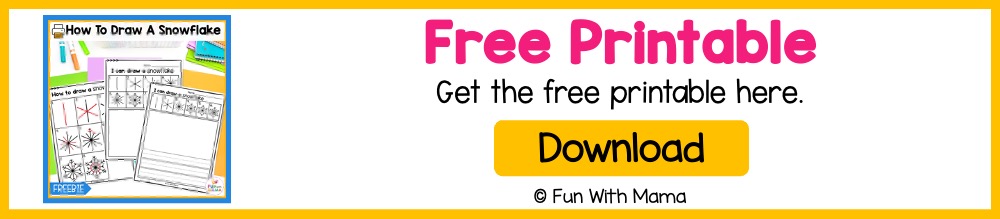
PRO TIP: Laminate the snowflakes and add them to your winter sensory bin! I hid them underneath some shaving cream that acted as ‘snow’ and had the kids find them. It added sensory play to this already stimulating activity!
Winter Activities Pack
GET THE WINTER ACTIVITIES PACK

Here are more winter-themed activities just for you:


Leave a Comment