Learn how to make ice cream in a bag with milk or half and half is a fun way to get the wiggles out while having a sweet treat. Put on those little chef hats and let’s create a delightful treat.
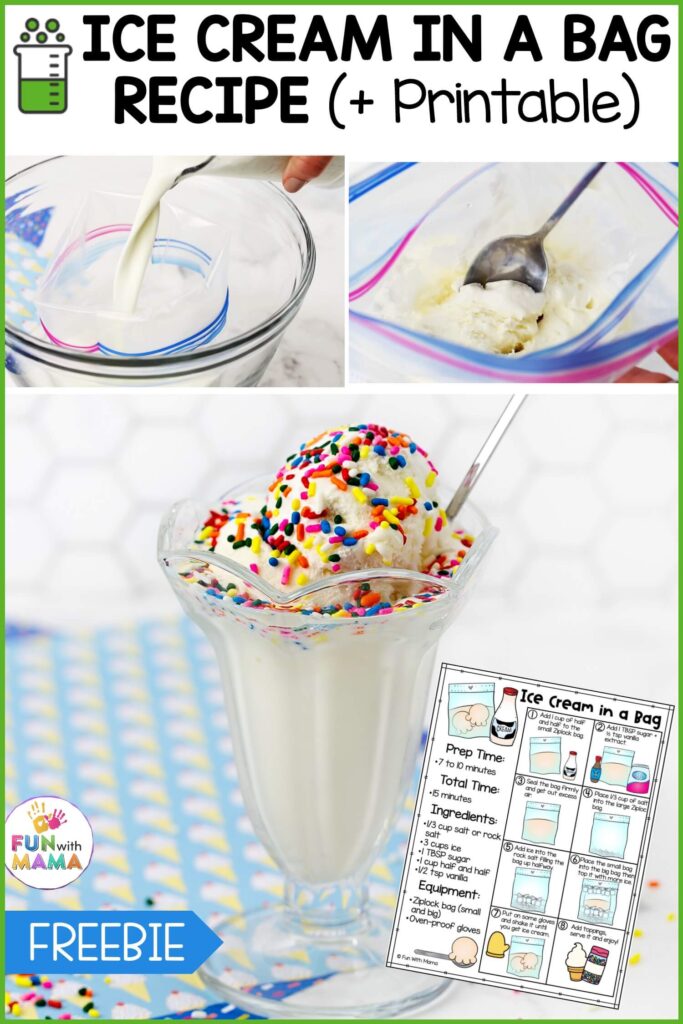
I also included a free ice cream in a bag recipe printable pdf that would be great for your home or classroom.
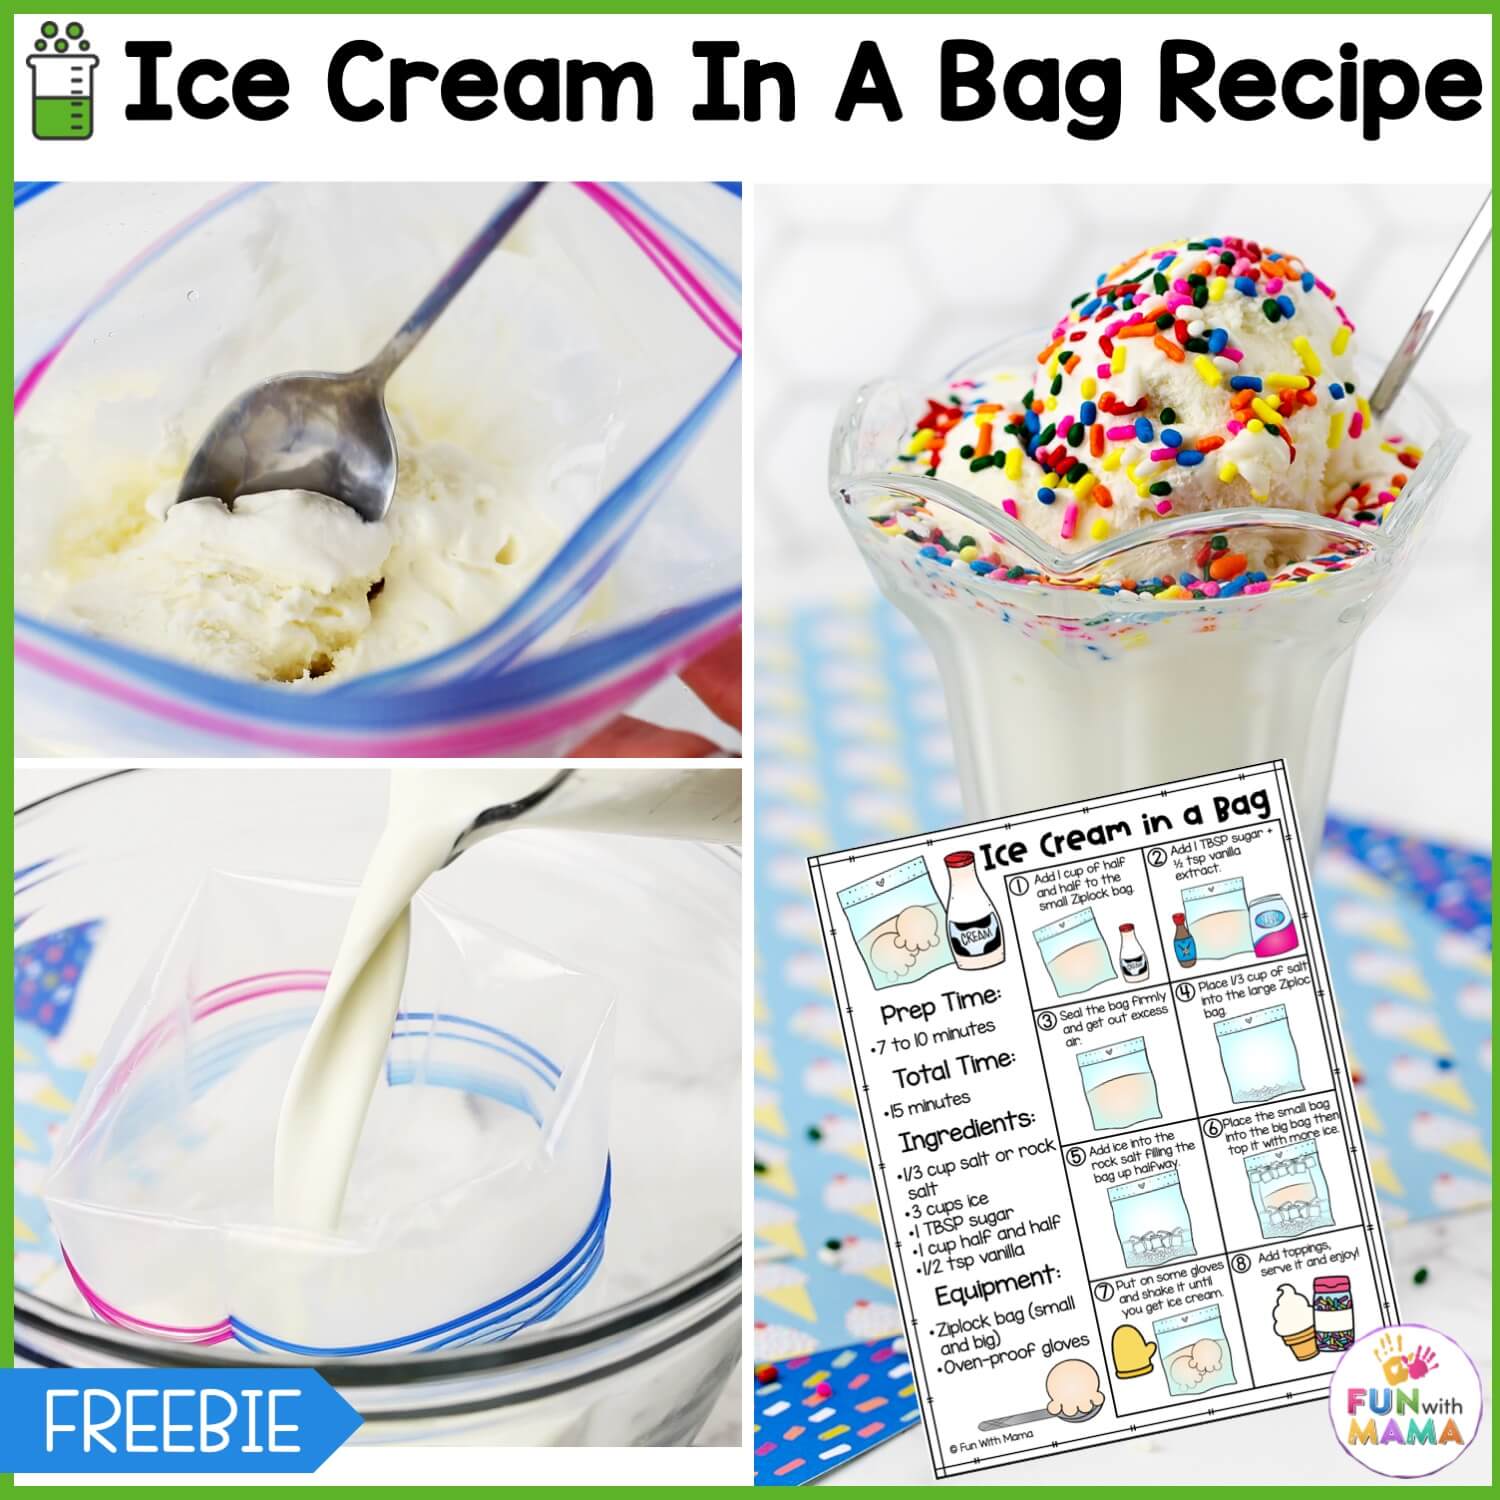
Making ice cream is not just a wonderful summer activity for kids. If you’re anything like my family, then you know that it is a year-round kid-approved tasty treat! In winter, it makes for the perfect indoor activity for kids.
How to make ice cream in a bag
If you thought that making Ice Cream required a fancy machine and endless ingredients that you wouldn’t have at home then let me tell you, THAT’S NOT TRUE! You don’t need an Ice Cream maker, fancy ingredients, or tons of time with this trending Instagram hack.
With just 5 Ingredients, you can satisfy those ice cream cravings. It is a great family night activity or classroom science experiment. This is one of those easy ice cream recipes you won’t ever get bored of.
I love doing this experiment in class after we’ve completed an activity from our awesome Alphabet Letter Matching Ice Cream + Popsicles Pack so we can practice the vocabulary and letter skills we’ve covered!
What Do You Need To Make Homemade Bag Ice Cream?
- Ziplock bag– get a good quality bag because you don’t want it to leak or melt. You will need a larger bag (gallon size) and a small bag
- Half and Half- OR use ½ whole milk and ½ cream; try to opt for heavy cream. You could also use whole milk but it won’t taste as creamy.
- Rock Salt– you can use ANY salt, even table salt, but try to opt for a chunkier salt or Kosher salt. We use rock salt.
- Ice – you’ll need enough to fill your bag at least halfway. You should have enough in the freezer!
- Vanilla extract– this will add a delicious base flavor and give you vanilla ice cream in minutes
- Sugar – White sugar sweetens the dairy products, but you can use an alternative like xylitol
Ingredients
- 1/3 cup salt or rock salt
- 3 cups ice
- 1 TBSP sugar
- 1 cup half and half
- 1/2 tsp vanilla
Related: Make Unicorn Yogurt Bites
How To Make Homemade Ice Cream In A Bag
Instructions
Follow this easy step-by-step or watch the video!

In a big Ziplock bag:

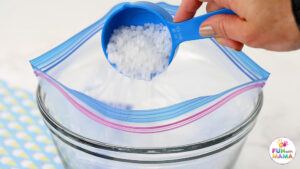
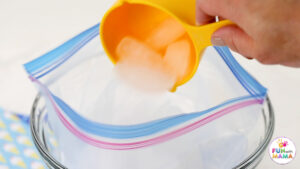
Place ⅓ cup rock salt inside the ziploc bag

Add 3 cups of ice and set aside the ice cream salt mixture.
In a small Ziplock bag:
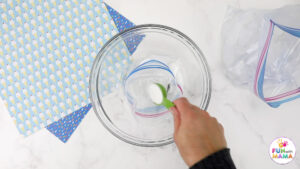
Add 1 tablespoon of sugar and 1/2 teaspoon vanilla extract

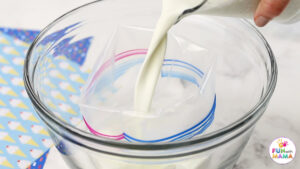
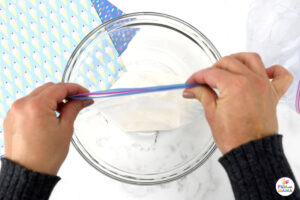
Add 1 cup half and half. Remove the air then zip it up to seal.

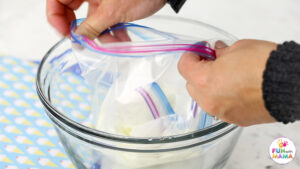
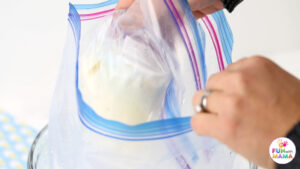
Place the small ziplock bag into another ziplock bag (this prevents the ice cream from tasting like salt, alternatively you can just rinse the small ziplock bag if you don’t want to use two.)

Place the smaller bag into the bigger or gallon bag filled with ice.

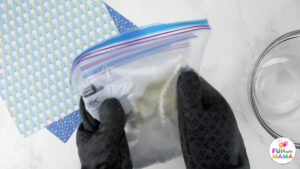
Mix it with oven-proof gloves. In other words ‘shake it off’.

Shake vigorously for approximately 7-10 minutes till the ice cream hardens.
Then remove your ziploc bag ice cream from the larger bag and wash it off under water. Make sure you try your best to get salt out of the seal area. (Otherwise, some of that salt may transfer to your ice cream, making salty ice cream.)

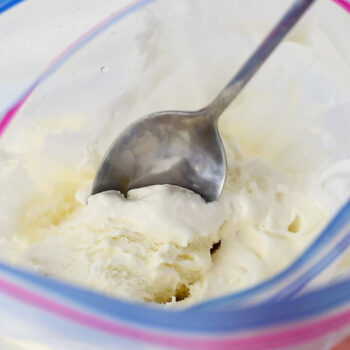
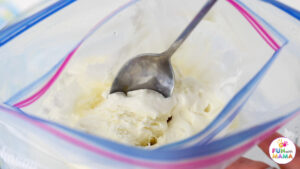
Open the ice cream in the ziplock bag to examine. It will resemble the ice cream you know and love!

Remove from the bag.
You can enjoy it as is straight out of the bag if you’d like!

If you’d like to add a little extra something, then grab some cute bowls, sprinkles, or whatever toppings you’d like! Enjoy and tag me in those Pinterest-worthy pictures!
Toppings and Flavor Variations
This recipe is for standard vanilla ice cream, but don’t let it stop you from having more fun with it! If you want to flavor your ice cream, simply add an extract or even a dash of chocolate syrup. The kids always love some good toppings, so I make sure to have sprinkles, chocolate chips and fruit (we used strawberries and blueberries). They loved it, and we had a decorating contest! If you’re looking for more amazing ideas check out these 50 homemade ice cream recipes.
What is the Science behind it?
The secret ingredient behind this magic or madness is SALT! Salt decreases the temperature so ice melts. Think of a snow day- we often throw salt onto our sidewalks or driveways to melt the ice faster! As the ice melts, it needs to absorb more heat to continue melting. The ice then begins to draw heat from the other ingredients and causes them to lose their heat. These ingredients then absorb the cold from the ice and it freezes the ice cream mixture.
What happens if I use Whole Milk?
The only difference is that your homemade ice cream will be less creamy. However, it will still be tasty! If you don’t have half and half, I recommend mixing heavy whipping cream and whole milk in the ice cream mixture – you can adjust the amounts to your preference.
Why do you have to shake the bag?
This allows the heat to be transferred! It gives the energy needed for the particles to change from a solid to a liquid (the ice) or from a liquid to a solid (the ice cream). Basically, the ice melts and the other ingredients freeze!
Teaching points
This is an awesome way to discuss the states of matter and how mixtures can change from a liquid to a solid or vice versa!
This experiment pairs well with our FREE Ice Cream Sundae Number Sorting Printable. Combine STEM and Ice Cream all in one fun activity!
I hope you enjoyed learning how to make bag ice cream using items you had at home. Please let me know if you try it.
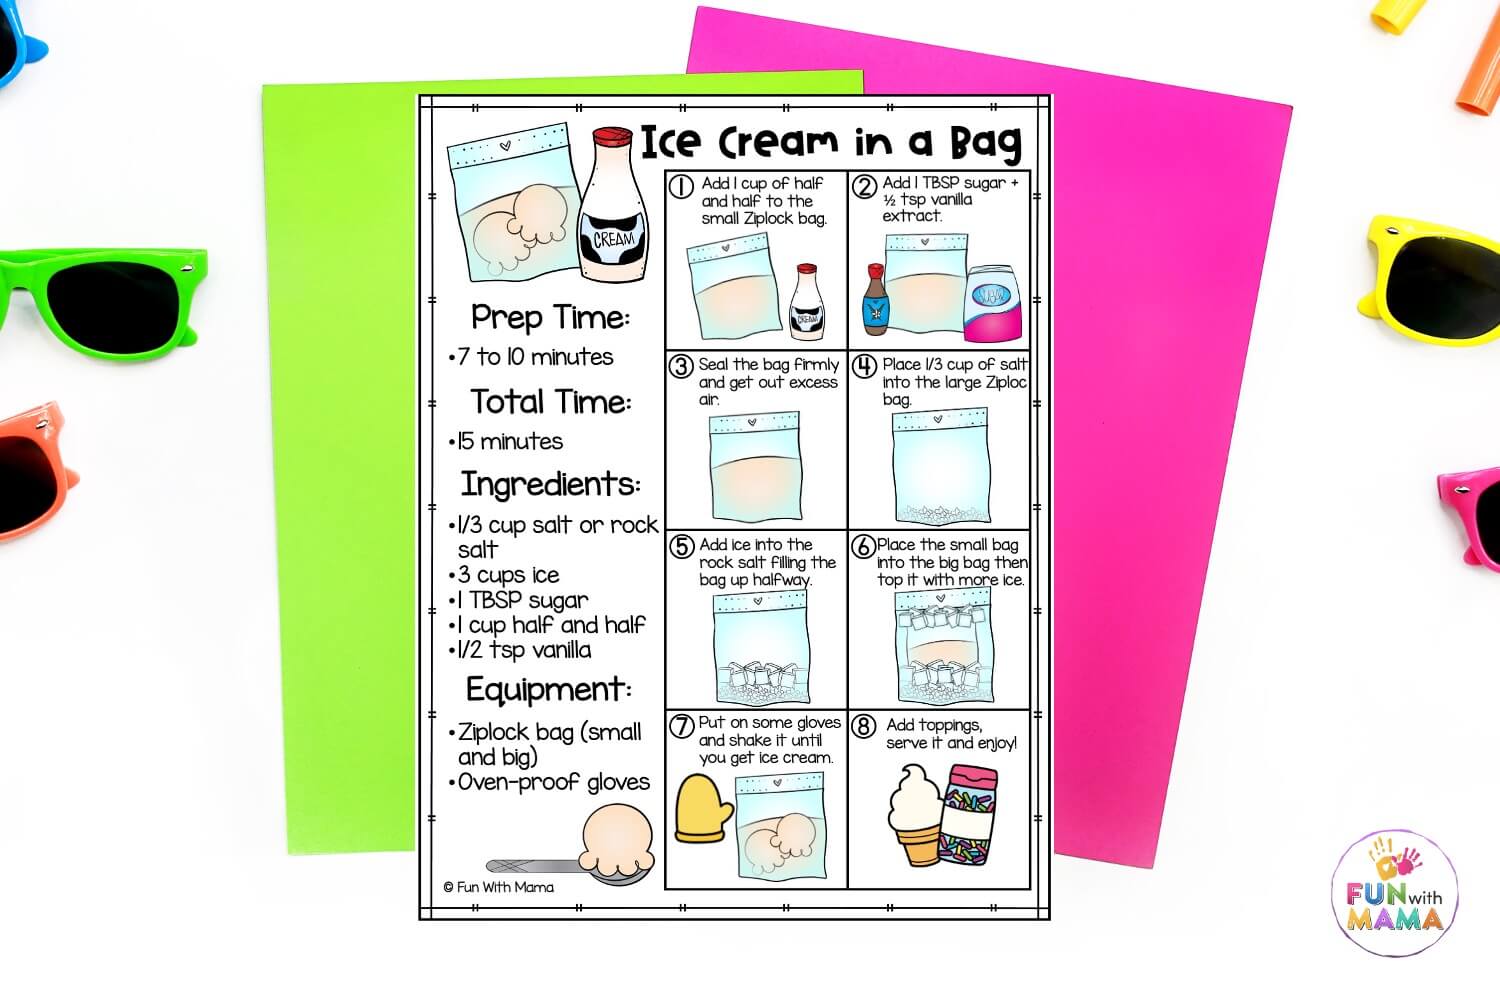
Grab the Ice Cream In A Bag Recipe Printable PDF here
GET THE ICE CREAM IN A BAG RECIPE PRINTABLE HERE

Ice Cream In A Bag
Ingredients
- 1 cup half and half
- 1 TBSP sugar
- 1.5 tsp vanilla extract
- Ice
- 1/4 cup salt
- 1 Large and small ziplock bag
Instructions
- Pour 1 cup of half and half into the small ziplock bag.
- Add 1.5 tsp vanilla extract + 1 TBSP sugar to the bag.
- Seal the bag properly and make sure to get out any excess air.
- Fill the large ziplock bag 1/2 way with ice + add 1/4 cup of salt.
- Add the small closed and mixed ziplock bag to the large bag.
- Add ice on top of the small bag then seal the bag.
- Put on gloves and shake the bag. (The salt makes the ice extra cold so the gloves are very much needed.) You'll shake for 7 minutes.
- Take out the small bag and rinse the top and seal area with cold water thoroughly. (You want to have all that salt removed)
- Open the small bag, mix it with a spoon for a bit and then it's ready to eat!
- Add sprinkles and serve it.
Video
Notes
Try your best to prevent any transfer of the salt from the outside of the bag to the ice cream.
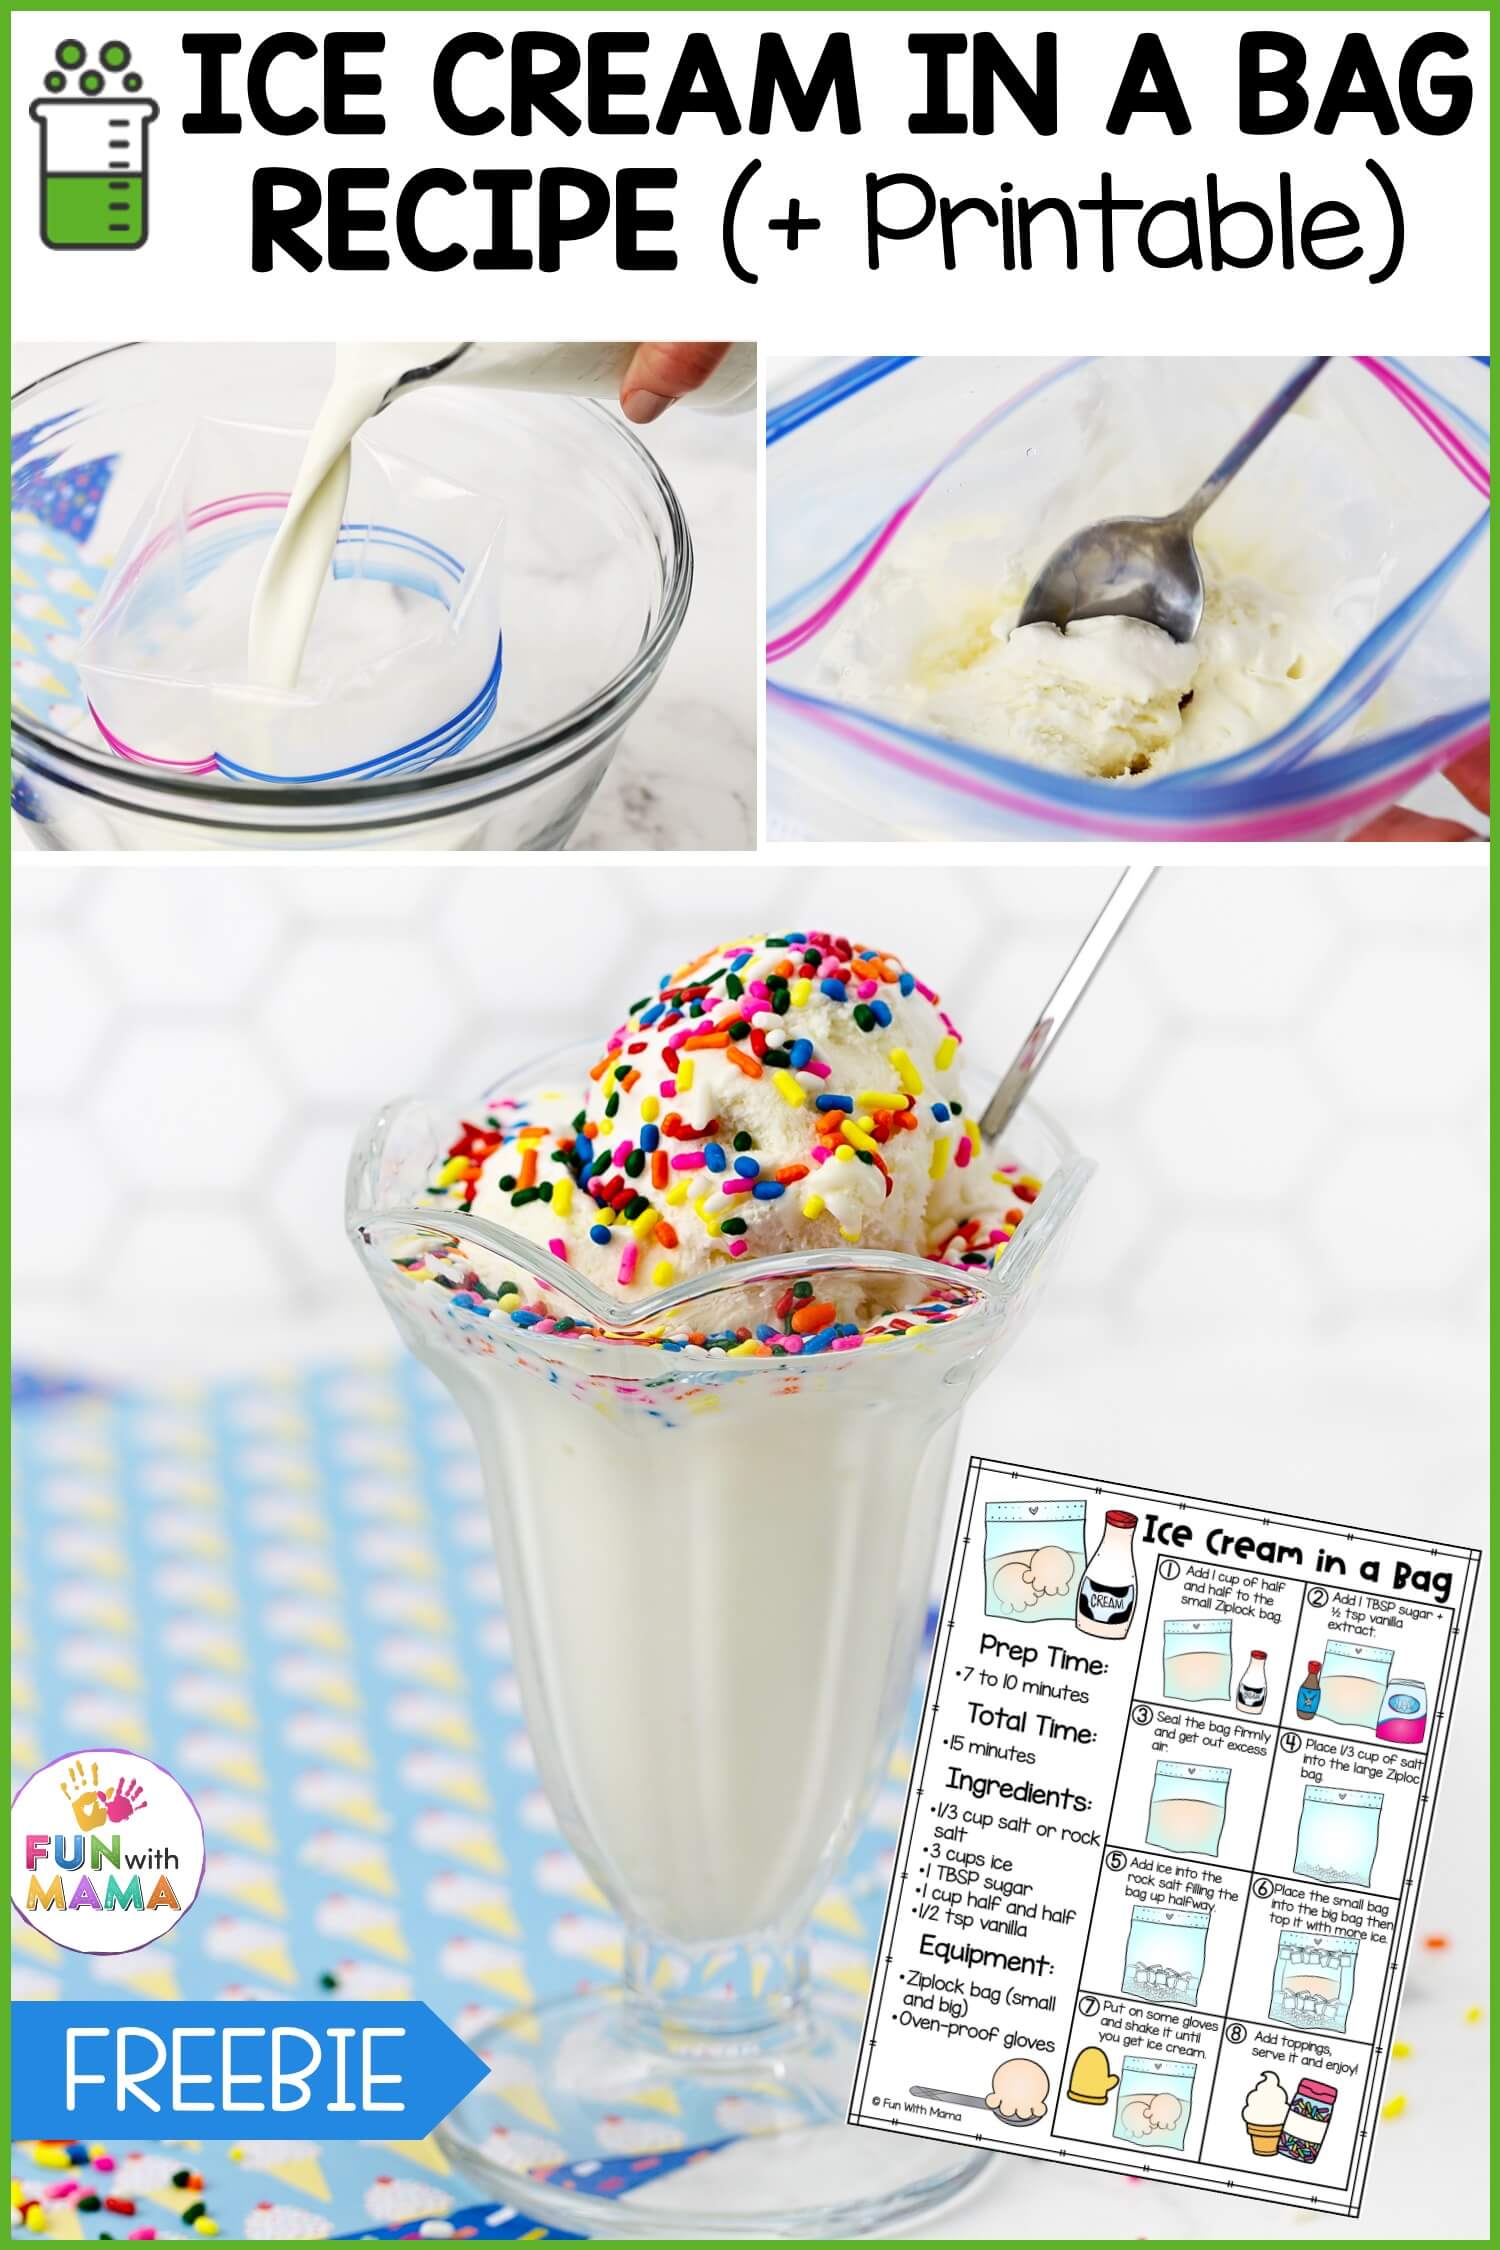
Here are more Bag Experiments To Check out
Check out this Water In A Bag Pencil Experiment.

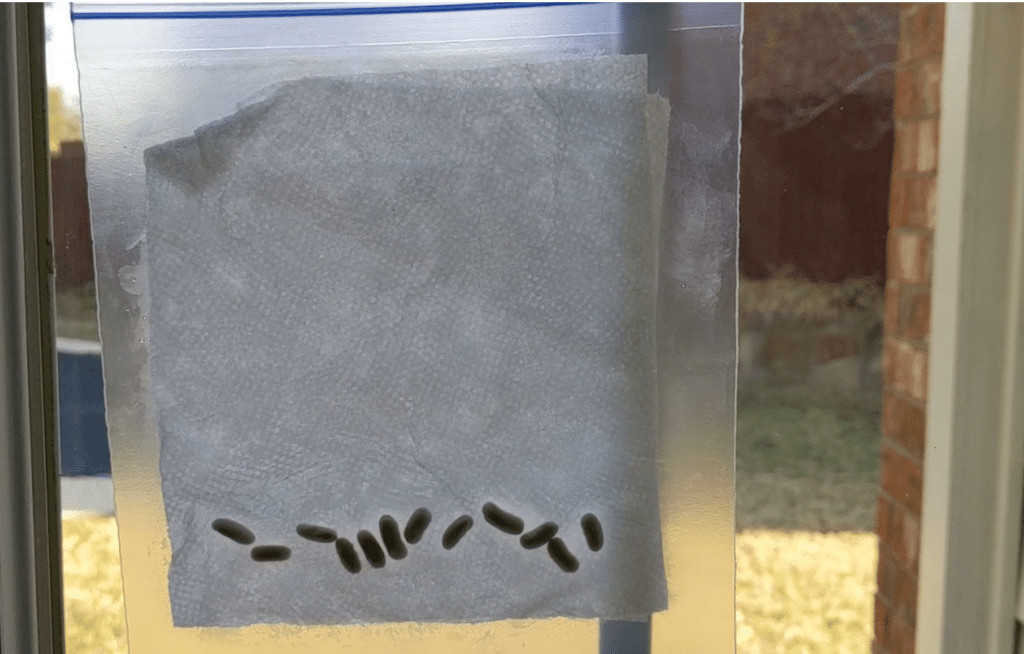
Learn how to grow beans in a bag
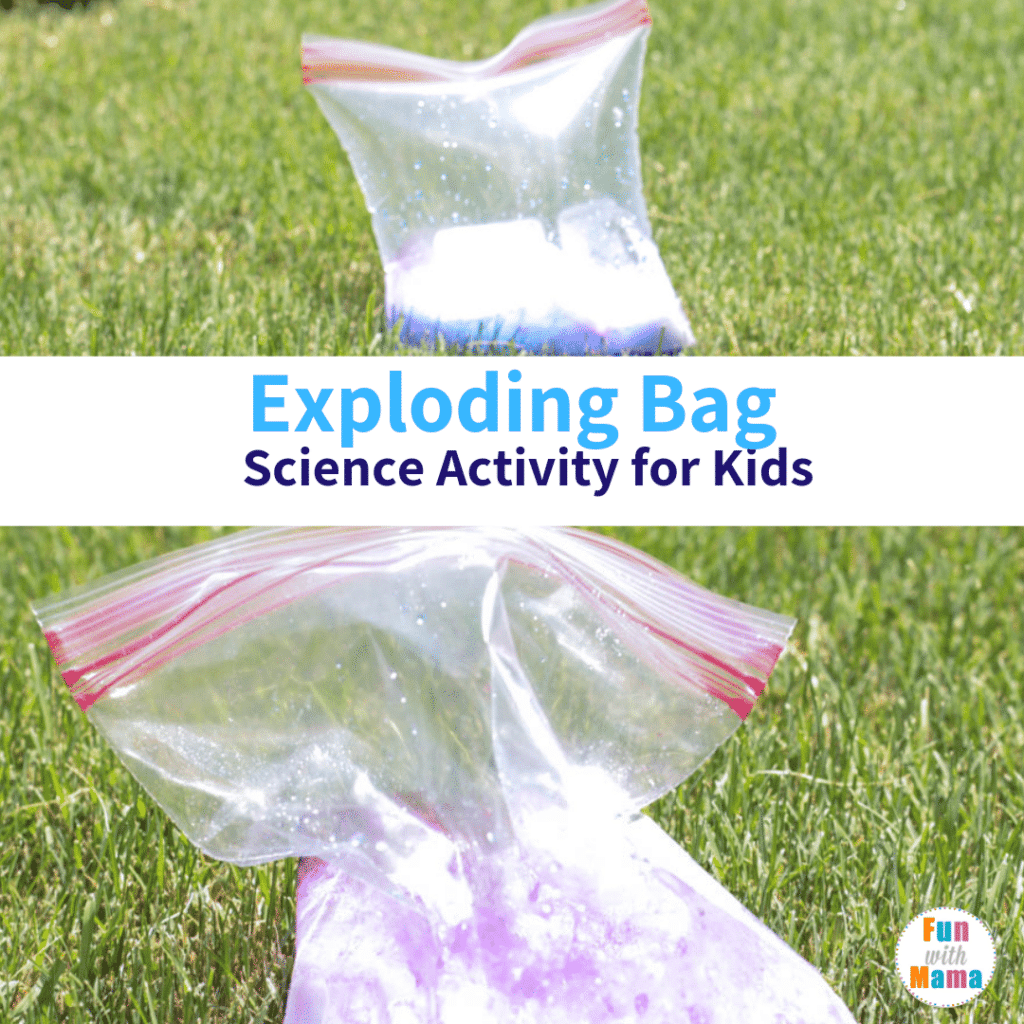
Exploding Ziploc Bag Science Experiment for Kids










Leave a Comment