This is a sponsored post written by me on behalf of Cricut. All opinions are 100% mine.
If your playroom is anything like mine used to be, you need to find a good solution to kid’s toy organization. While I love that they’re in their playroom and playing all the time, I hate mess. I know that my kids and I thrive more when we live in an organized home. For us, chaos is stressful… organized is calm.
This past week, it was as if a lightbulb suddenly went off in my mind and I knew what had to be done. All it took was my new Cricut Joy machine arriving to know that this was going to be the boost that I needed to get our playroom storage taken to the next level.
Check out the steps below that we took in our house to take our playroom storage to a whole other level!
Kids Toy Organization
Why We Love the Cricut Joy
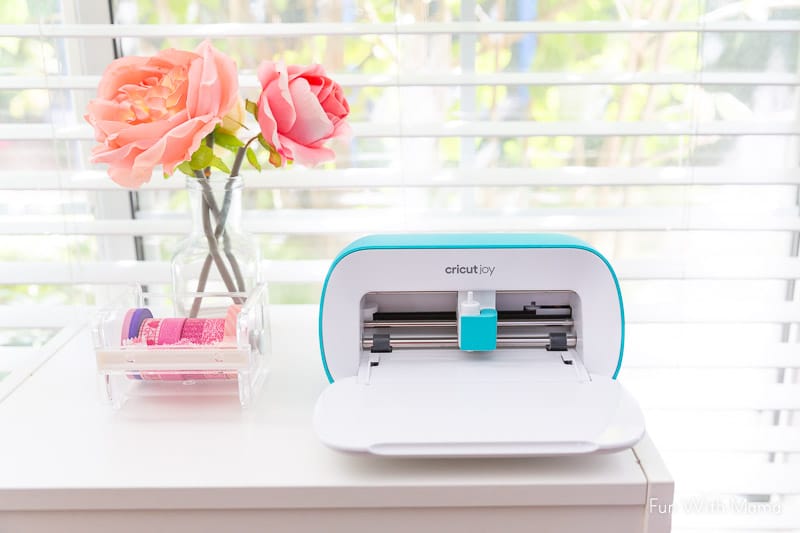
First off, what a perfect name for this crafty appliance. Not only is it an absolute joy to work with, but it was super simple to get used to as well.
I last used a Cricut machine over 9 years ago when I put together my daughter’s Minnie Mouse Birthday Party – Zebra Style party. That was so many years ago and the process was definitely different than what I saw when we used the Cricut Joy. I was a tiny bit nervous before it arrived. Gadgets and cutting machines generally have a bit of a learning curve but literally within moments of unpacking and setting up, I was creating some really cool labels for our kid’s toy storage.
(And did I mention that it’s small and hardly takes up any space?) I think I may have a new favorite gadget in the house!
Simple Tips for Using Your Cricut Joy
Even though it’s a very simple machine to use, there are a few things to keep in mind. Here are some of the things that I think are important when it comes to using your Cricut Joy machine:
-
Most projects take less than 15-30 minutes to do
If you’re worried that you don’t have all day to start a project, you really don’t have to! You can easily set up a project and be done with it within minutes.
-
You can use the Cricut Joy with your smartphone
Just set it up and you don’t even need a computer or a laptop to use it! How simple is that?
-
It’s not wireless so make certain that you’re near a plugin
This isn’t really a big deal but I found it helpful for storage purposes as well. I just set it in an area where I could keep it and have it plugged in without worry.
-
While we did use it for our playroom storage, there are so many other fun ideas
The sky is really the limit when it comes to using this machine. Any type of small project is a total breeze! (I even labeled my cell phone charger with my name using the Cricut Joy. Nobody will be stealing my charger now.)
Setting up our kid’s toy storage using the Cricut Joy
I love organizing and when things are labeled correctly, this helps my children know how to keep our playroom and home organized too.
I received a new Cricut Joy cutting machine this month and when working with a new machine, you know a learning curve is expected. I was very surprised by how little I needed to learn in order to work this magical machine that is perfectly sized for on the go labeling and that cut perfectly every time!
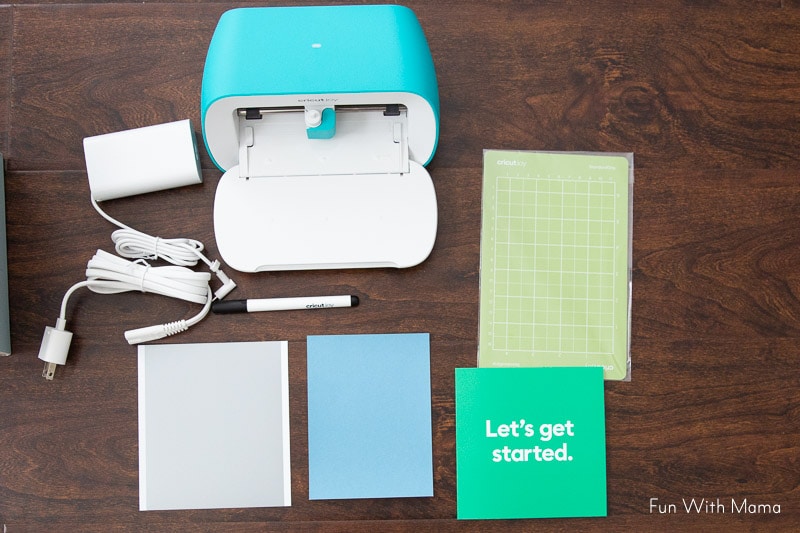
The Cricut Joy comes with the machine, a pen, a cutting mat, and a piece of vinyl that you will use to set up the machine.
To set up your Cricut Joy all you need to do is:
- Plug the Cricut joy into your electric outlet.
- Get the Cricut Design Space software to your computer.
- After you install the Cricut Design Space, you can connect to the Cricut Joy using Bluetooth on your computer.
- Then you open the software and set up your new machine.
- You will then be guided into creating the first cut… this is your test cut. You follow each of the prompts until you complete your first cut. Then you’re all set up!
What I loved about the setup process and test cut was that it taught me how to use the machine… that was as far as the learning curve went.
Now all I needed to do was to decide where to begin.
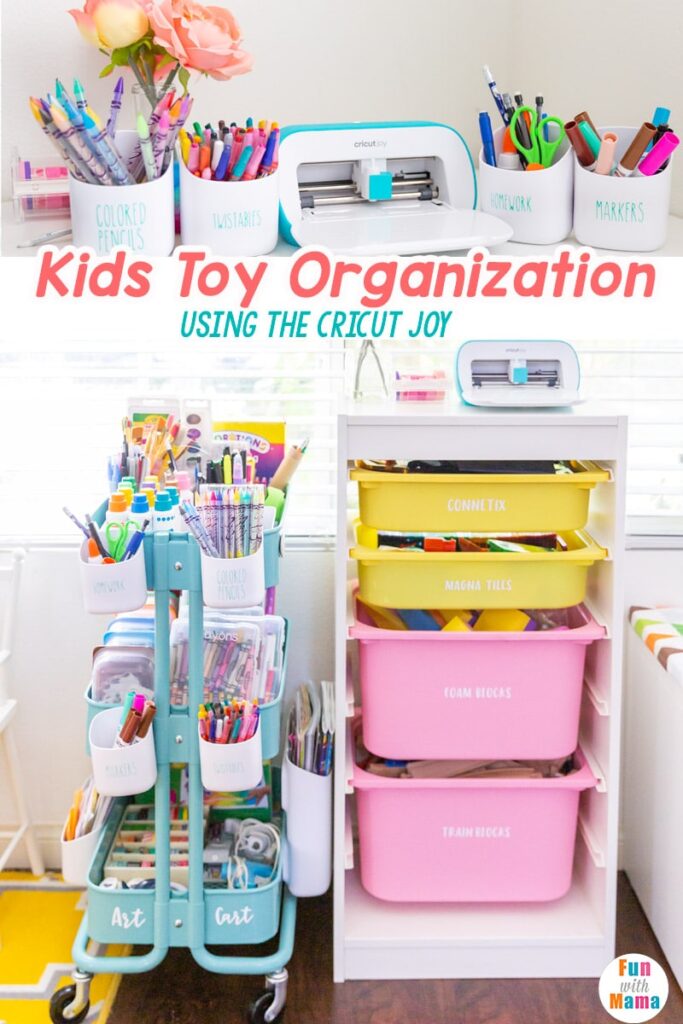
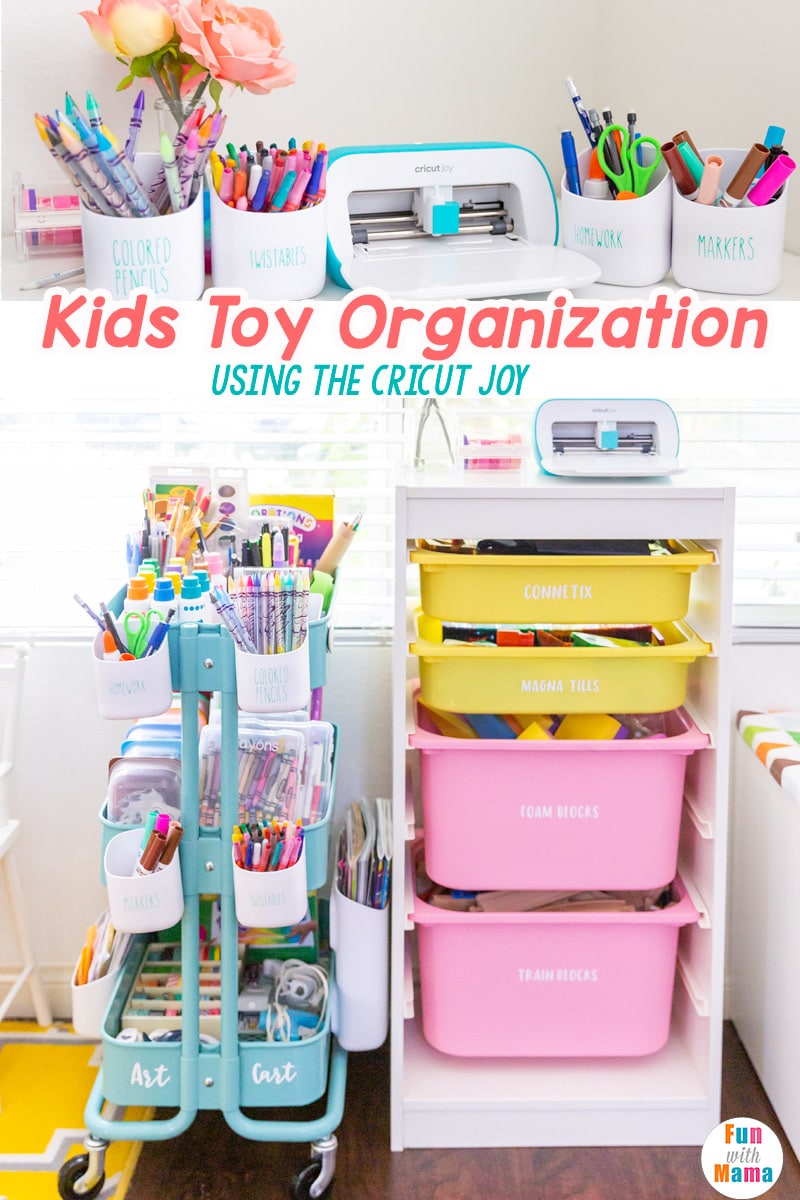
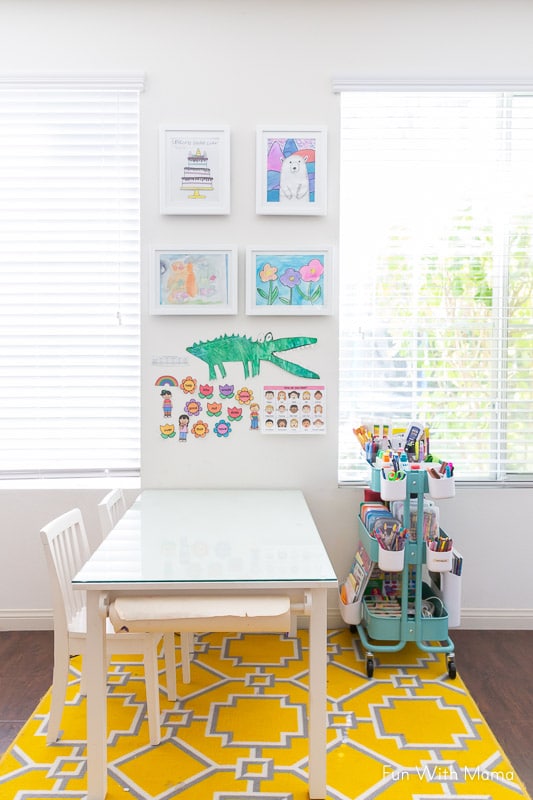
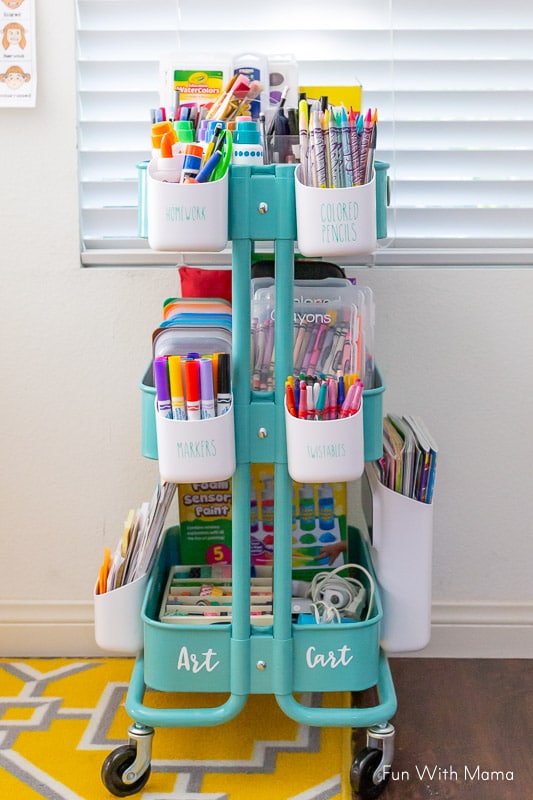
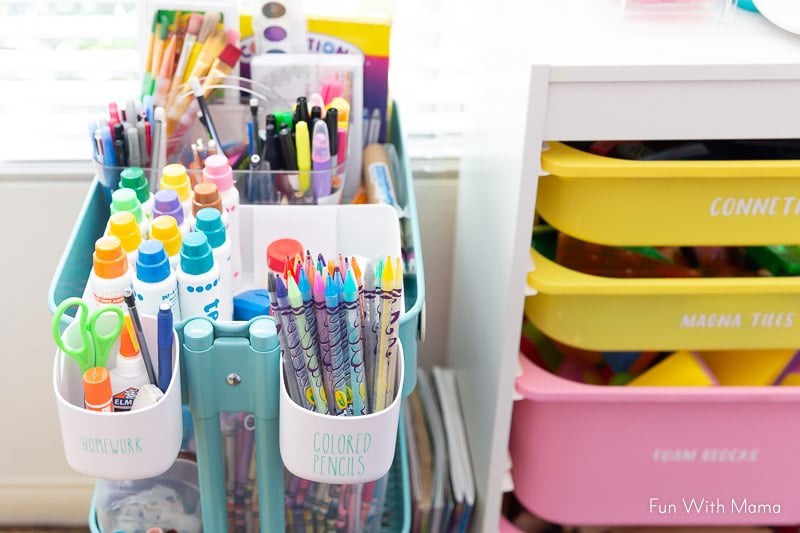
One area of my children’s playroom that I felt was missing a little something was the art cart. Now don’t get me wrong… I think I did an amazing job putting together my kid’s art cart but I wanted to make it a little more special… You can see how to how to create a kids Art Cart here. Our art cart is used daily and adding names to each of the containers is a helpful way to ensure things are put back in the correct place.
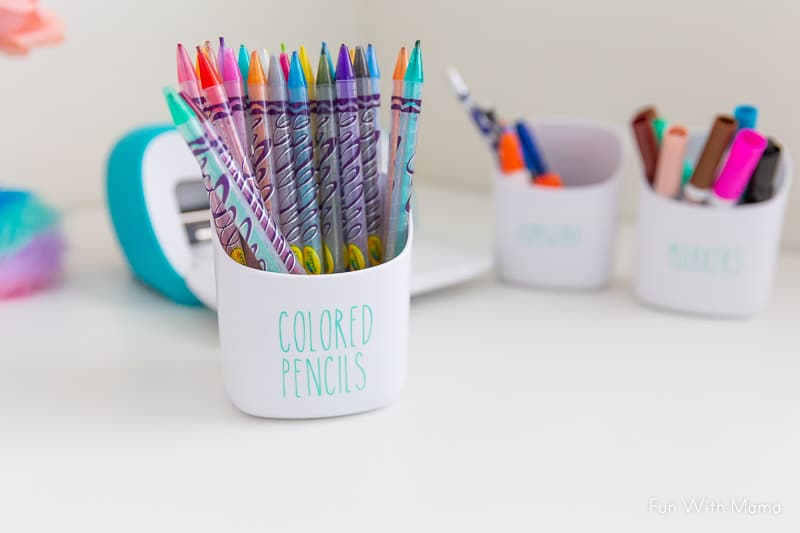
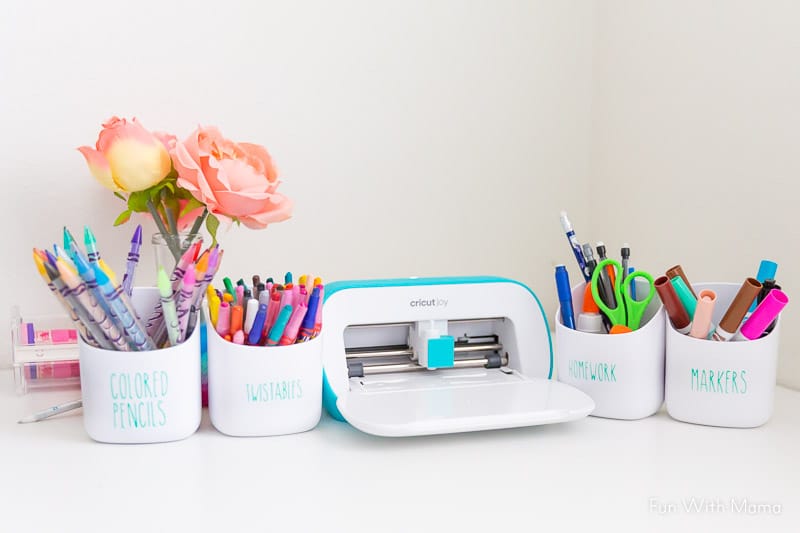
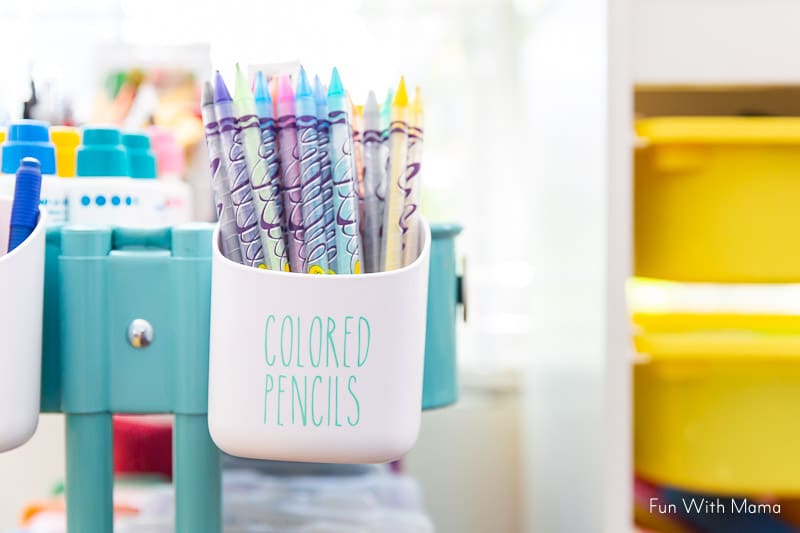
I wanted each of the magnetic containers on our art cart to have a cute and inviting name so that my children would remember to put things back in the right spot.
Here is what you will need to do this kid’s toy storage project:
- Cricut Joy (or any other Cricut cutting machine)
- Cricut Smart Vinyl (I used the Smart Vinyl in Teal)
- Cricut accessories/tools
- Cricut Joy Transfer Tape
- Containers to label
- Organization Labels Cut File – Here is my Cricut Cut File that you can use too!
- Art Cart Label – Free Cut File
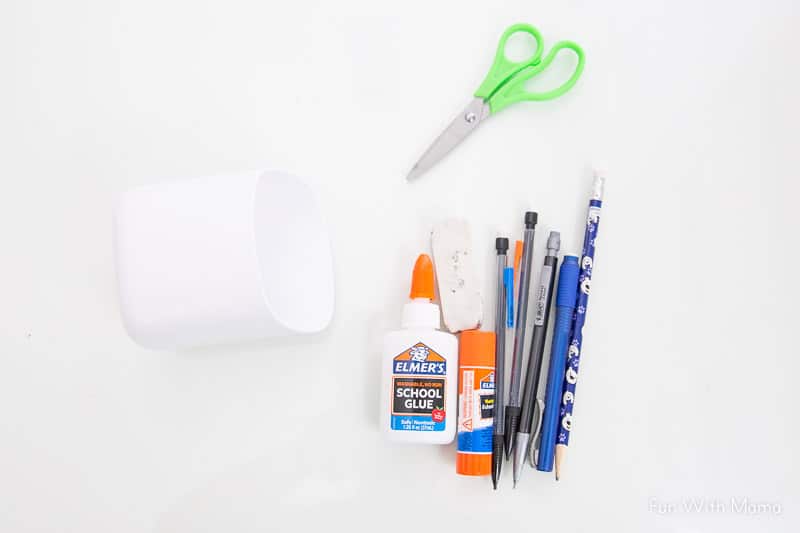
Here is an example of what I have in my homework magnetic container. It includes anything my 6-year-old daughter would need to do her homework. It has been amazingly helpful during distance learning too.
This is what I include in my children’s homework cup:
- Scissors
- Pencils
- Erasers
- Glue stick and normal glue
I also have other magnetic containers that have the following items inside: colored pencils, twistable crayons, and markers.
How to use the Cricut Joy to create organization labels
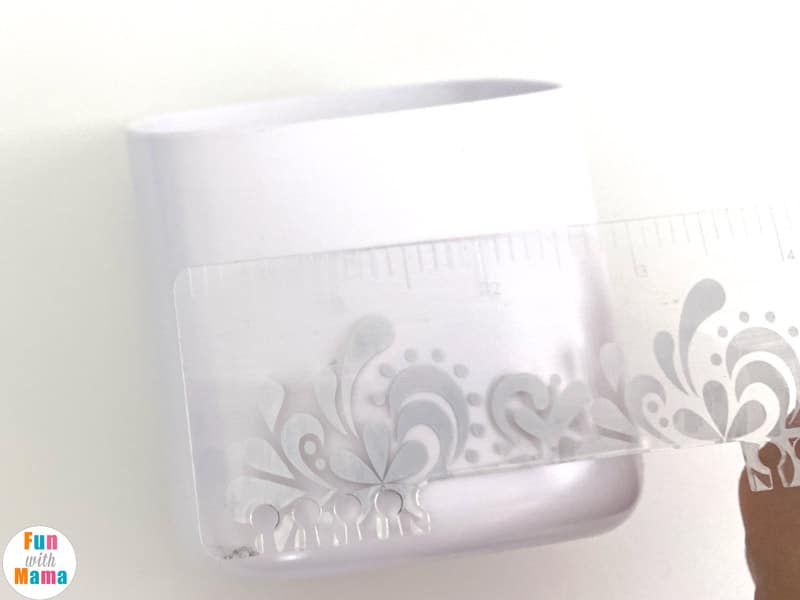
To begin, measure your containers to determine your label sizes.
I decided that a good amount of space to use within the front of the cup container would be 2 inches wide.
I then created a new project in Cricut Design Space and chose a font to use. I decided to use this skinny font.
On the Cricut Joy the text could be as wide as 4.5 inches. I wanted to make sure to maximize my use of the smart vinyl by placing my text labels as close as possible while situating each of the words to minimize how much smart vinyl I would be using.
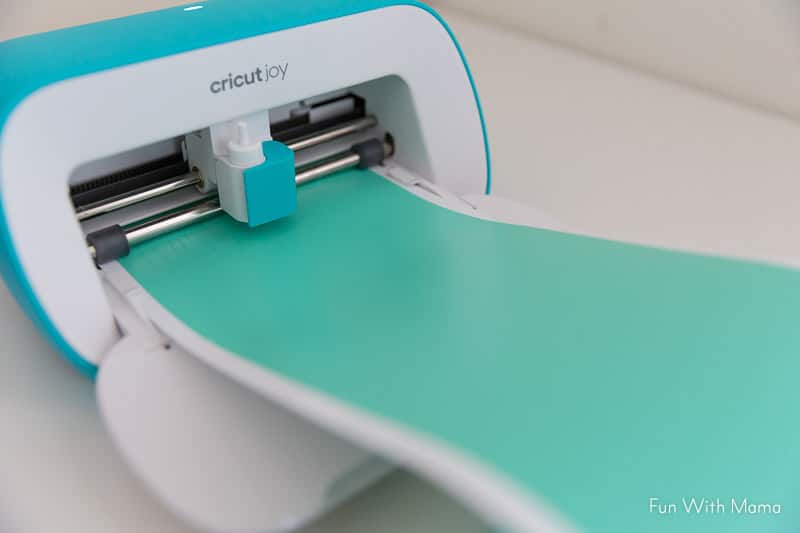
I love using the Cricut Smart Vinyl. You don’t need to stick it to a sticky mat. It feeds directly into the machine, which is so easy to use.
I used the removable Smart Vinyl in Teal for this project.
Once you feed the smart vinyl int the machine, the Cricut Joy begins to cut.
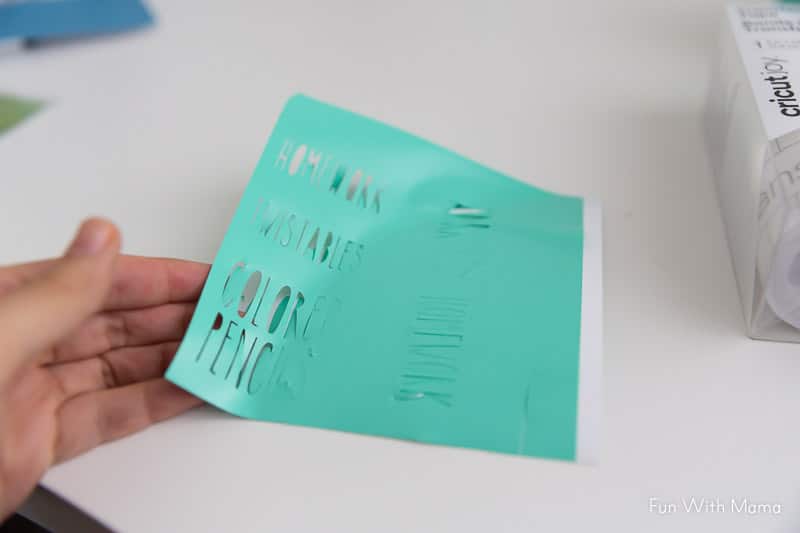
Once the Cricut Joy completes the cutting process you unload your mat, cut the smart vinyl, and remove the extra vinyl.
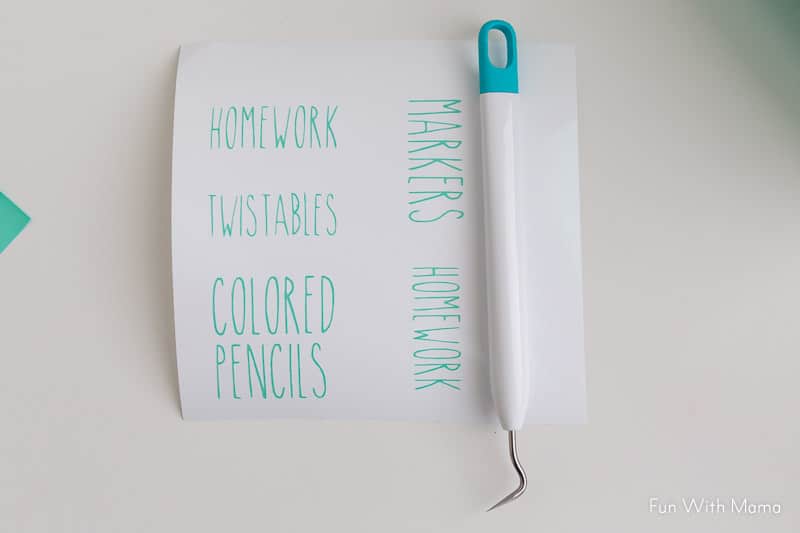
You then weed out any excess vinyl that is stuck in between letters: For example, the middle of the letters O, R, and A.
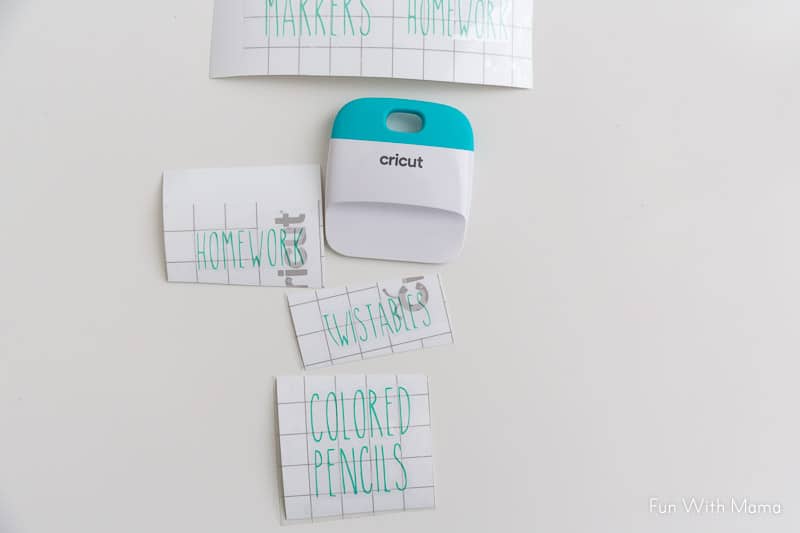
You then stick on the Cricut Joy Transfer Tape and rub the transfer tape to ensure you catch all the letters.
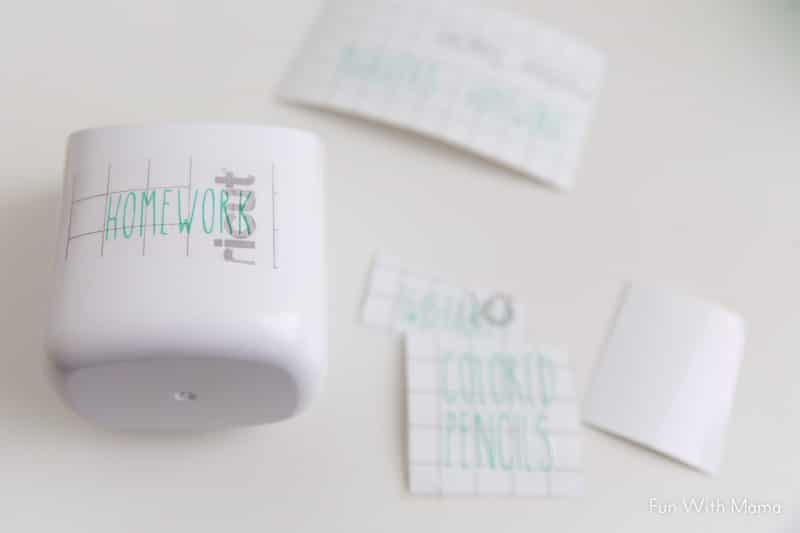
I then cut the labels out, peeled the transfer tape with the words attached, and placed it on to my containers.
You then peel the transfer tape off and you are left with a gorgeous label.
Isn’t it gorgeous?
You can get the organization labels cut file here.
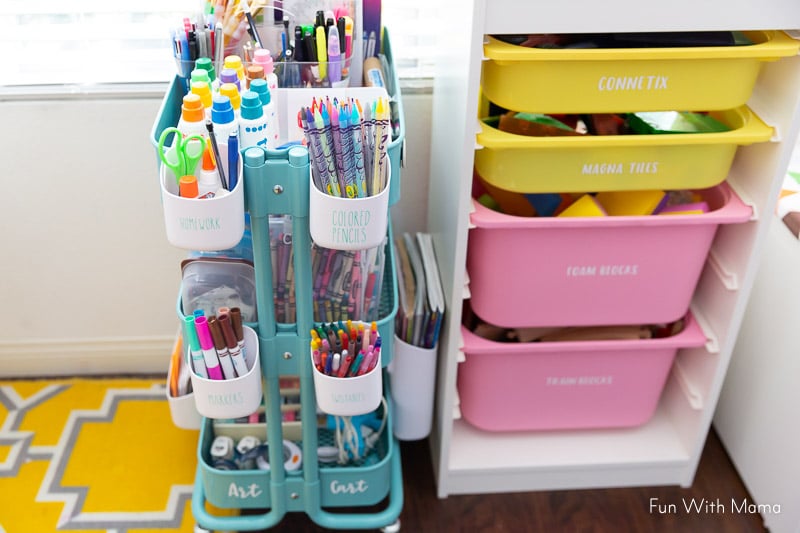
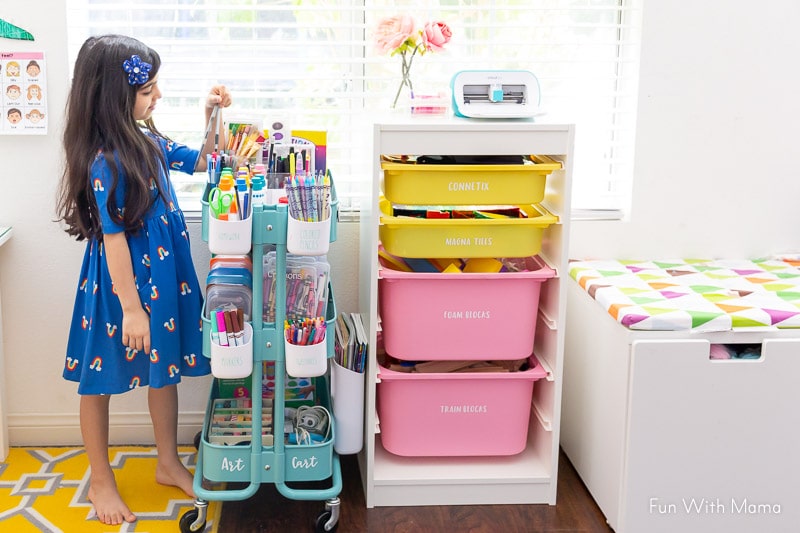
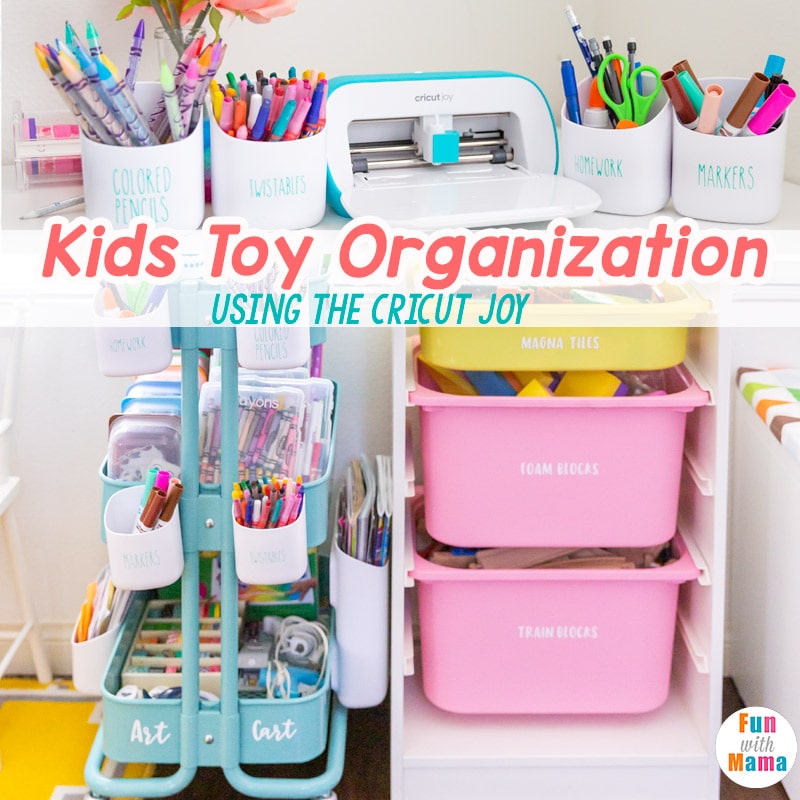
I placed the cups back onto the art cart and seeing how easy and quick the process was, I decided I needed to label more items in my children’s playroom.
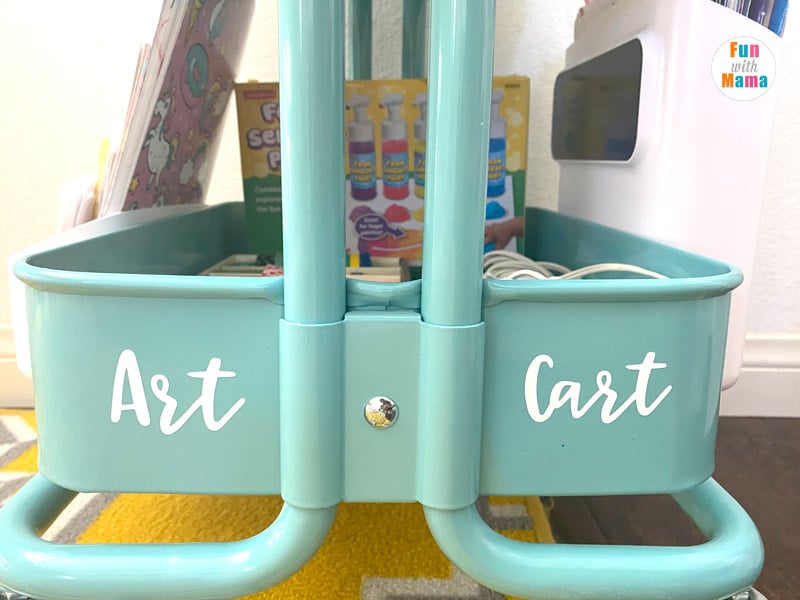
I then labeled the bottom as Art Cart – You can get the file here.
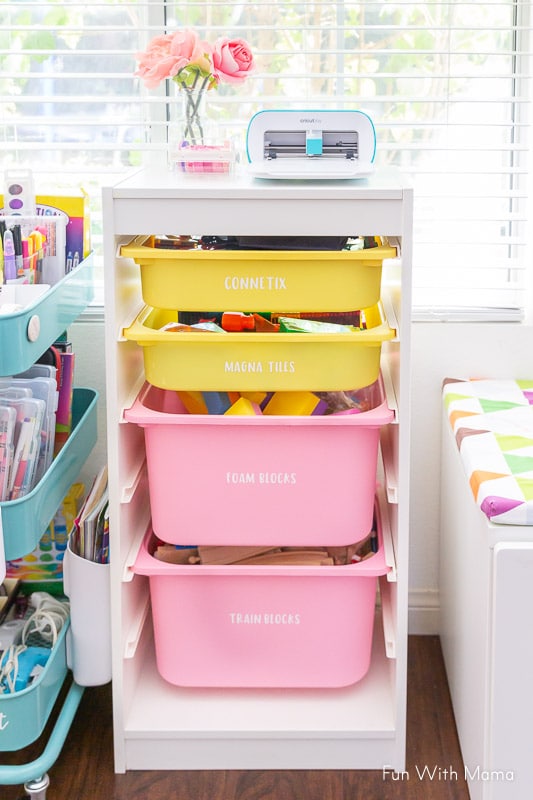
I also labeled these storage drawers filled with blocks and magnetic tiles.
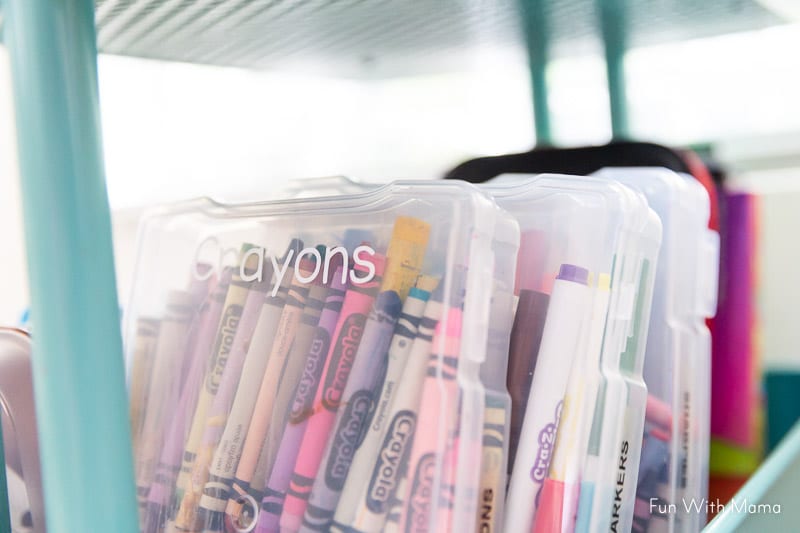
And then I labeled the crayon and marker boxes on the middle shelf too.
I labeled the art cart with the words art cart too.
Now that I have completed this simple project, I have so many other projects planned. I want to try making a card with the Cricut Joy, making a shirt with the Cricut Joy and my new Easy Press 2, and I plan to organize and label my pantry items too.
Like this kid’s toy storage post? Check out these other parenting tips and organizational ideas:
- Best Coupon Organizer Binder + Holder
- Homeschool Organization How to Bind A Book
- How to Create a Kids Playroom



Leave a Comment