Not only can you use Skittles to taste the rainbow, but you can also create your very own Skittles experiment to make a rainbow too! Your little scientists will love this simple science experiment that takes just a couple of minutes to do. Learn how to make a rainbow with Skittles candy in this post.
Related: Make Ice Cream In A Bag
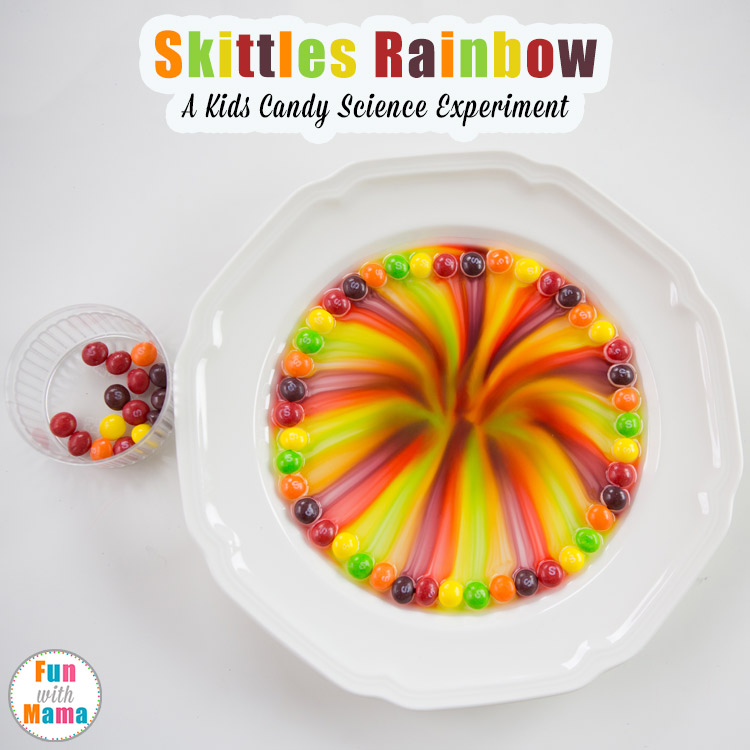
Don’t you love it when you find easy arts + crafts for kids that use minimal supplies you probably already have at home? I do!
You’ll be glad to know that your kids do not need to eat all that leftover candy from Halloween or Valentine’s Day! Turn that candy into an easy science experiment for kids!
This is a great activity that is suitable for all ages, especially for toddlers, preschoolers, kindergarteners, and even grade schoolers.
Skittles Rainbow Science Experiment
My kids absolutely love science experiments! They still can’t stop talking about the volcano science experiment. I think that one won me mother of the year. This one is no different.
I don’t think I’ve ever had as many “oooooh” and “aaaah” sounds coming from such an easy science experiment before.
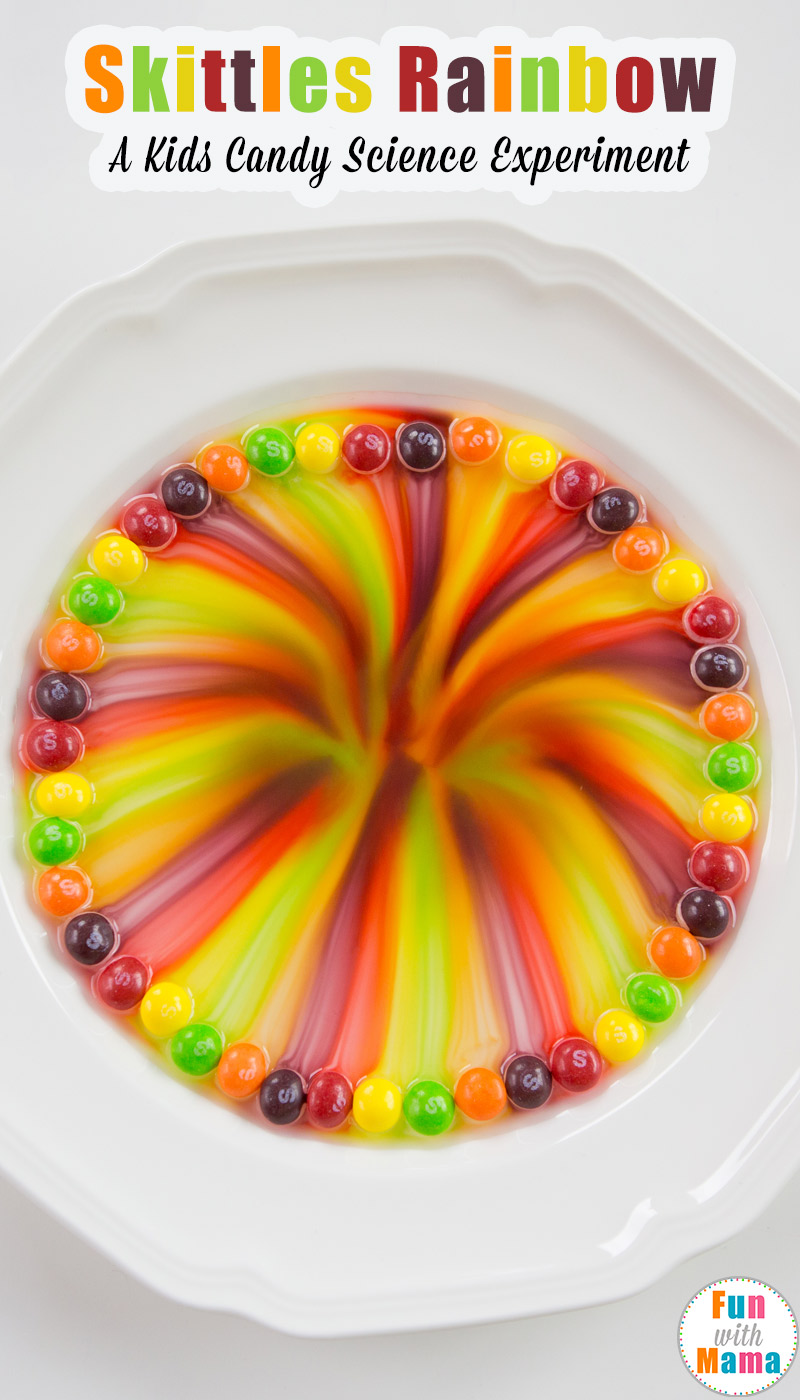
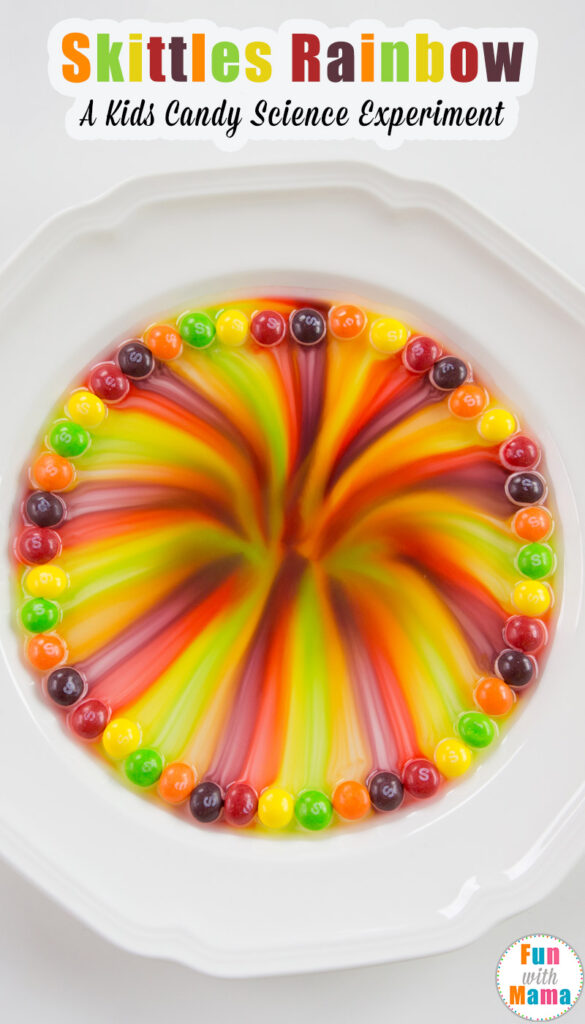
With this science activity, we saw a beautiful rainbow of colors that included yellow, orange, red, green, and purple.
Video Of the Skittles Experiment
Materials Required:
Please note that affiliate links are used in this post.
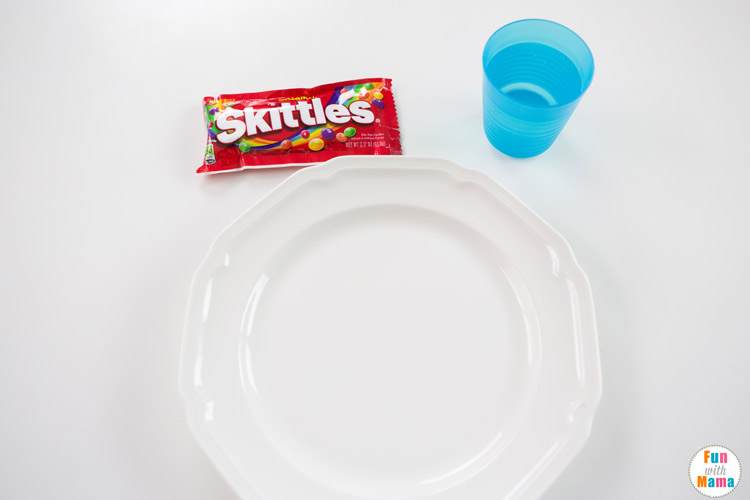
This activity only requires 3 things… 2 of which will already be found in your home.
- A plate or bowl
- Warm or Hot Water – Warm tap water worked great for me and that is what I used in this tutorial. The hotter, the better. Unless you are working with young children, then safety definitely needs to come first.
- Skittles – You will use one bag per time you do the experiment. You could also use M&M’s
Watch my kids do the skittles science project below.
How to do the Rainbow Skittles Science Experiment rainbow
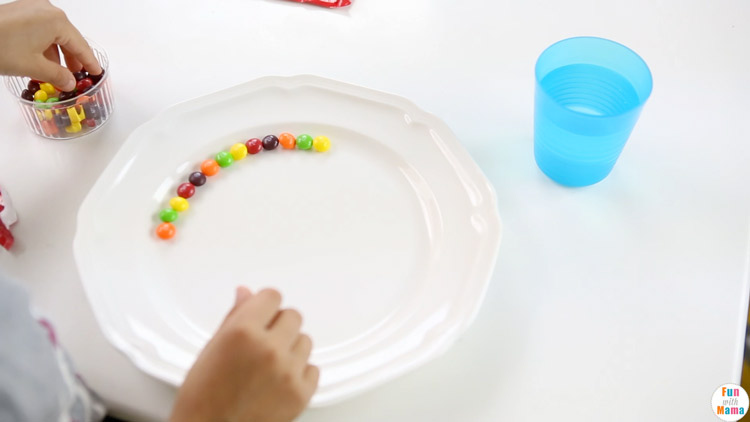
Step 1: Place the Skittles in a circle around your dish at the edge of the plate.
If working with younger kids, they will be strengthening their fine motor skills while doing this. They will also use their pincer grasp to place the skittles onto the plate. It is a great activity and fun way to get some pincer grasp practice.
Pincer grasp refers to using the middle finger, forefinger, and thumb together to grasp an object. It is an important fine motor skill that helps with holding a pencil.
This is a great time to talk about patterns. Create different patterns by using different colors. If you alternate the colors in the same order you will see a rainbow similar to the one in my pictures.
You could also do color blocking by placing the same color Skittles next to each other.
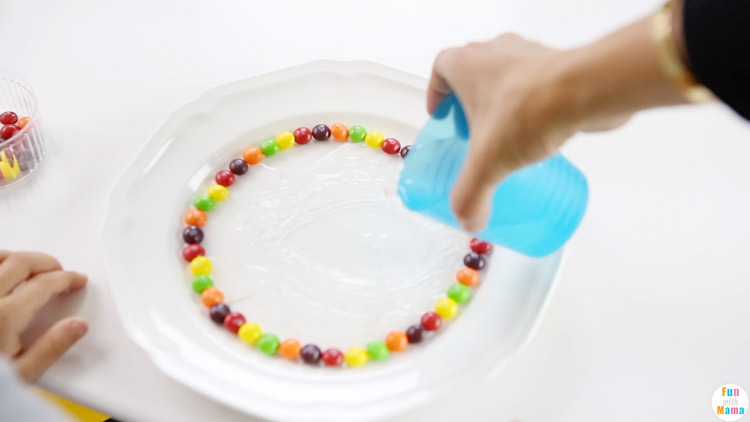
Once you have completed the circle, add in warm water from the middle of the plate. Make sure you add enough water to go right to the edge of the candy on both sides.
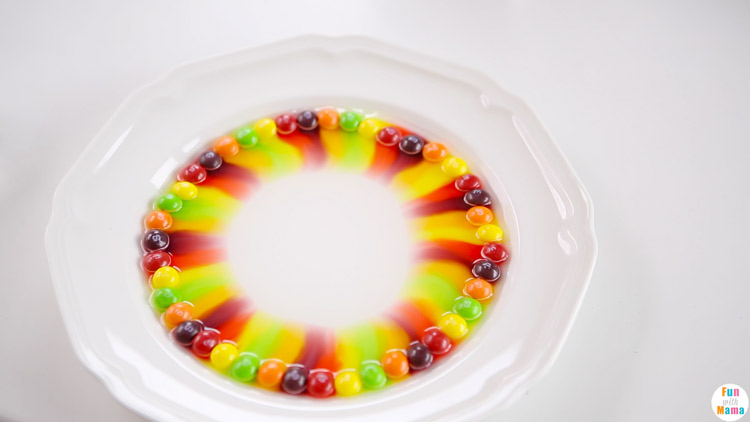
Wait thirty seconds to see the colors begin to release into the surrounding areas of water out. This happens when the sugar dissolves.
If you used cold water instead of warm water for the skittles experiment, then it will take longer for the colors to begin to release.
As the dye dissolves from the candy shell the rainbow of colors will start to come together.
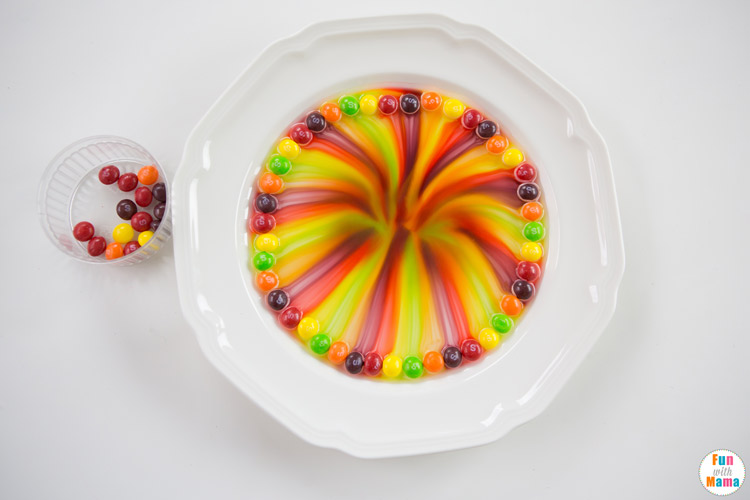
Then be completely amazed by your beautiful results! At the end you can have your child mix all the colors together using a toothpick or their finger. You can discuss how when you mix colors together it becomes a brownish color.
For my three-year-old, it really helped that the bowl I chose had the outline of the perfect circle. This helped her create a circle easily.
What is the science behind the skittles experiment?
Each Skittle has a colored shell that is made up of food coloring and a sugar coating.
The sugar molecules are then dispered into the water in areas that have a lower sugar concentration.. Because the sugar water has food coloring in it you can observe this process.
The amount of sugar dissolved within the colored water should be the same and therefore they are the same density. That is why the colors stay separated and don’t mix together.
The reason you use warm water or hot water instead of cold water is because the temperature can effect the result. If you use cold water the rainbow will form more slowly. That is because the water molecules in hot water (and warm water) move around more quicker than in cold water.
More creative ways to do this experiment:
- Try out different patterns.
- When teaching a young child about colors, you can use just 1 or 2 colors of Skittles. For example if you are teaching the color red, then only include red skittles. When you pour the hot water in you will see red water. If you are teaching a child the color purple then use just purple skittles. You will then see purple water.
- Adjust the temperature of water. Use two plates. In one plate of Skittles Candy use hot or warm water. In the second plate use cold water. Observe the differences between how the experiment works in each plate.
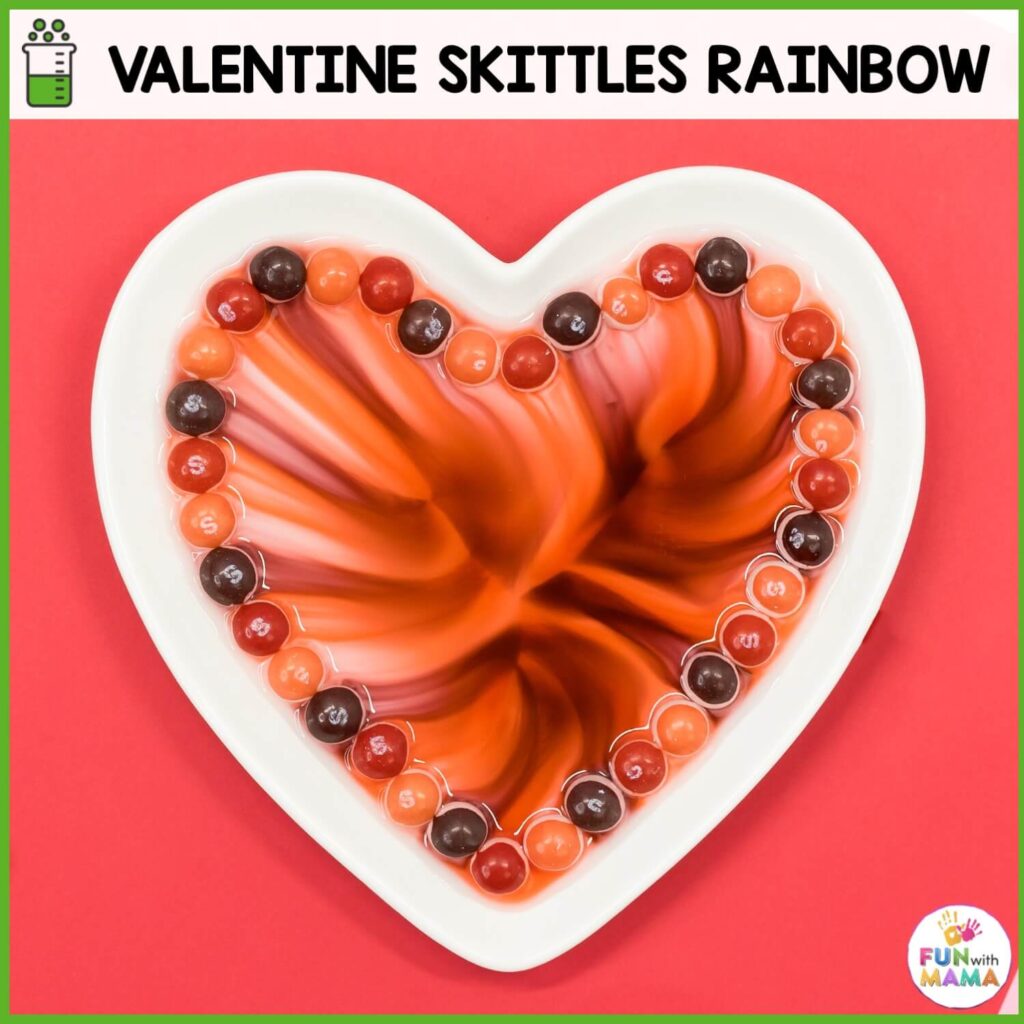
- Make this a seasonal activity by changing the colors as we did in this Valentines Skittles Experiment. Make it a St. Patrick’s Day activity by using just green skittles.
Looking for more candy experiments? Check out the Fizzing Candy Canes experiment too.
Check out these other rainbow activities too
- How to Make Crystal Rainbows
- How To Make Rainbow Colored Rice
- Rainbow Bubble Foam Recipe
- Make a Rainbow with Play Dough
More fun Candy Learning Activities from around the web.
This post was originally published on January 9, 2017.




Could you do the skittle rainbow on a cardboard plate then you could save the rainbow after it dries. You could discard any skittles that didn’t disolve.
that’s a cool idea too Fran.
I have been gathering fun ideas to do with my two boys during the summer break.. adding this one to the list.
I came over from Happiness is Homemade and I am so glad I did. This will be amazing for my twin grandsons to try. And they love Skittles. I’ll have to double the amount! This proves there is are in science.
Wishes for tasty dishes,
Linda