Please note that we received a free summer camp class at iDTech. All thoughts and opinions are my own (and son’s) honest opinions.
Once we find out more about iDTechs virtual camps to give your child a boost during this time away from school, make certain to check out these 5 stem activities to do at home right now!
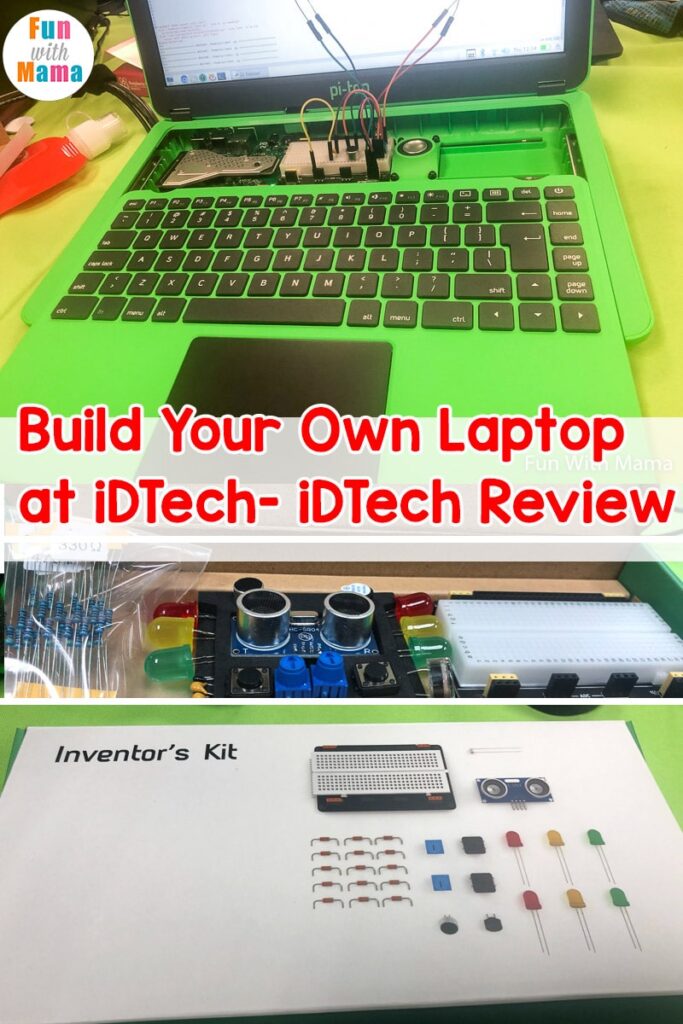
If your child loves to create, code, and build, you’re going to want to pay attention to this iDTech review. When our son found out that he was able to create his very own laptop from start to finish, he was literally packing his suitcase to get ready to leave.
If you’re looking for a way to add a little bit of education into your child’s summer, check out the option for iDTech Camp, Build and Code Your Own Take-Home Laptop. This specific camp is geared towards the ages of 10-12 and they go into great detail about incorporating coding and robotics.

iDTech Review – Build and Code Your Own Take-Home Laptop at Camp
Since our son was actually the one to attend, I was able to get first-hand information from him about his experiences. (He was so excited and proud of himself and all that he had learned, as were we!)
Since he was so geared up to tell us all about what they learned, he was able to give me some great information about the Build and Code Your Own Take-Home Laptop course at camp.
While I’ll interject some information that is helpful throughout the post, here is what he learned and felt important to pass on to others in hopes that they’ll get to take part in this experience.
Our Son’s Personal iDTech Review
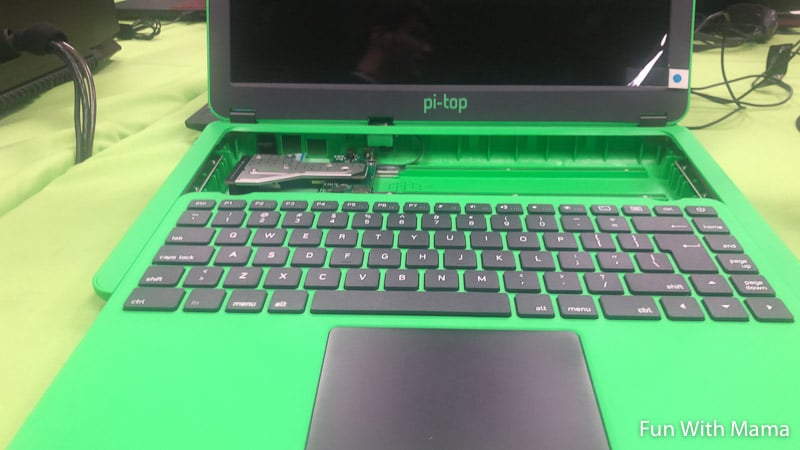
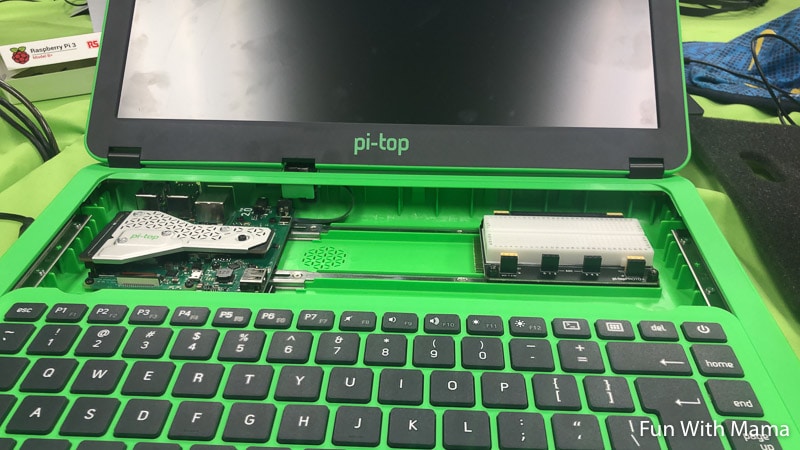
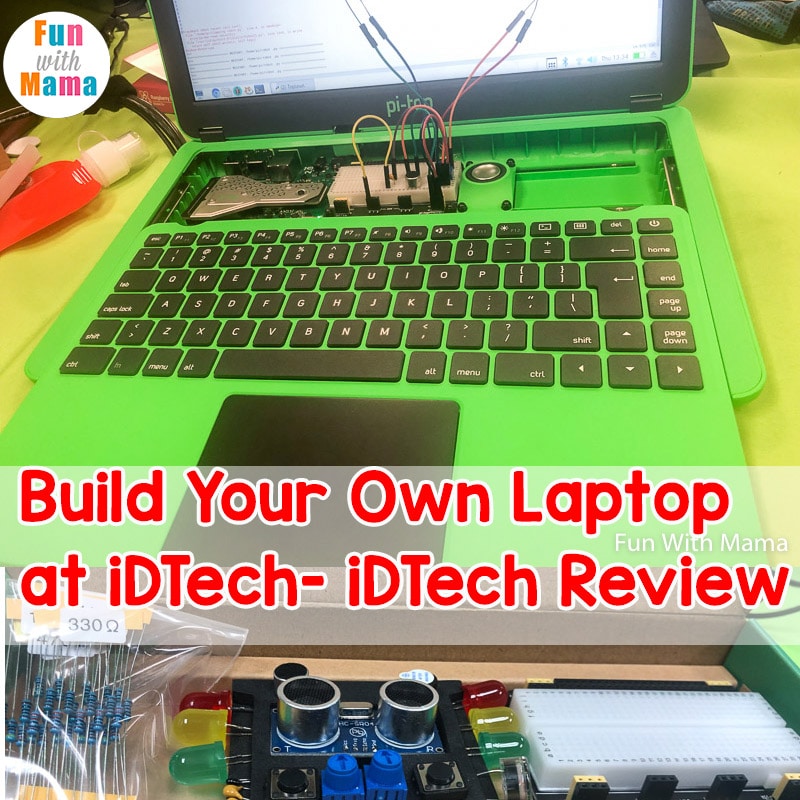
We started our camp by meeting our teachers and we got a brief explanation of what we were going to do. It was full of information and helped to prepare us for getting started. We also got to see the box of the computer we were going to make which was a pi-top computer.
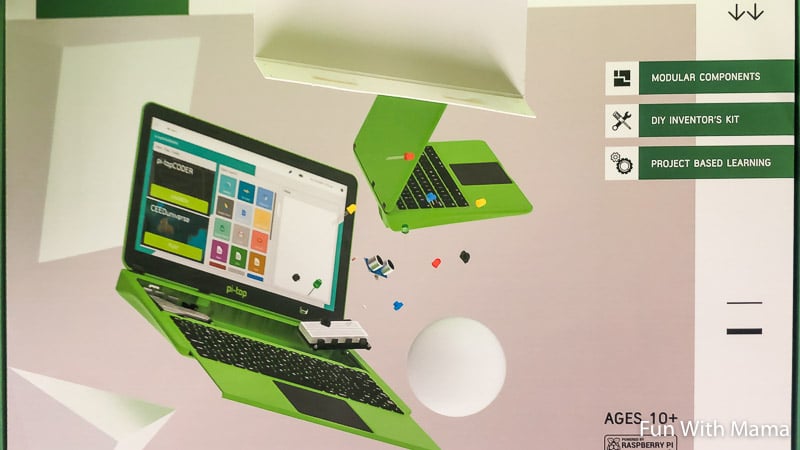
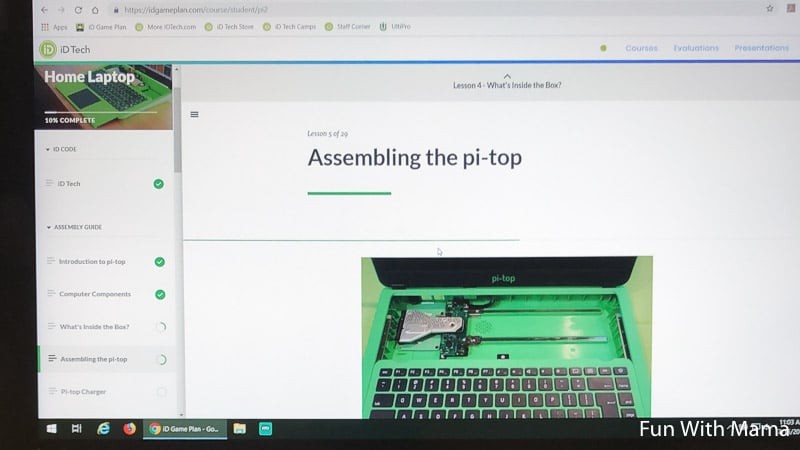
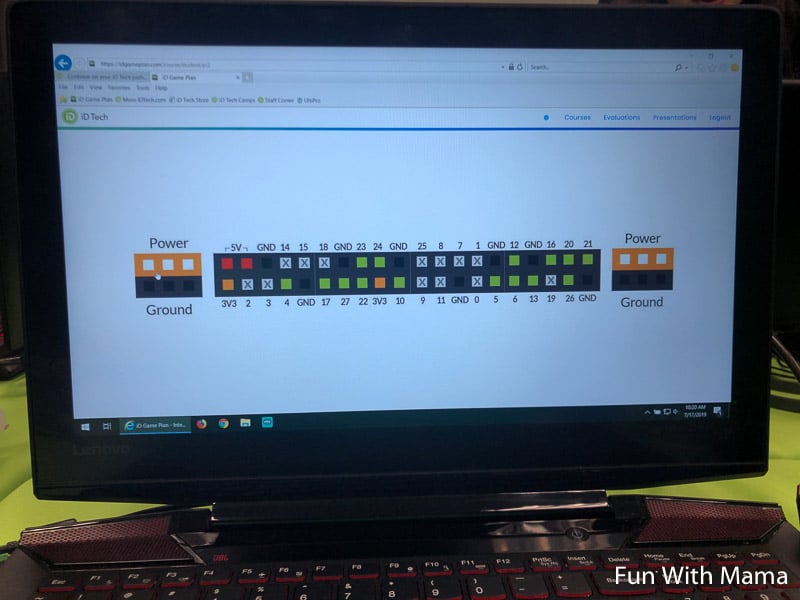
Before we were able to open the box and get started, we had to log in to the iDTech website where we saw instruction and pictures of what we were going to be creating. This helped us to get a really good visual and start to get prepared about what we were about to make.
After that, we opened up the computer and we learned how to move the keyboard and access all the controllers. We were then given control pieces that we put together to create the motherboard on our own.
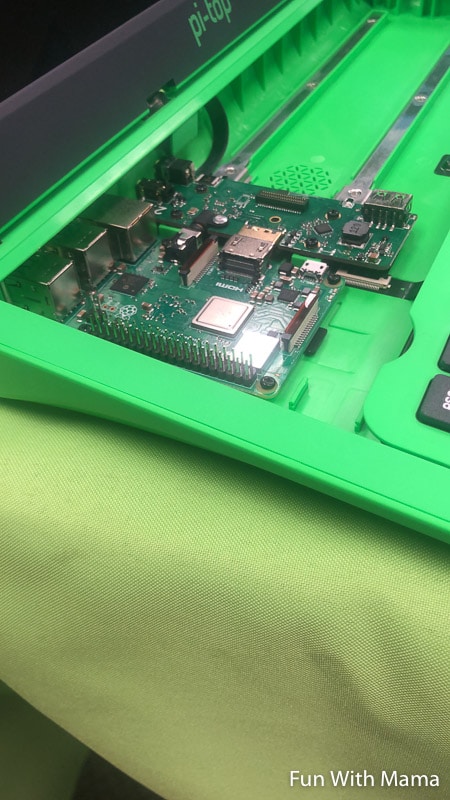
Once we installed the motherboard, we then had to install the cooler fan and began to work on the rest of the computer.
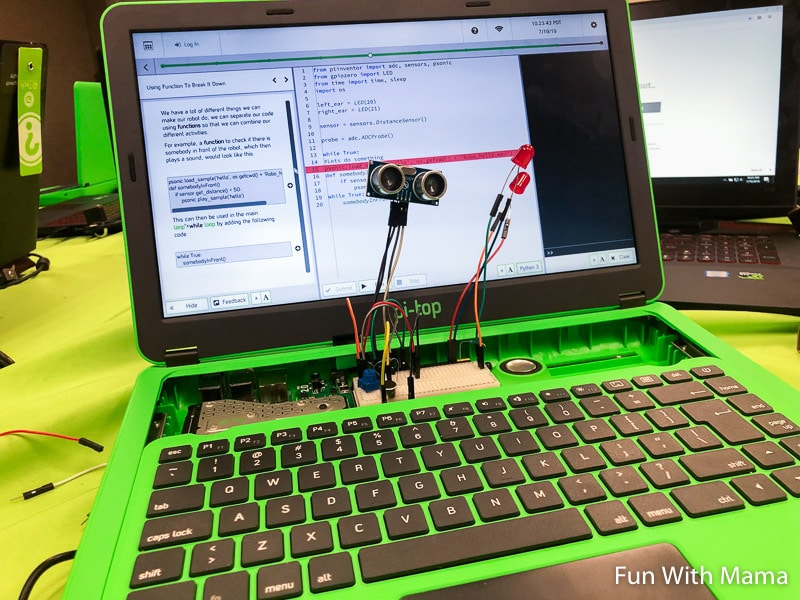
After completing the rest of the steps for the computer, we were then given an inventor kit that was full of things to code and pieces to add to the motherboard.
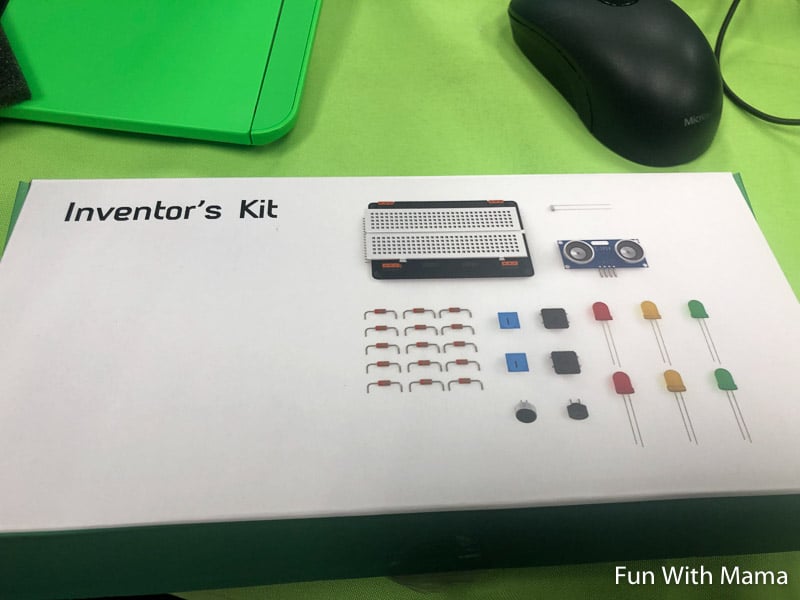
As you can tell from the picture below, there were a lot of parts and pieces to this kit! Each one varied and allowed us to learn how to code different circuits.
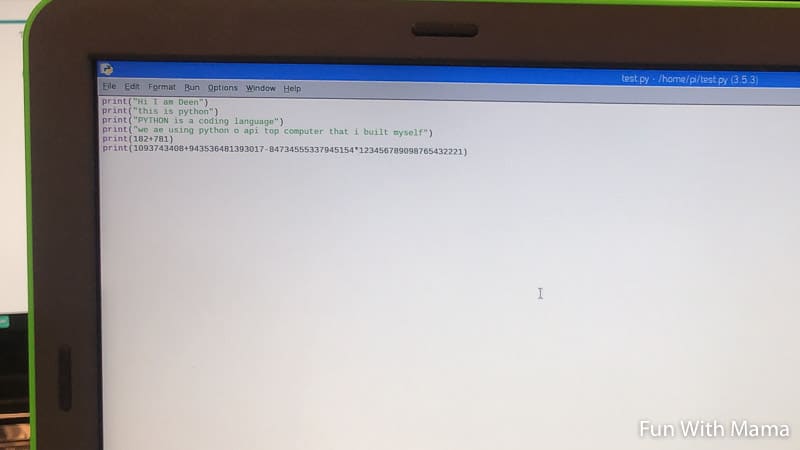
The screenshot below is just a small sample of some of the code that I actually worked on. It basically tells what pi-top is and here we were learning how to make a sentence in python.
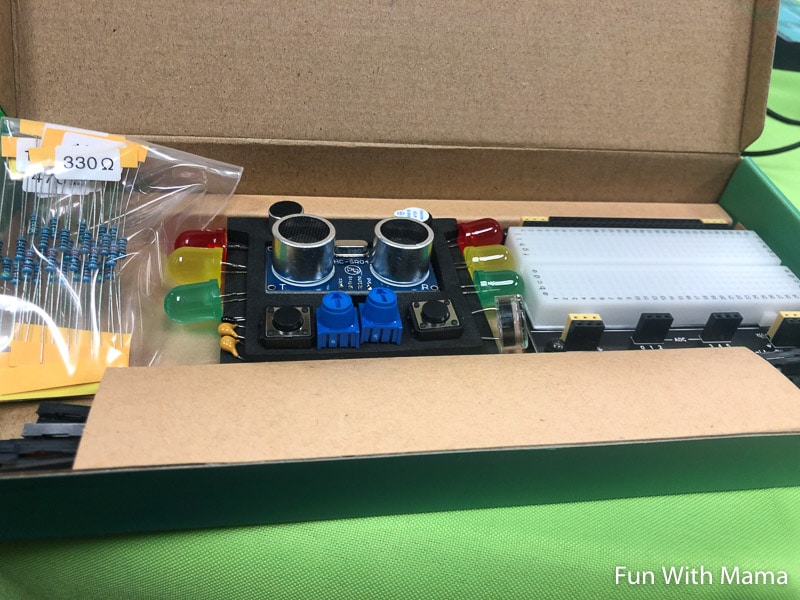
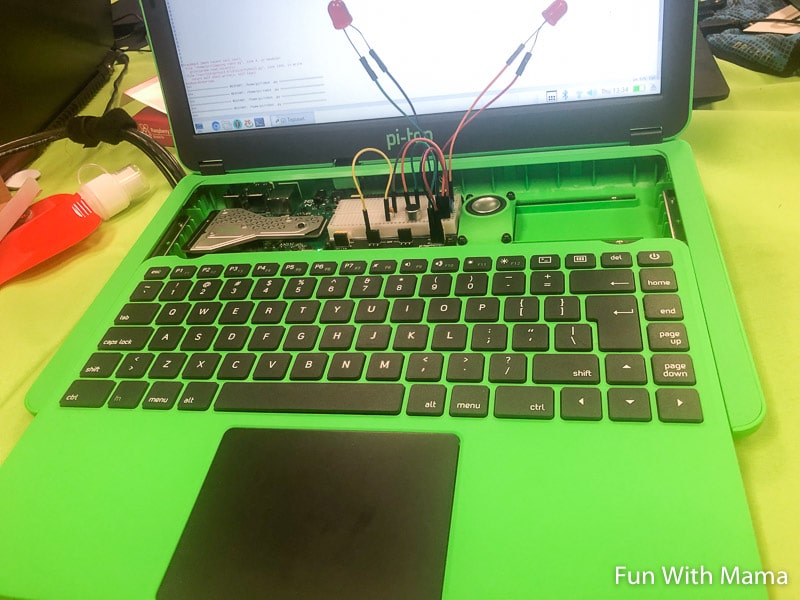
Since we were creating the laptop, we had to add in quite a few pieces. This picture shows what it looked like when we were adding new pieces to the motherboard.
Once the pieces were loaded, we then logged into the website and learned how to start making the circuits.
As you can tell from the picture below, it was a very detailed process! This picture shows me creating my very first circuit and learning how to use it and create different things.
Like all fun projects, everything must eventually come to an end. In this case, it meant that the laptop was created and the coding was started to see if the circuits were created to be able to finish the projects.
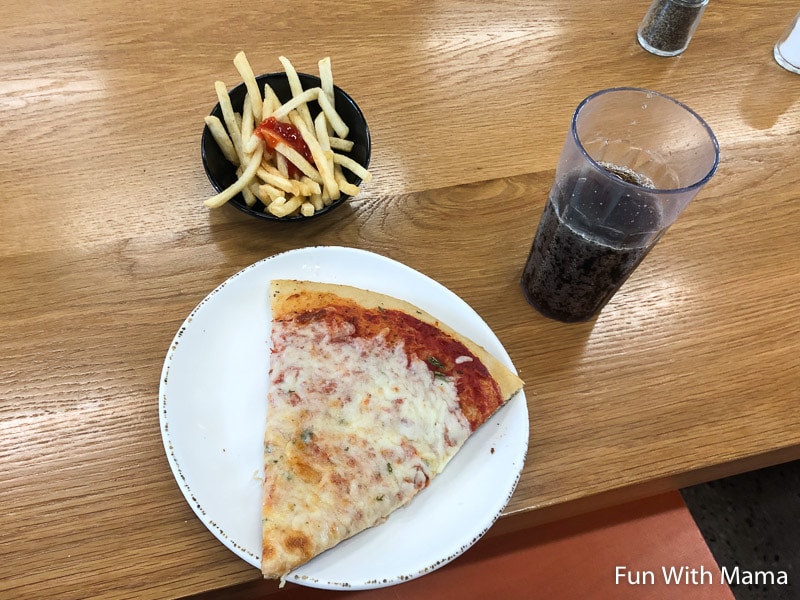
And just because I’m a fan of a good meal after hard work, I had to snap a quick picture of the food options that come with the food pack at iDTech camp as well. There were other choices like grilled cheese, burgers, and even Chinese food. Since I am not able to eat everything (some meats) I was able to have some good cheese pizza.
That was my son’s review in his own words.
Pretty awesome, right? As his parents, we were so proud of him and his hard work! He came home excited and couldn’t wait to fill us in on the details and show us the laptop that he’s built!
What will your child learn at Build and Code Your Own Take-Home Laptop iDTech Camp?
Along with the confidence that they’ll get, your child will actually learn these things as well:
- How to assemble a laptop
- How to start coding using Python
- Hands-on skills and project planning
And those are just a few things. I honestly felt like our son learned great skills in creative thinking, analytical thinking, and was then able to talk to us and teach us a few things as well.
Final thoughts on iDTech Camp?
We were so happy that our son attended the camp. Being able to build his own laptop and learn to code at his age has given him such a boost in him believing in his own abilities. After hearing her sibling bask in how much he loved his class, my 10 year old daughter is also eager to take a class at iD Tech.. hopefully this summer.
The time is now to register and reserve a spot for your child. This is one camp that they’re going to remember for the rest of their lives. Not only are they going to make new friends, but they’re going to learn life-long skills that are practical, too.
Use my link and my code: NADIA125 for $125 off virtual tech camps at iD Tech.
Once we find out more about iDTechs virtual camps to give your child a boost during this time away from school, make certain to check out these 5 stem activities to do at home right now!


Leave a Comment