
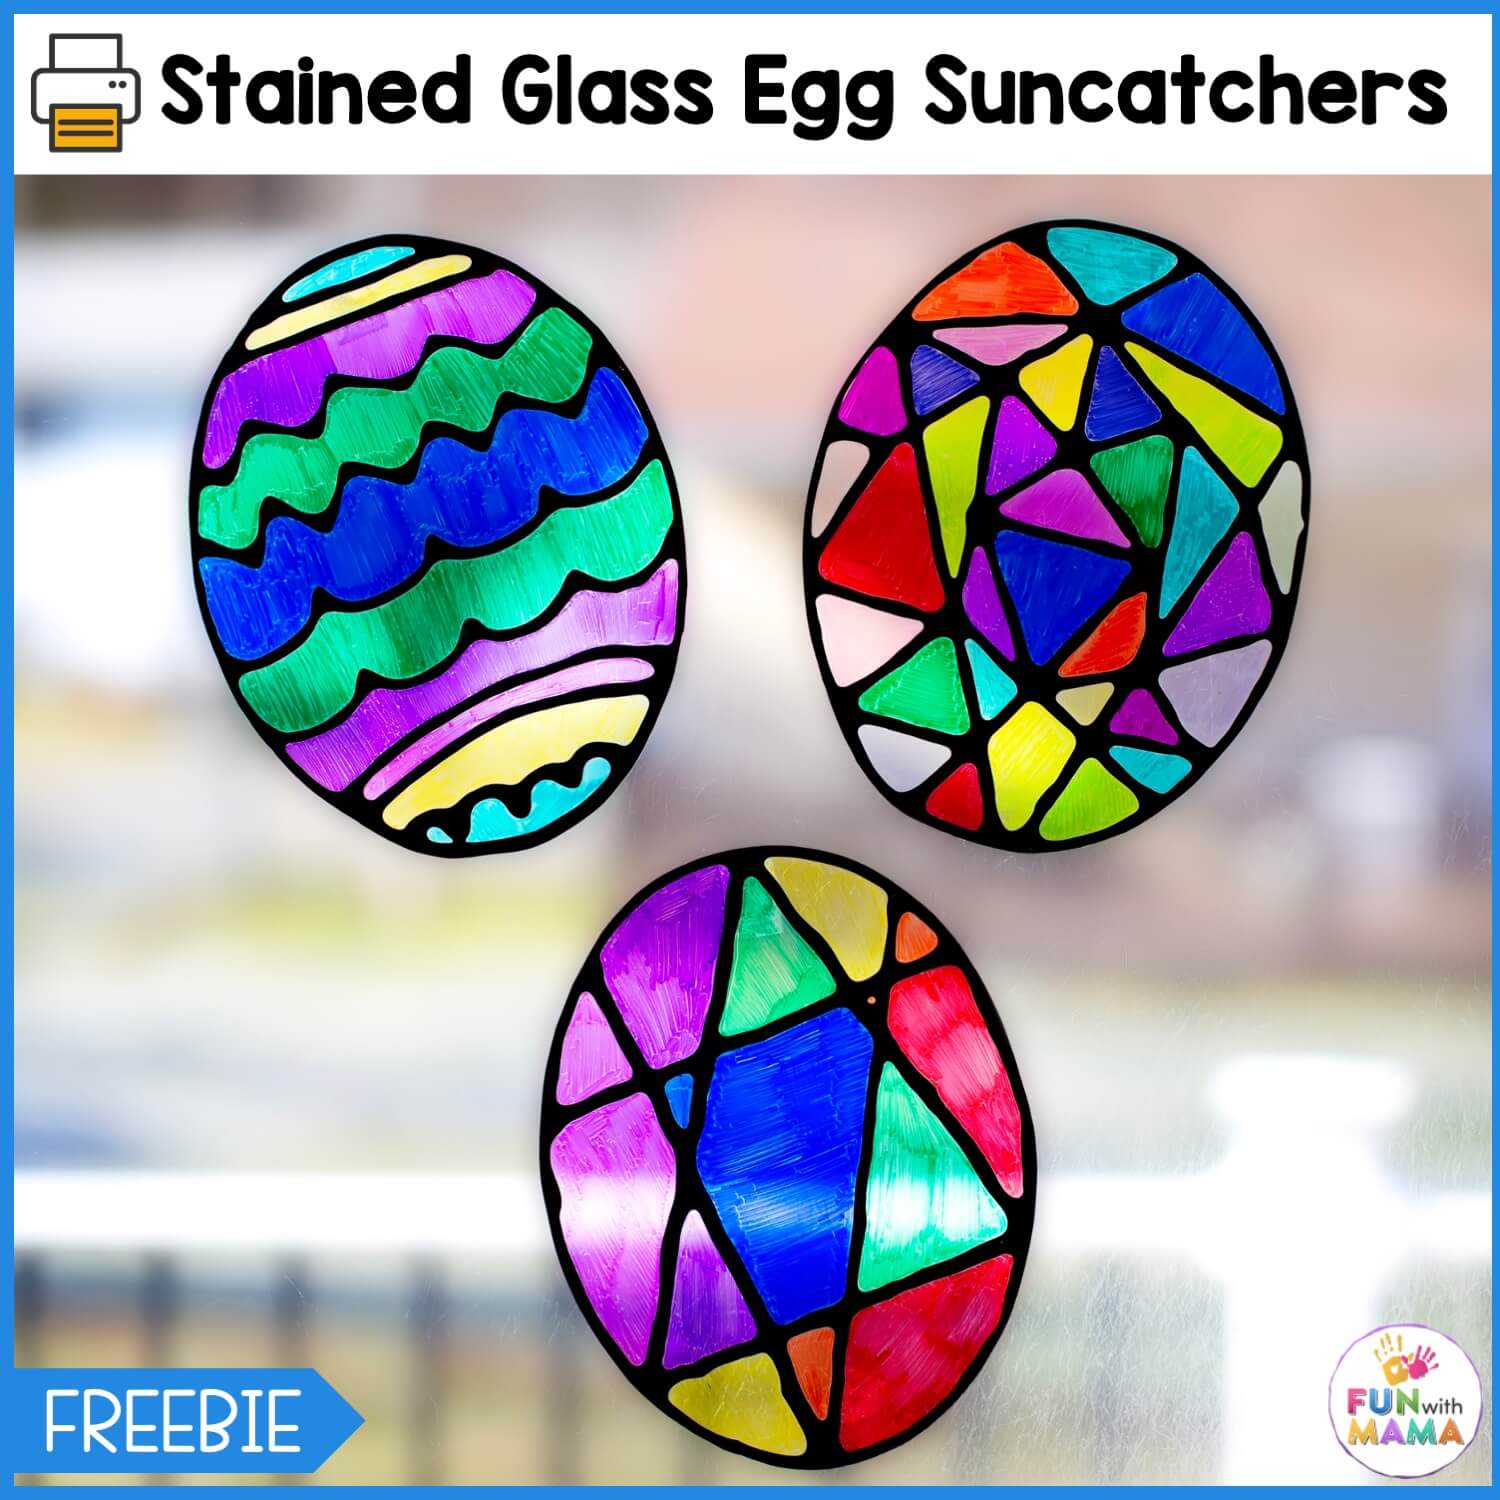
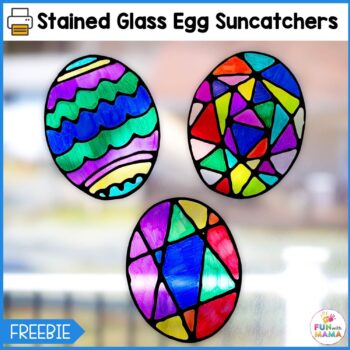
Suncatchers are an easy, budget-friendly craft activity that is so much fun to make! These Stained Glass Egg Suncatchers will brighten up everyone’s day. It’s really simple to create, making it an ideal Easter-themed activity. Grab the free template and follow the step-by-step instructions to create beautifully patterned eggs. I included 5 different designs, so you can have your pick or create a variety!
Related: Fizzy Egg Dyeing Science Experiment (this is the best way to dye Easter eggs whilst incorporating some STEM learning!)
This craft requires minimal prep and only a few supplies. It may seem like a simple activity, but it always leaves the kids in awe. You’ll also have a beautiful decoration to hang and enjoy. With Easter approaching, it’s the perfect time to try out this activity! You can find more fun Easter activities here.
Watch the egg craft video here
What is a Suncatcher?
A suncatcher or ‘light reflector’ is a reflective ornament that is stuck or hung on windows to catch the sunlight and scatter it around. They add an element of beauty and sunshine to any space! You can stick them on your classroom windows or at home. If you’re interested in the science behind stained glass, here’s some info!
You might also love our Stained Glass Heart Suncatcher Craft.
Supplies Needed
- Black acrylic paint
- Glue
- Laminating sheets
- Sharpie pens
- Scissor
- Egg template (which you can download at the bottom of this blog post).
You can find links to all these supplies in my craft supplies list.
How to make Stained Glass Egg Suncatchers
Learn how to make these beautiful, bright eggs in just a few steps!
Step 1 – Prepare your Materials
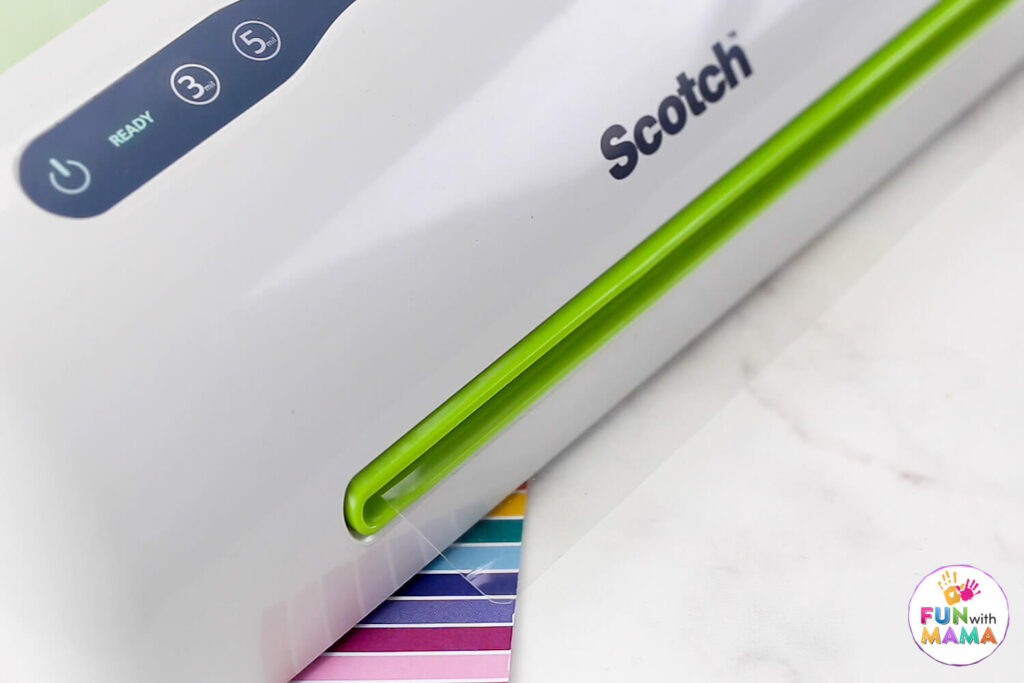
First, you’ll need to laminate an empty sheet. Start by grabbing a clear plastic laminator pocket sheet. Slide it through your laminating machine without anything inside to ensure a clean, smooth surface for your suncatchers.
Thereafter, print your template on regular printing paper. You can pick from any of the 5 unique designs. If you want to create your own designs, use the blank egg template.
Step 2 – Prepare the Glue
Next, you’ll need to make some black acrylic glue to give our suncatchers that bold outline.
To make black glue:
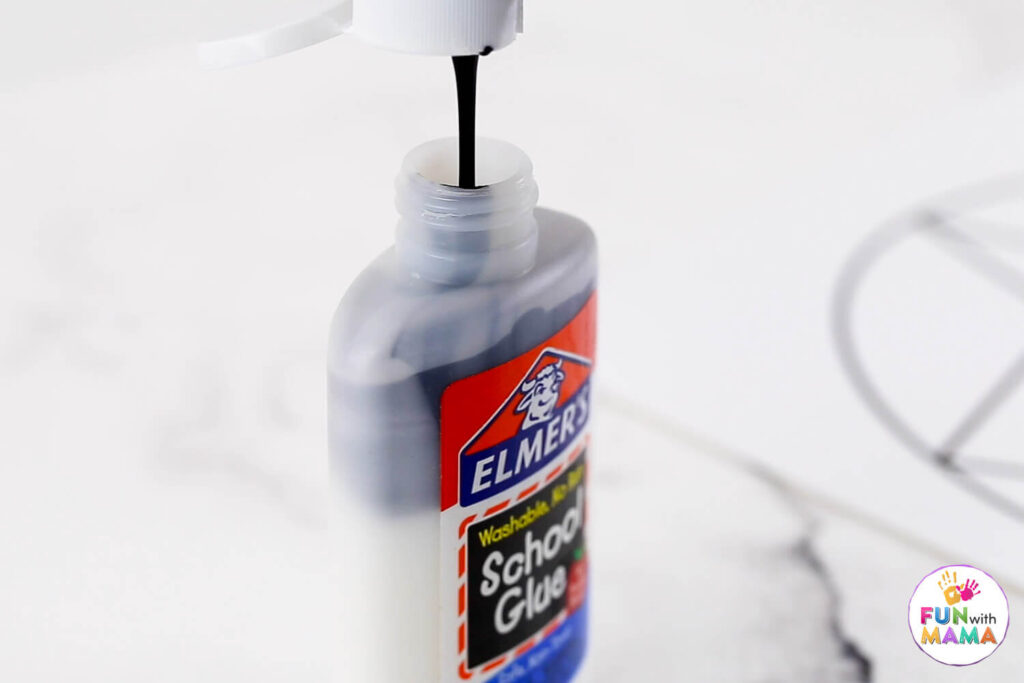
- Begin by grabbing your trusty white glue bottle. To make room for the black acrylic paint, pour out approximately one-third of the glue from the bottle. You can transfer it to another bottle or use it up for other projects until you have about two-thirds of the glue remaining in the bottle.
- Next, it’s time to add the star ingredient – black acrylic paint! Slowly pour the paint into the glue bottle until it reaches near the top. We want to achieve a rich, deep black hue for our outlines.
- Once the paint is in, secure the cap tightly and give the bottle a good shake. Mix the glue and paint thoroughly until the color is evenly distributed throughout the mixture.
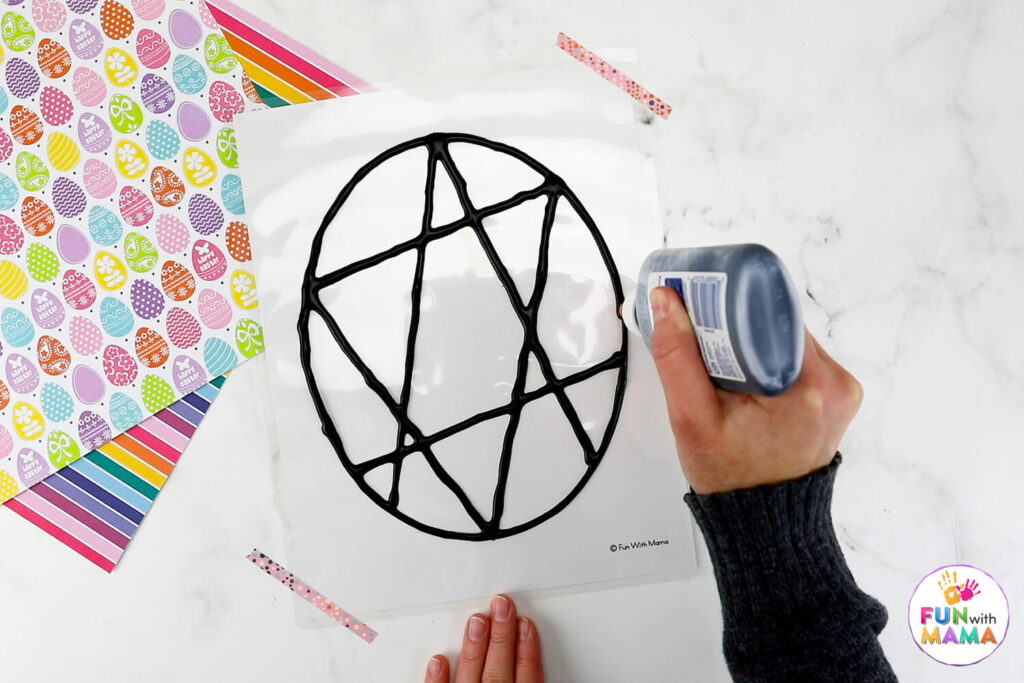
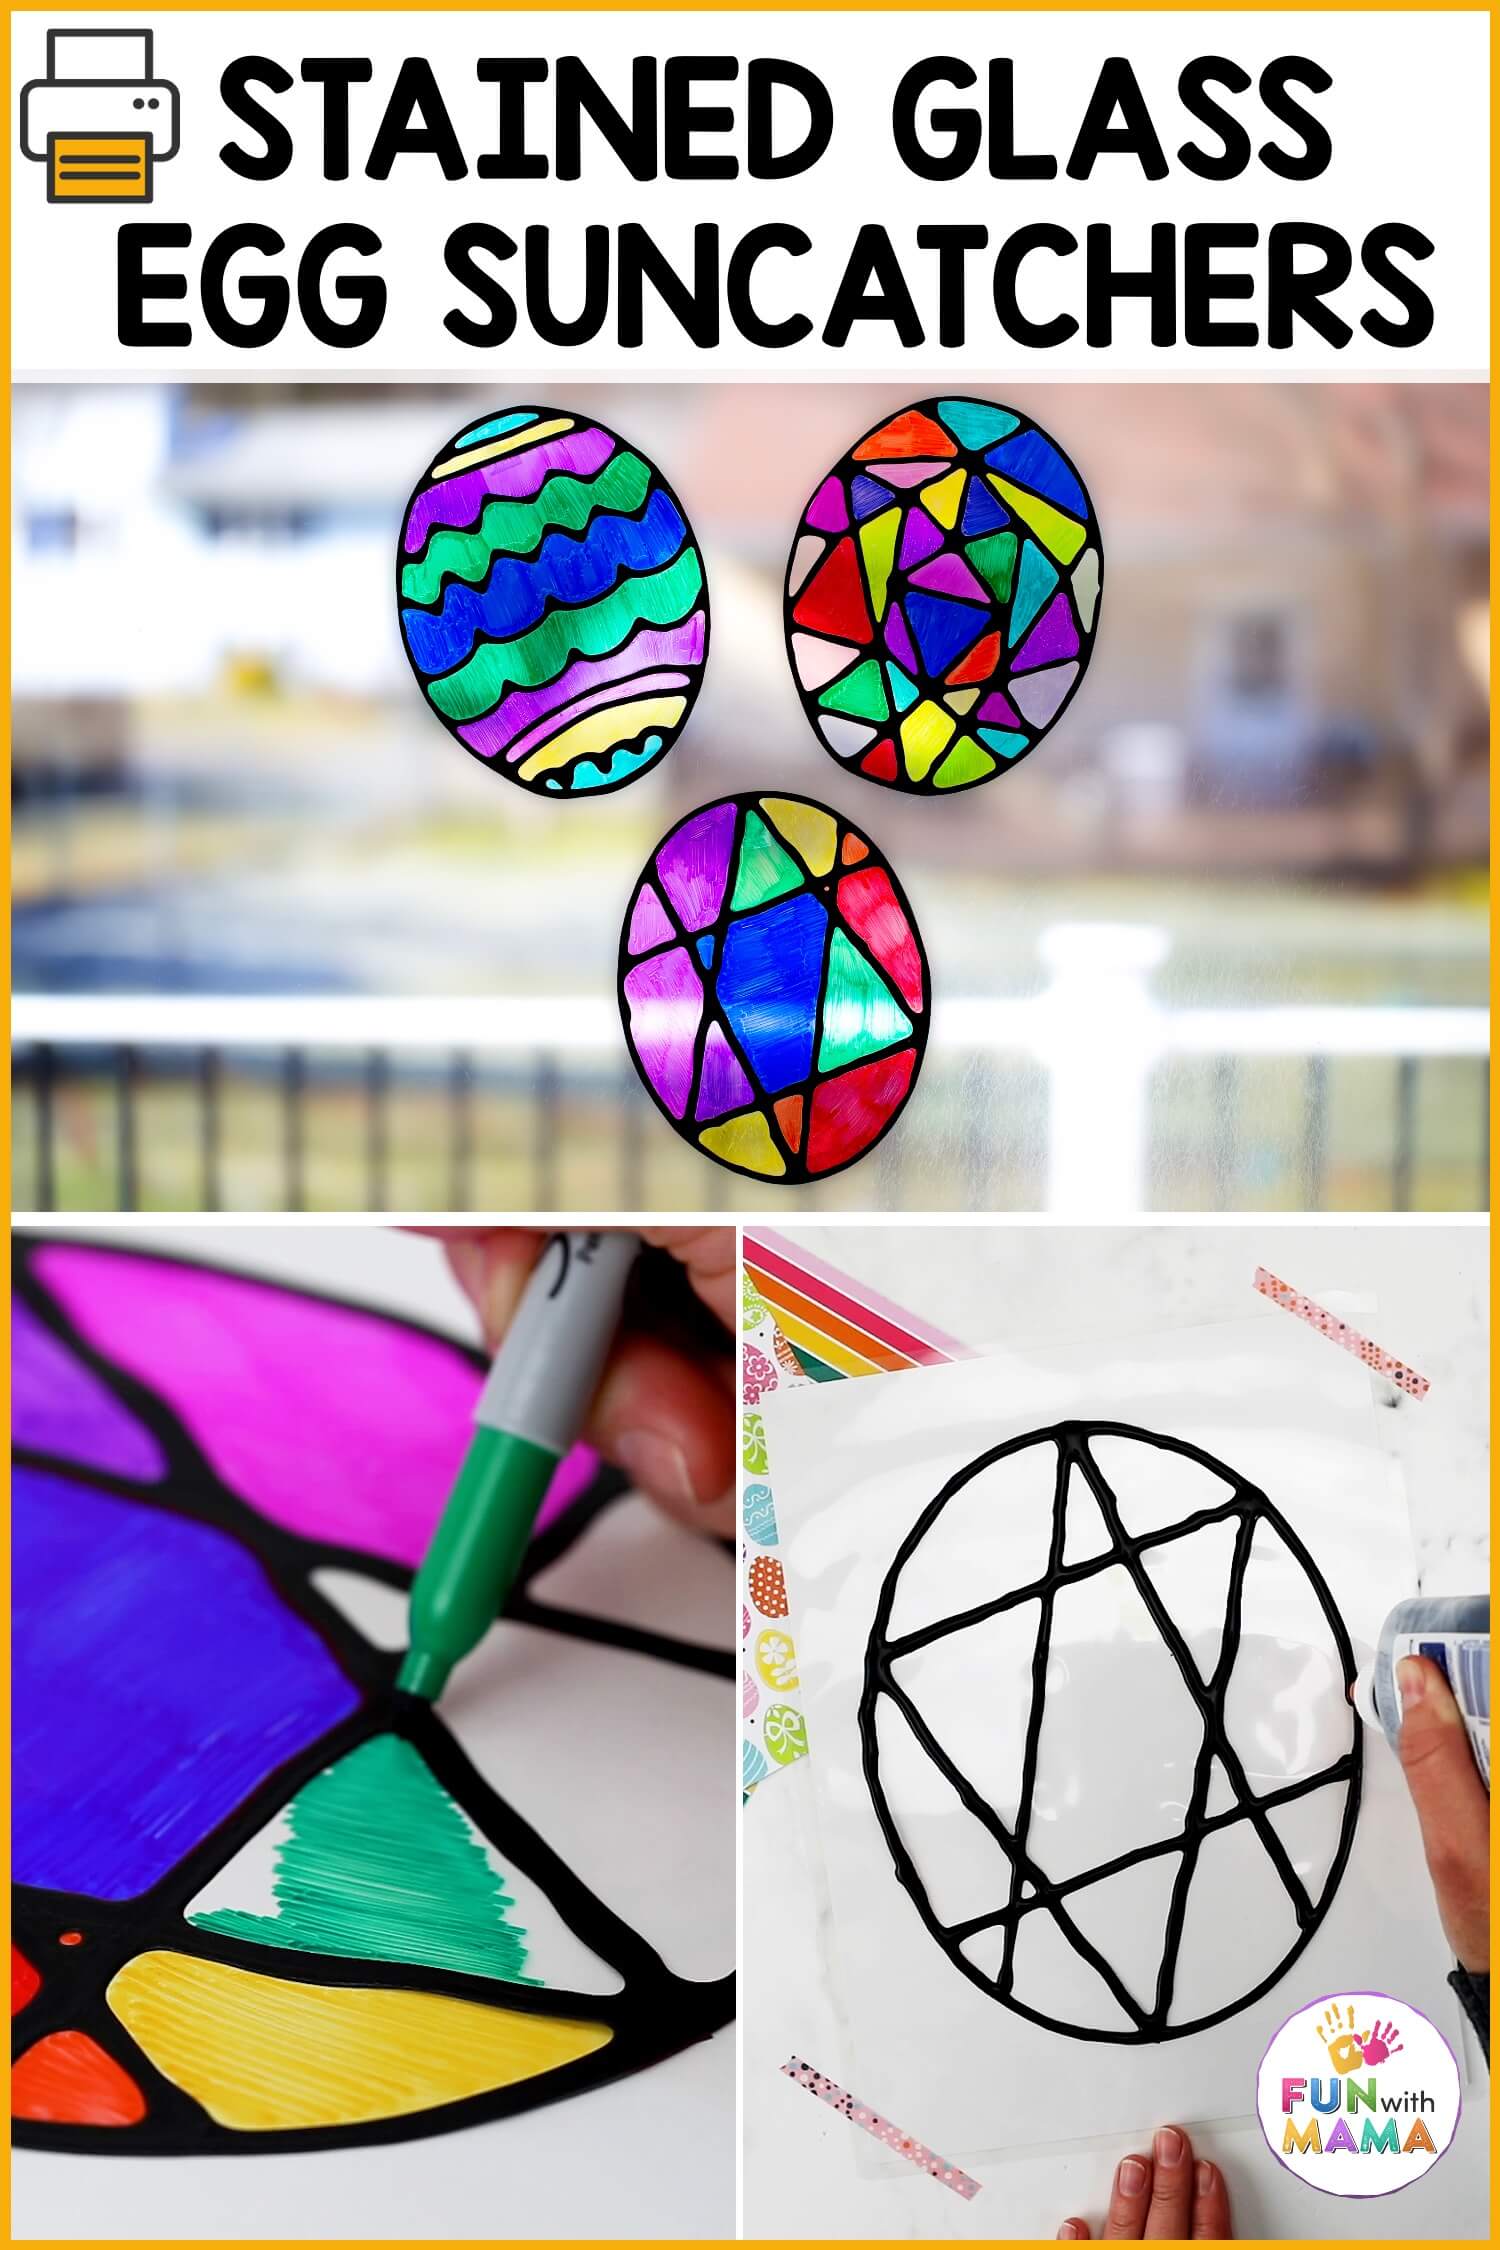
Step 3 – Outline Your Eggs
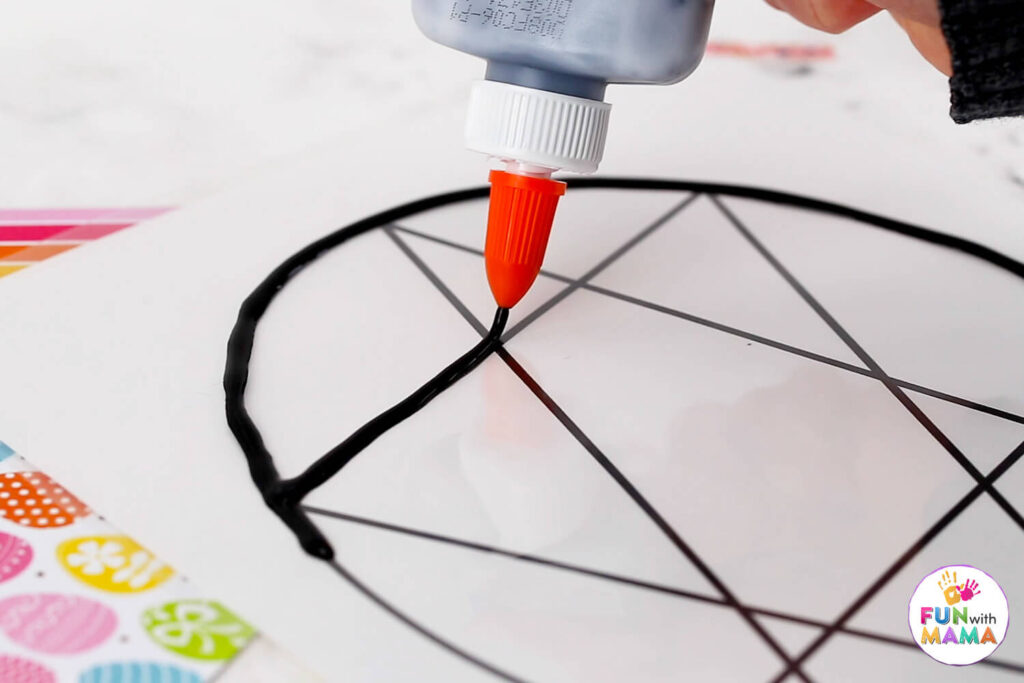
Lay your printed egg templates on a flat surface underneath the laminated sheet. TIP: You can use tape on the sides to secure it in place.
Carefully trace the outlines of the eggs with the black glue. I recommend using a glue bottle with a fine nozzle. This will allow you to create clean, crisp outlines that really make your designs pop.
Once you’ve outlined all your eggs, set them aside to dry completely before moving on to the next step. I recommend waiting overnight, but you can check after a few hours to see if it dries sooner!
Step 4 – Add Color
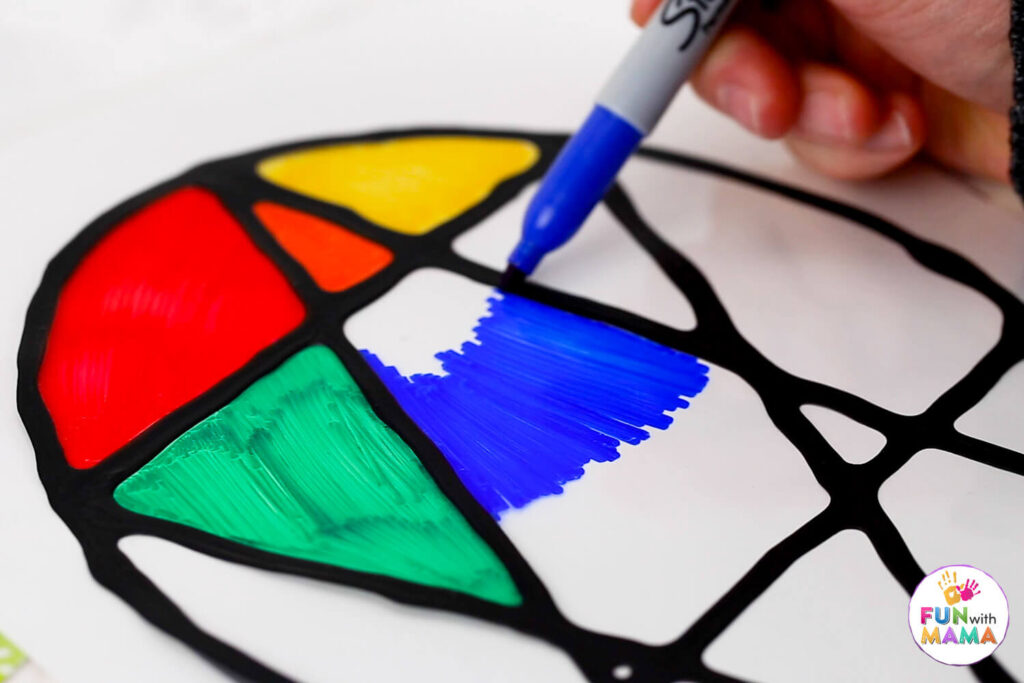
Now comes the fun part! Use your Sharpies to color in the spaces between the outlines. Get creative with your color choices and patterns – the sky’s the limit! I used red, green, blue, yellow, pink, purple and yellow. These colors closely resemble stained glass windows in real life!
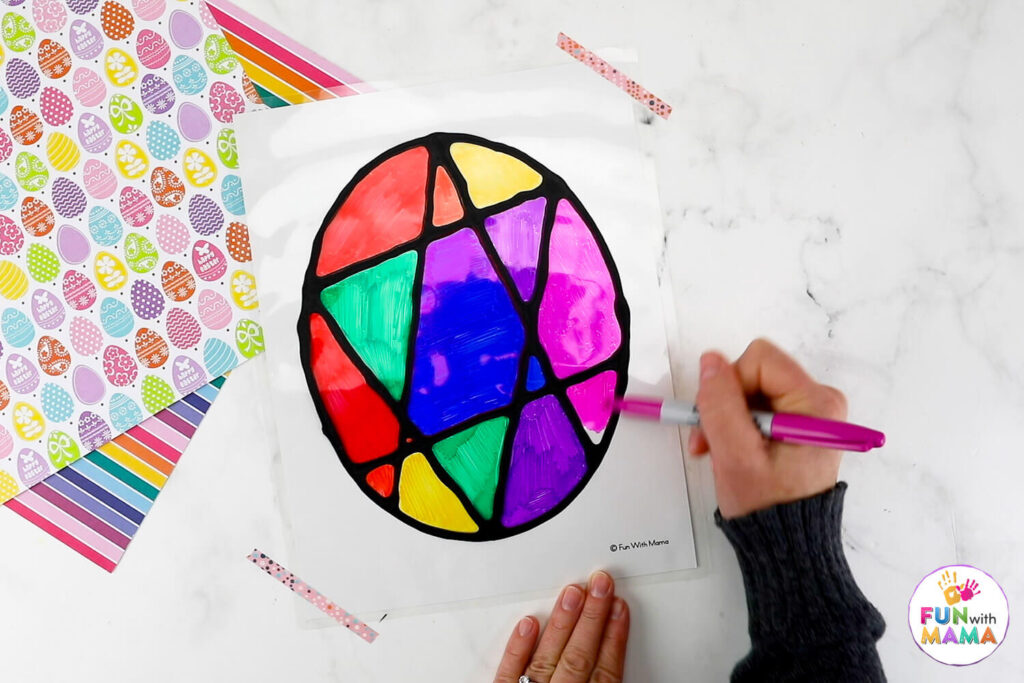
Your egg suncatcher will look something like this and start to take shape. But here’s the best part – crafting these suncatchers isn’t just fun for the kiddos. It’s also a relaxing activity for teens and adults alike. There’s something incredibly therapeutic about getting lost in the creative process, letting your mind wander as you bring your vision to life.
Step 5 – Cut and Hang
Use scissors to carefully cut out each egg suncatcher along the outlines.
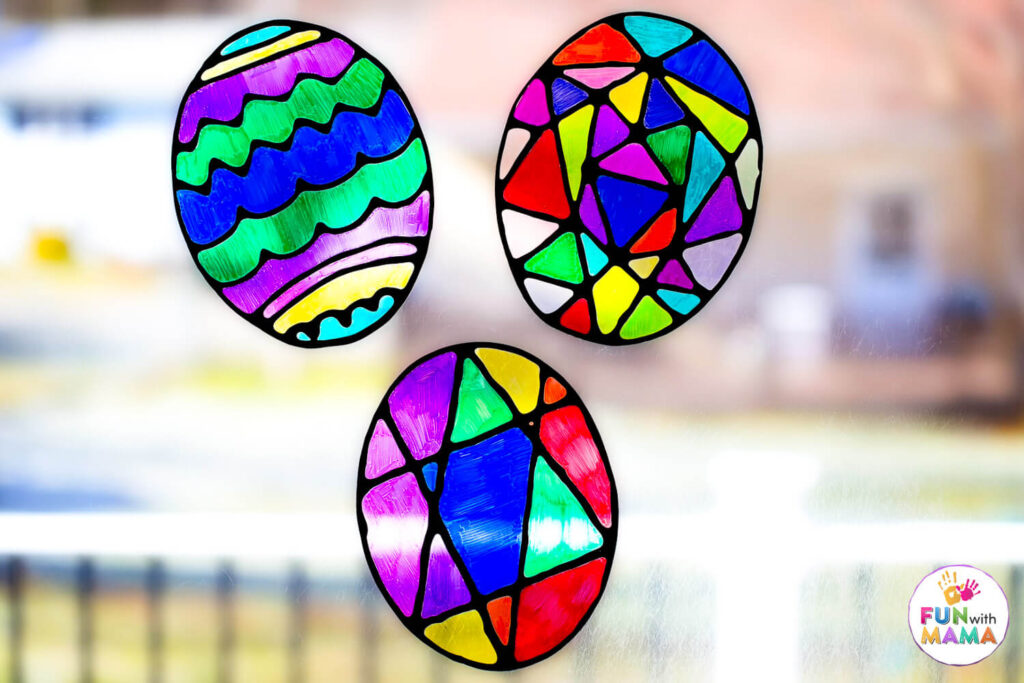
Now comes the fun part – finding the perfect spot to display your masterpiece! A sunny window is the ideal location for maximum light-catching potential. As the sunlight filters through your suncatchers, they’ll illuminate your space with a dazzling display of color and warmth.
You can also stick your egg suncatchers on windows or reflective surfaces like mirrors, or punch a hole at the top of each suncatcher and thread some string or yarn through for hanging.
And here’s a little bonus – not only are these suncatchers visually stunning, but they also provide valuable visual stimulation for young children. The vibrant colors and shifting patterns will captivate their attention and spark their curiosity, making them the perfect addition to any nursery or playroom.
Where to get this printable
GET THE EGG SUNCATCHER CRAFT TEMPLATE HERE
 Get It Instantly In The FWM Members Club
 Get It Instantly In The FWM Members Club
More Art Activities
Hands-on crafts are an excellent learning medium. Why not try out one of these awesome crafts below:
- Heart Tissue Paper Suncatcher Craft + Free Heart Template
- Recycled Paper Activity for Kids – A Fun Paper Making Process
- Animal Bookmarks


Leave a Comment