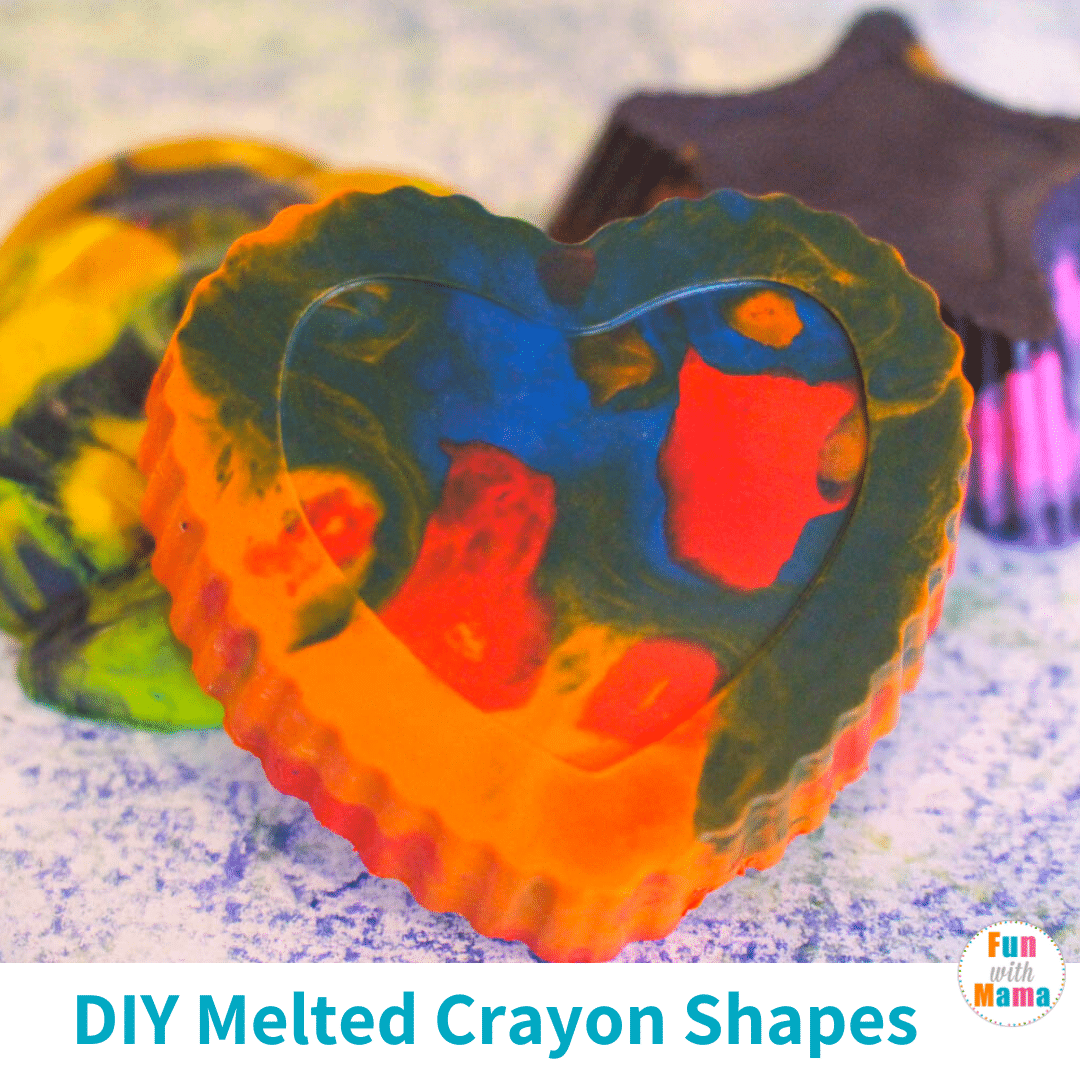
Have broken pieces of crayon laying around the house? Don’t throw it out! Instead, whip up some of your own DIY crayons by making some really fun melted crayon shapes!
If you’ve had kids a while, you know that crayons are only fun when they are new. Once that initial sharp bit is off the crayon, or they are broken, they are no good for coloring. But then you’re left with dozens of broken crayon pieces that are perfectly good, but your kids won’t color with them anymore.
Instead of just throwing them away and buying new crayons, why not repurpose the crayon pieces into fun shapes? You can re-mold crayons which will make them fun again for kids to use, and you aren’t having to waste money on buying more crayons or throwing them away when they are still usable crayons.
When you make your own DIY crayon shapes, you can also create fun designs that crayons normally don’t come in! And if you’re looking for even more fun crayon ideas, check out our Melted Crayon Art activity, too!
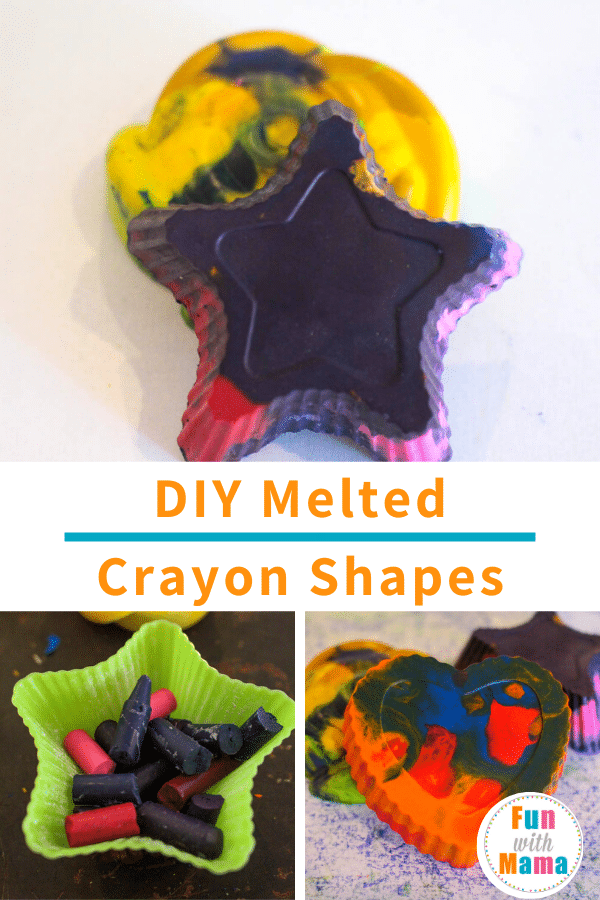
How to Make DIY Crayons – Melted Crayon Shapes
Affiliate links are used in this post. As an Amazon Associate, I earn from qualifying purchases.
Follow along with this guide to create your own unique crayon designs! Crayon recycling is easy to do at home to make your very own DIY crayons.
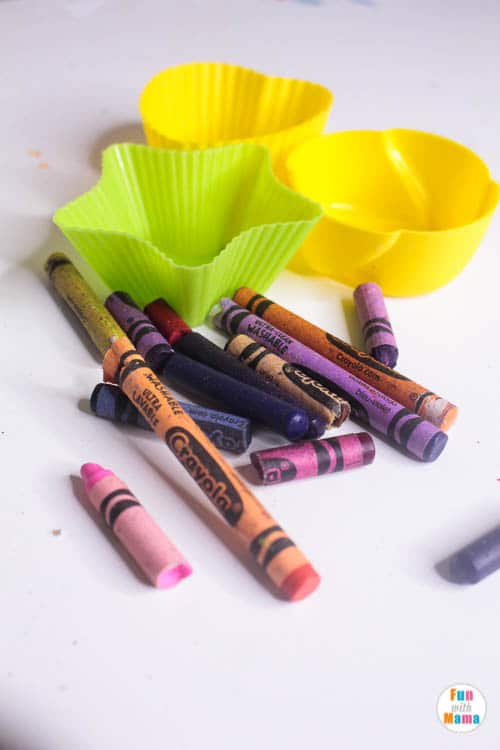
What you will need to make DIY crayons:
- Broken crayons
- Silicone molds
- Cookie sheet
Directions for Making Your Own DIY Crayons
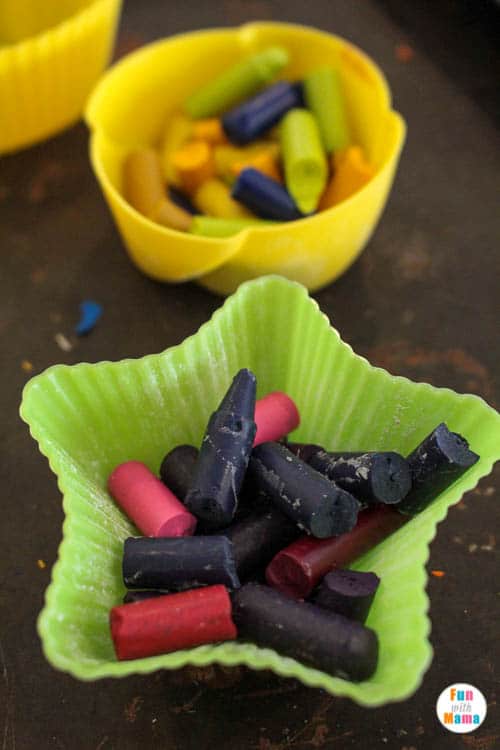
Remove any wrapping from your crayons and throw it away. Break the crayons into smaller pieces. (This is a great way to use broken crays or let the kids have fun breaking up some of their own!)
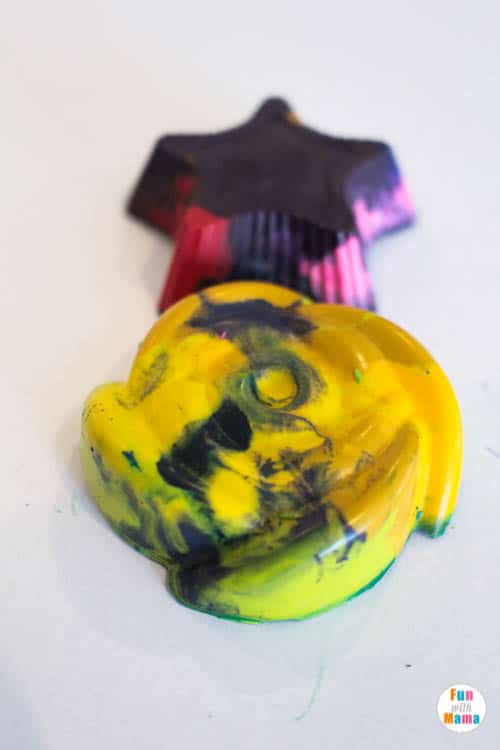
Arrange the crayons into pleasing color combinations and add them to your silicone cups. You can get pretty fun with the shapes of these crayons. If you intend to make a lot or give them as gifts, why not try shapes like letters, mermaids, or LEGO?
Or if you want to make the same shape we did, this is the mold set we used.
Depending on how many broken crayons you have, you can make solid colors or try complimenting colors, like red and blue, or purple and pink.
Be certain to check out our Easy DIY Crayon Letter Names activity as well!
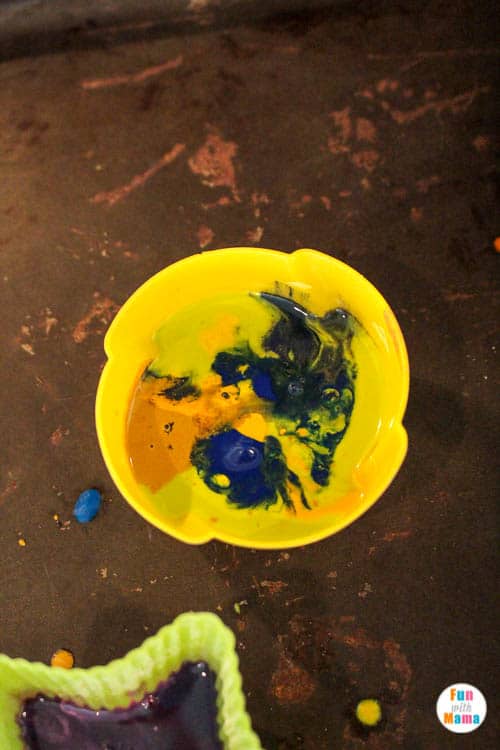
If you want the colors to mix and become new colors, use a cheese grater or crayon sharpener to make crayon shavings. This will allow the colors to mix as the crayons melt in the oven. If you don’t want the colors to mix, just break the crayons by hand.
Heat the oven to 250 degrees.

Arrange the silicone cups onto a cookie sheet and place them in the oven. It should take the crayons about 10 to 30 minutes to melt, depending on how much you filled them and what brand the crayons are.
Once the crayons have fully melted, remove them from the oven.
Set the crayons on the counter to cool. They should be completely hardened within 1-2 hours.
How to Cool and Use these DIY crayons
Pop the crayons out of the molds. If there are any pieces sticking up, use a vegetable peeler to remove them and smooth any edges.
Give the crayons to your kids to play with. Now you have a whole new set of crayons and you didn’t have to spend any extra money! Melting crayons in cupcake liners or silicone molds is easy to do, just make certain to be there to help for parental guidance!

If you want to give the crayons as gifts, stack several of the crayons together and wrap them in plastic wrap. Tie up the crayons with a ribbon for an easy, inexpensive gift that kids will love!

If you like this DIY crayon activity, check out some more fun activities for the kids below!
More Kids Activities
- Coffee Filter Earth Paintings
- Crayon Resist Painting Secret Love Notes
- 20 Children’s Books about Art


Leave a Comment