

Dying eggs can be so much fun! Easter is always a great time for some fun sensory play. We loved tying in science education along with sensory fun in this fizzing Easter egg dyeing activity! Plus you’ll learn how to dye eggs with food coloring.
Read on to find out how to make your own fizzing Easter eggs with this fun dying eggs activity. The chemical reaction of baking soda and vinegar adds another dimension to classic egg dyeing activities and makes it even more fun and educational for kids of all ages.
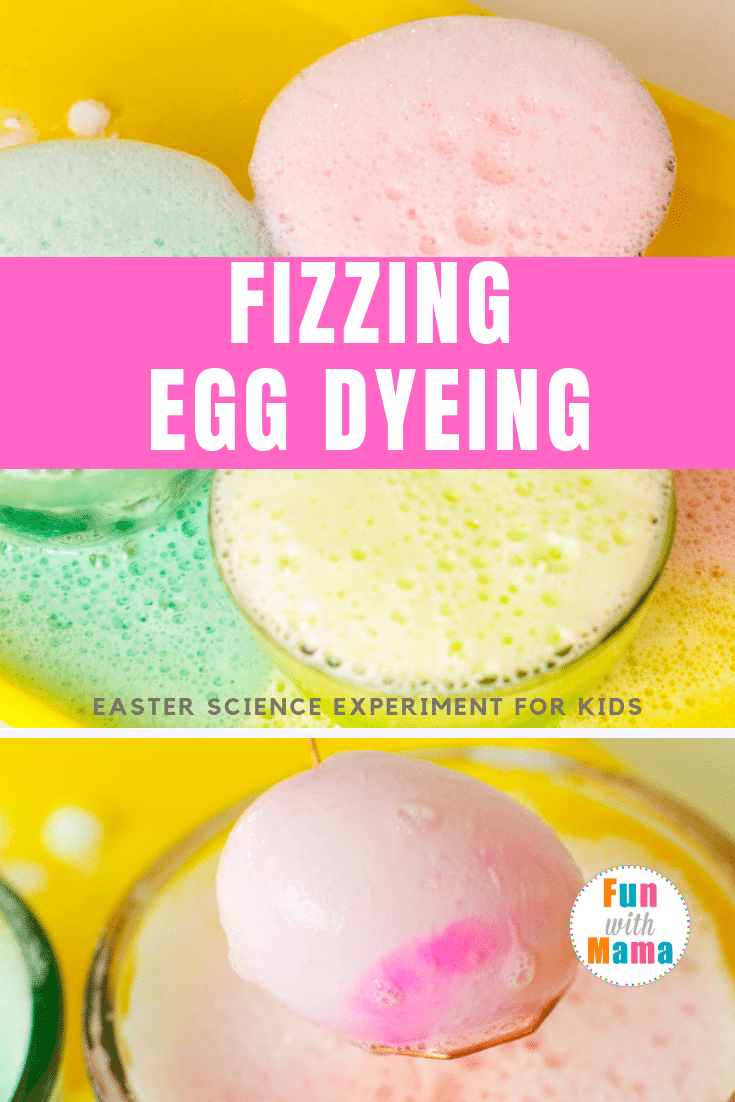
FIZZY DYED EASTER EGGS ACTIVITY
This Easter egg activity is perfect for preschoolers and has so many different sensory elements to it. There is the texture of the egg, the texture of the baking soda, the fizzing reaction, the color of the dyes, and a whole lot more! You can do this activity as a combination sensory/science project and kids will have a blast completing their activities and learning a bit about the science behind fizzing reactions.
Just be careful- if you leave the eggs in the vinegar too long the shell will dissolve!
SUPPLIES NEEDED FOR THE EASTER EGG SCIENCE EXPERIMENT
Gather your supplies before starting! You can use any regular egg-dyeing kit for this activity.
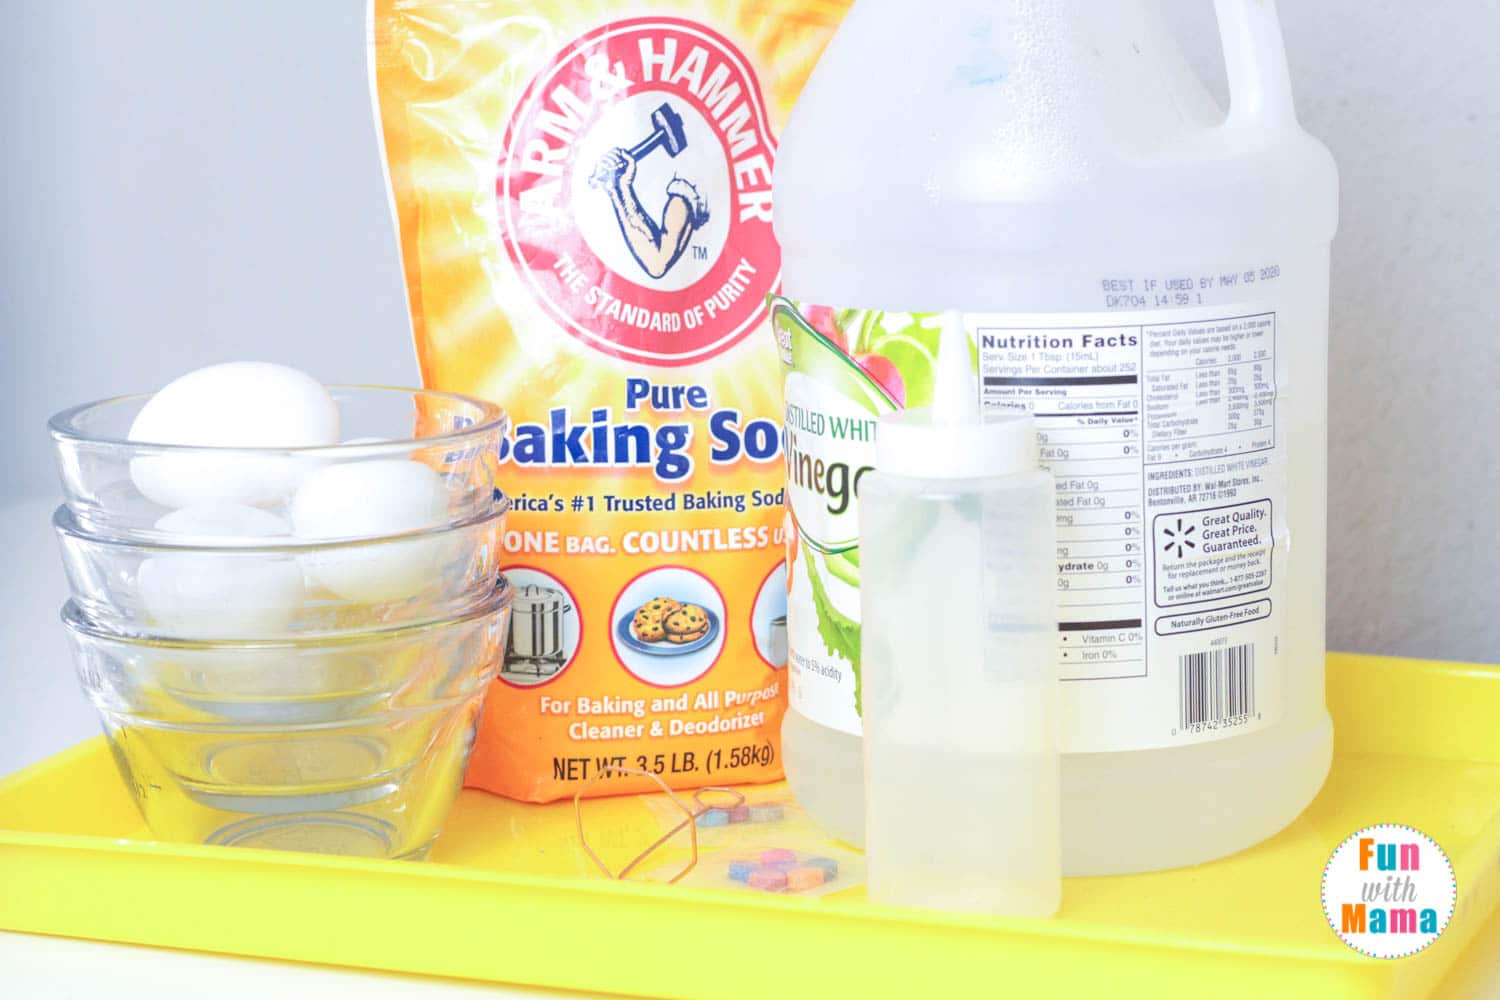
TO MAKE YOUR FIZZING EASTER EGGS YOU WILL NEED:
- Large plastic tray – these are my favorites
- Clear containers (plastic or glass)
- Egg-dyeing tablets
- Vinegar
- Baking soda
- Eggs
- Plastic squeeze bottle
HOW TO DYE FIZZING EASTER EGGS
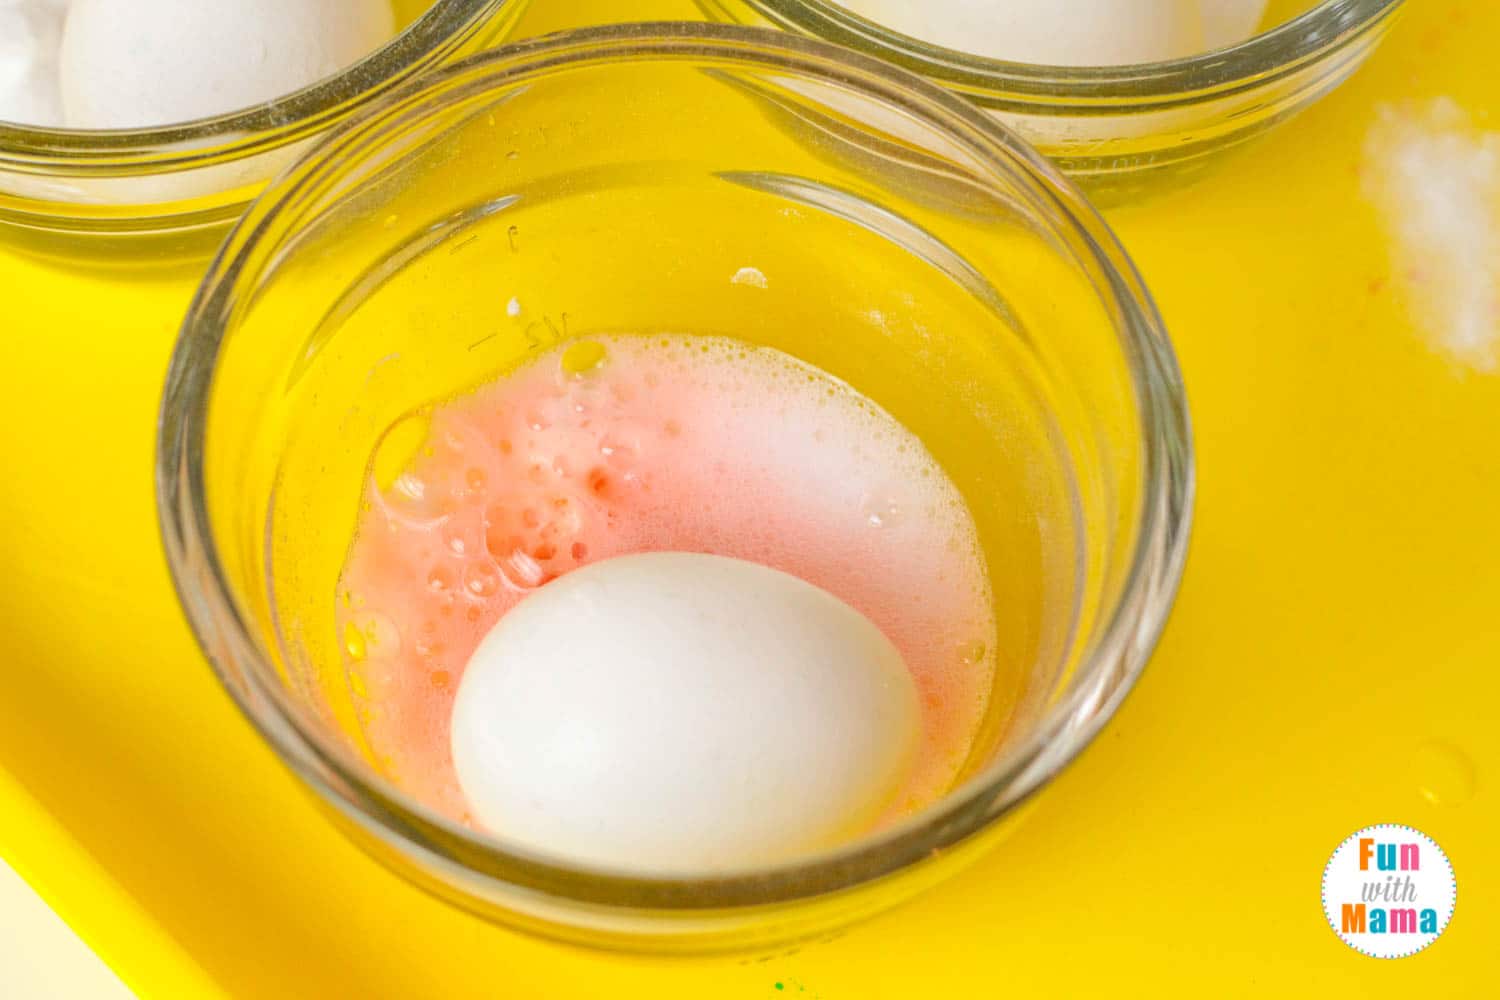
Before getting started with the actual dyeing process of the eggs, boil the eggs until they are hard-boiled. This will prevent messes from occurring when the eggs get bumped and cracked. No one wants raw egg everywhere in their Easter basket!
Pour a tablespoon of vinegar into the container and allow the dye tablet to dissolve.
Once the eggs are hard-boiled, place them in a container. Add about 1/4 of a cup of baking soda. The mixture will start to fizz right away.
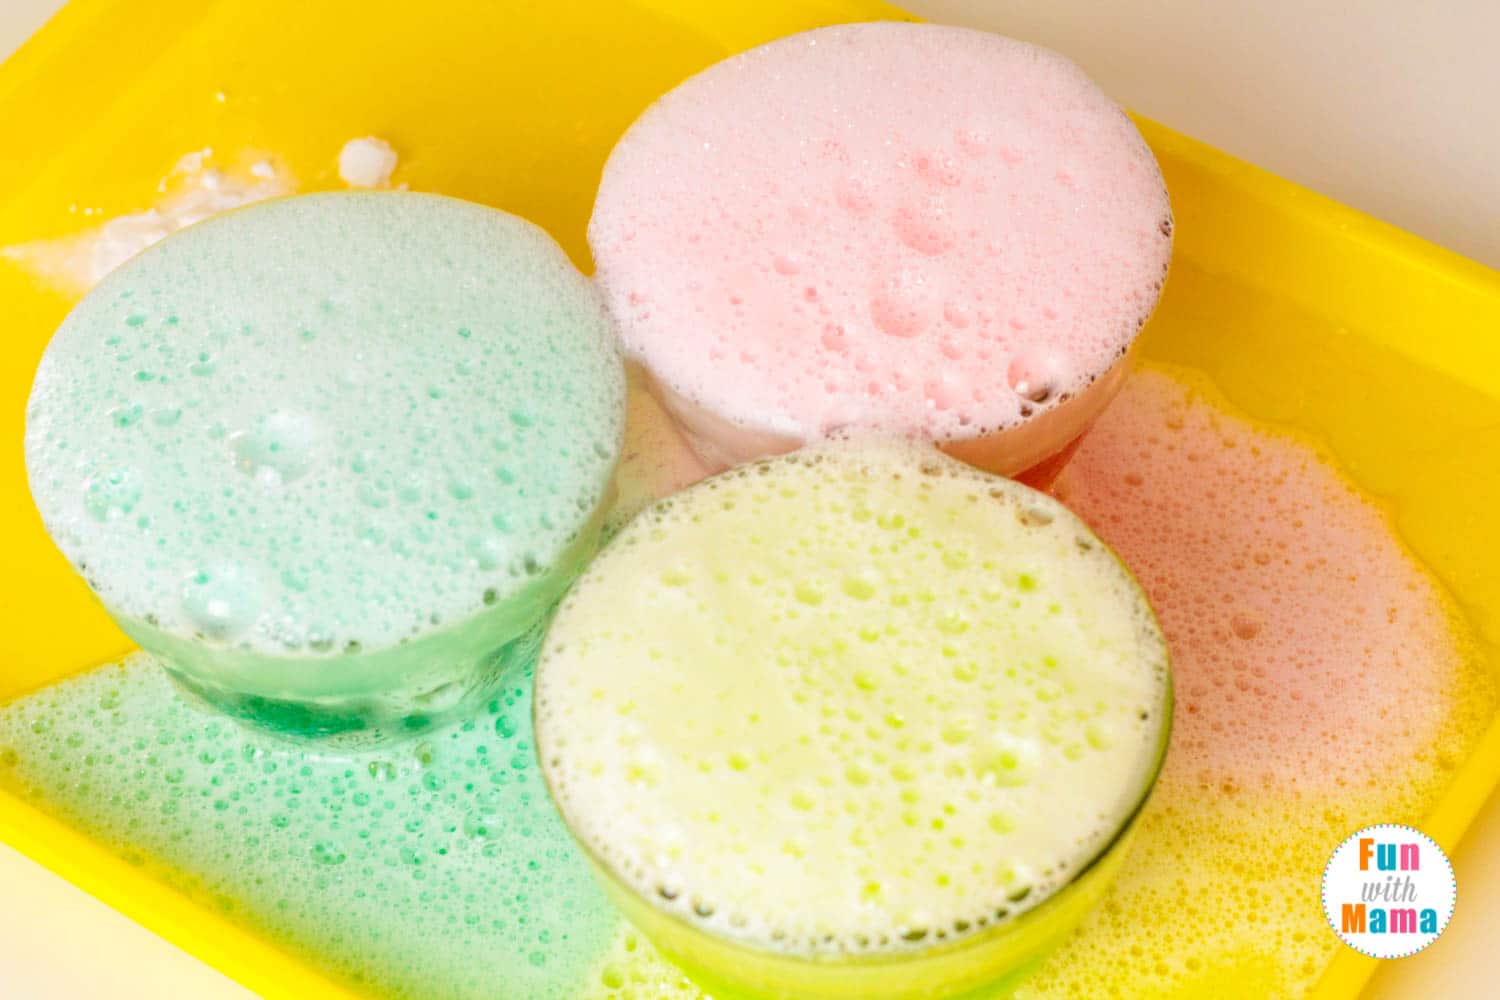
Make sure the egg containers are on a large plastic tray as the reaction tends to make the liquid overflow out of the container.
Use a squeeze bottle to carefully add more vinegar to the jar.
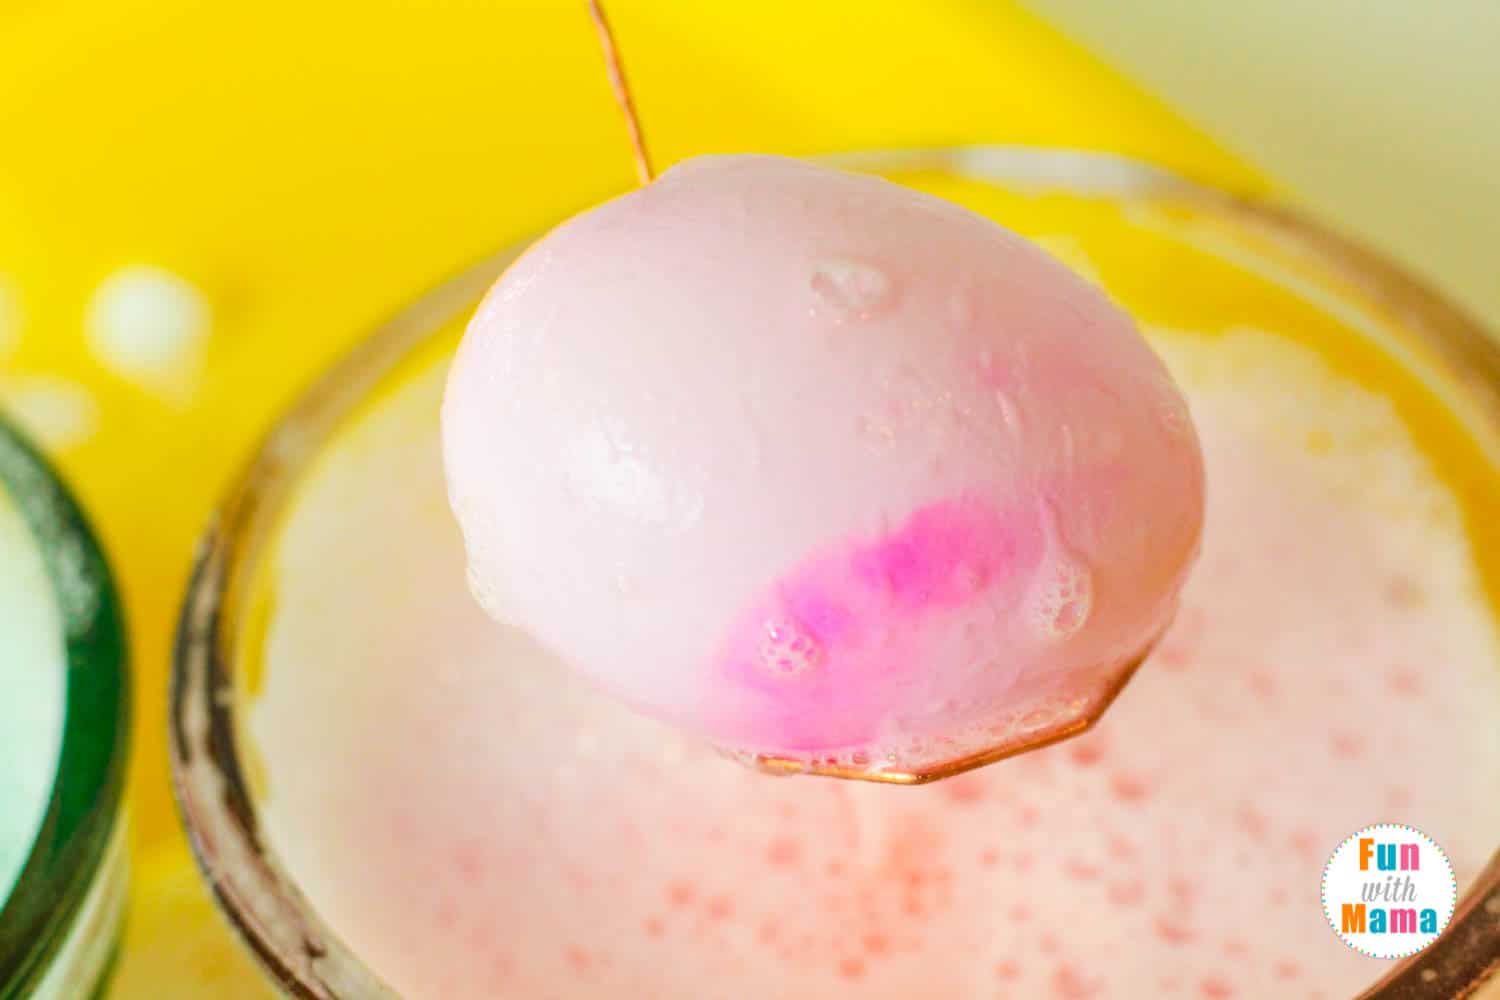
Let the eggs sit in the dye mixture for at least 5 minutes to develop their colors.
If you find that your dye isn’t setting into the egg, try adding 1/2 a cup of water to the first tablespoon of vinegar before adding your baking soda into the container. This will help distribute the dye evenly.
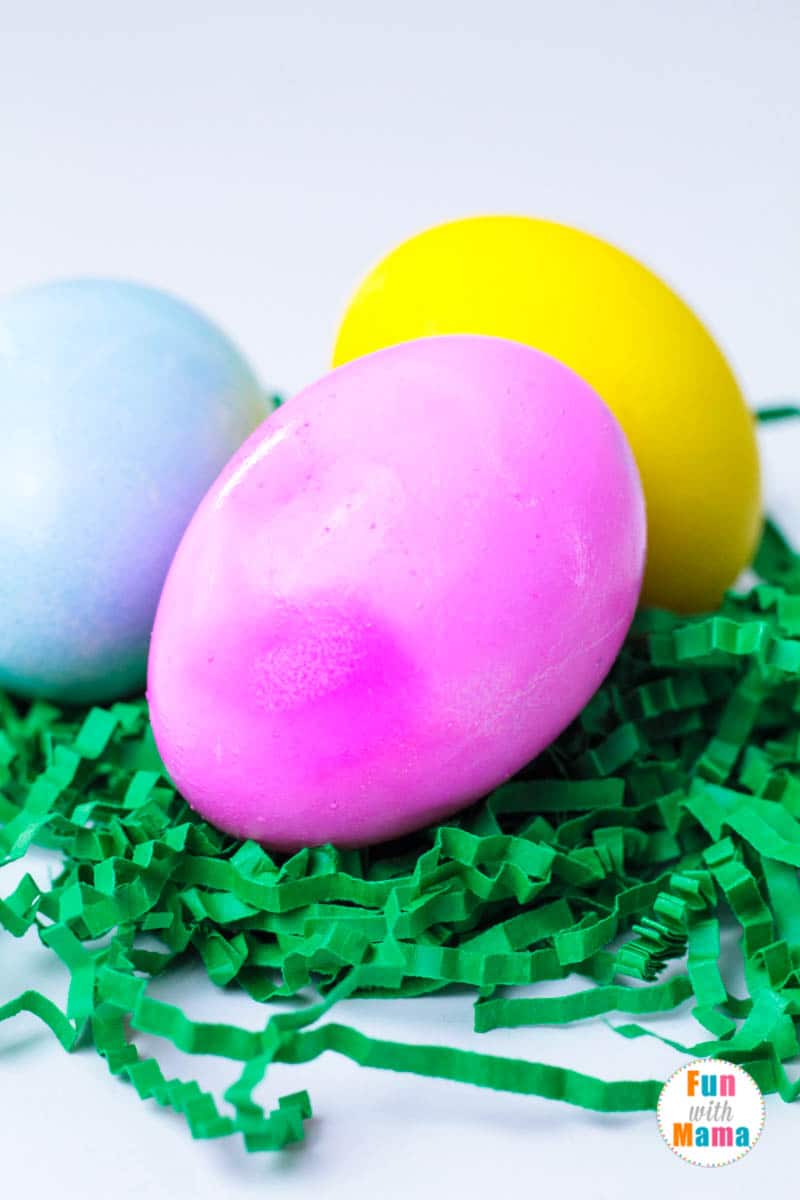
Pro tip: The longer you leave the eggs in the colored liquid, the darker they will get.
HOW DYEING FIZZING EASTER EGGS WORKS
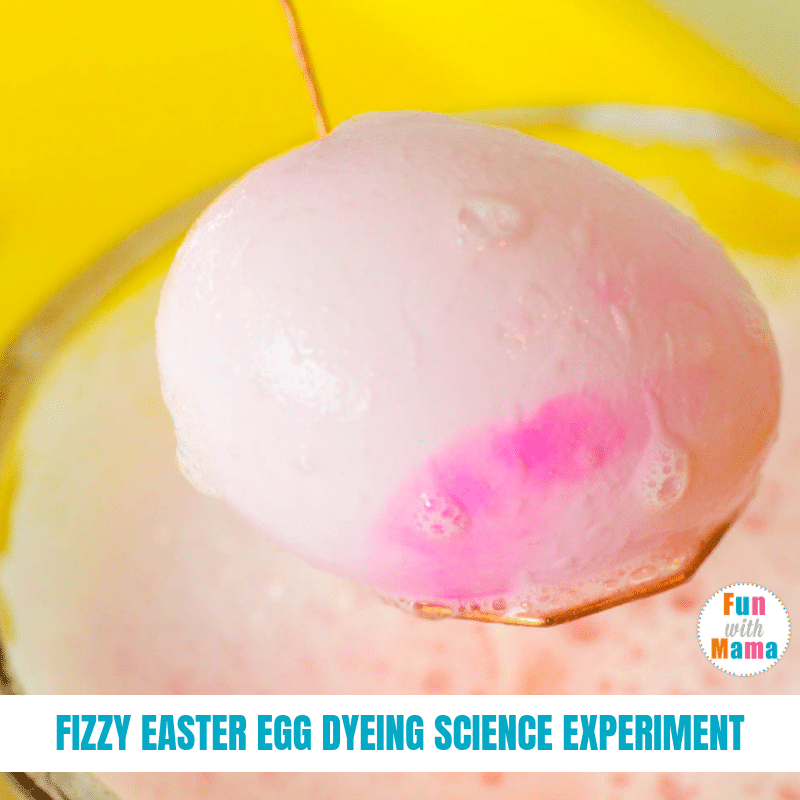
Most egg dyeing kits require vinegar to activate the dye and help transfer it into the egg. By adding baking soda, you can increase the reaction between the vinegar and the baking soda, which causes the liquid to fizz since a chemical reaction occurs, creating CO2 gas.
The fizz creeps up the surface of the egg and dyes it bright colors!
Check out my printable Easter egg hunt and some Easter Activities to do. We also have a whole Easter Activities printable too.
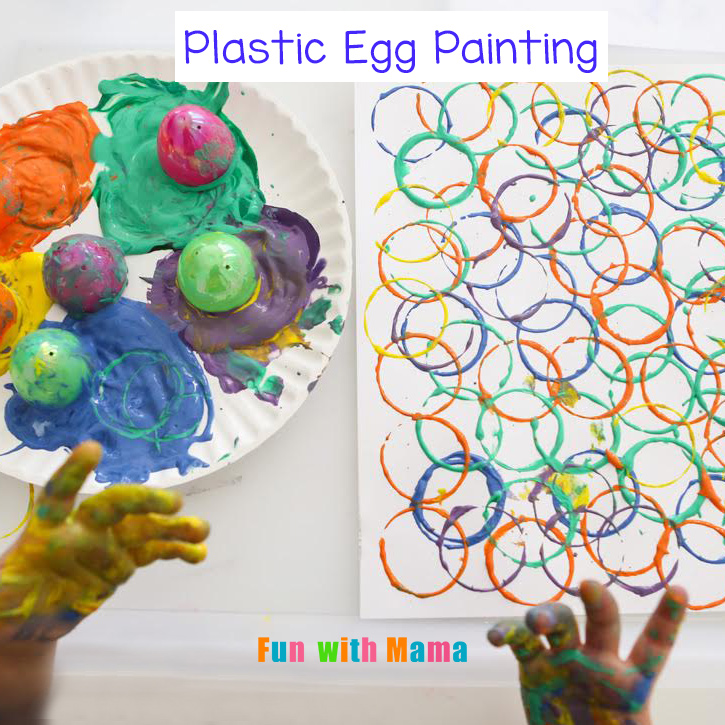
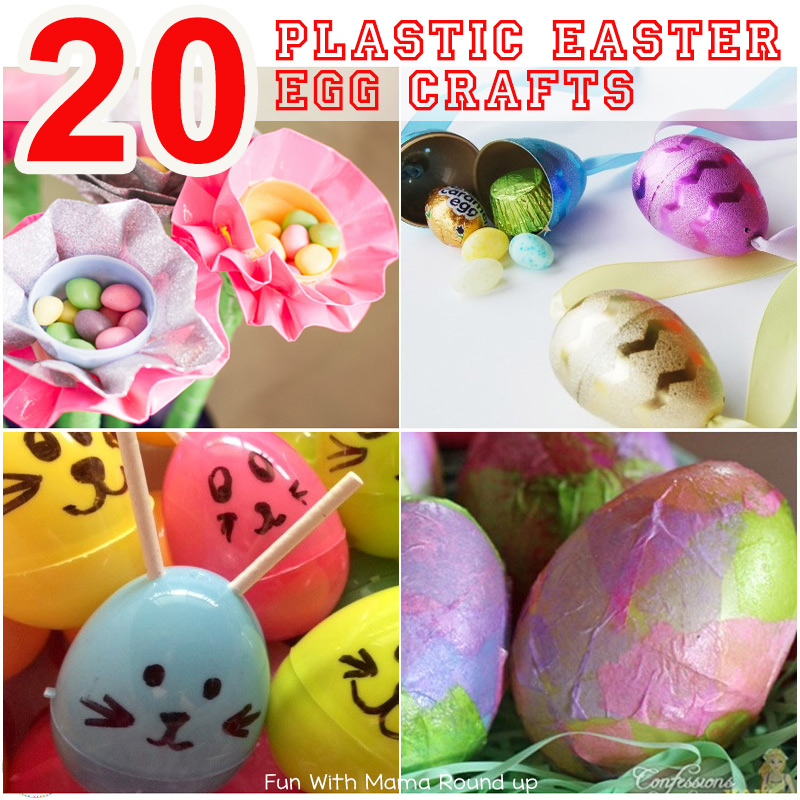
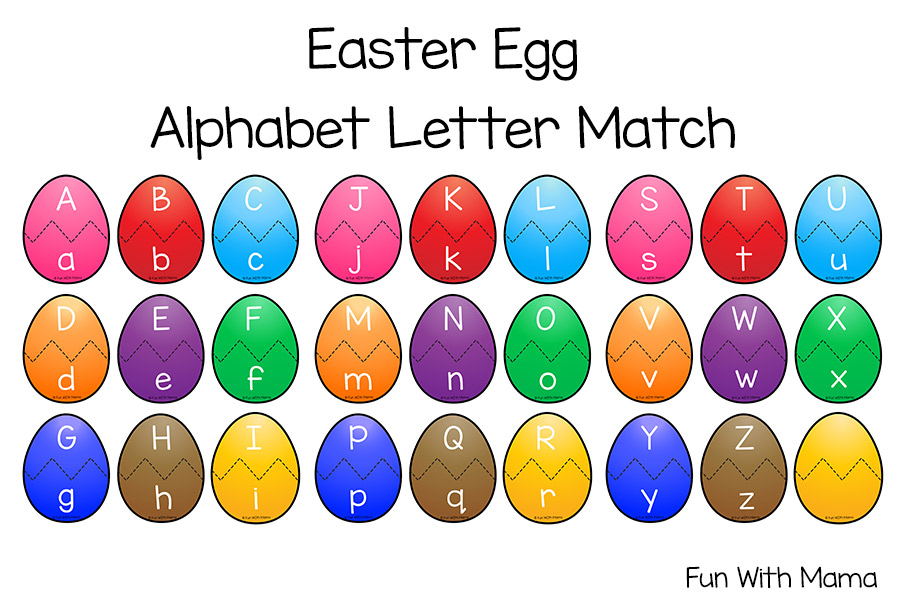
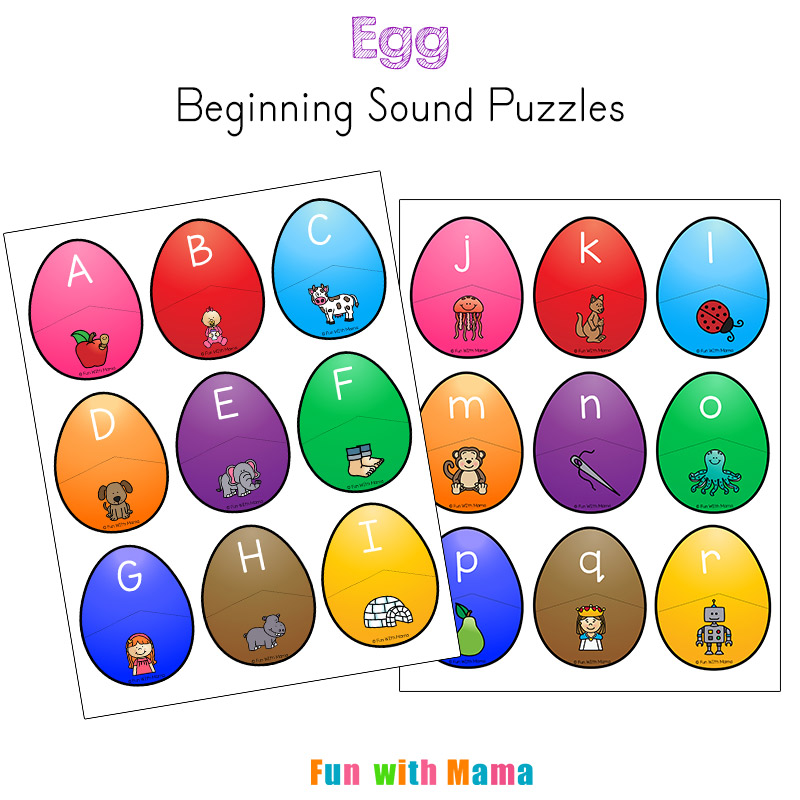
Looking for more Easter activities? Then check out the Easter activities pack, Easter egg alphabet matching activity, the Easter sensory bin and the plastic egg painting activity.


Leave a Comment