Kids science experiments are such a fun way to bring science to life. This homemade thermometer science experiment is no exception!
One thing to remember when doing science experiments with kids is that some science experiments are true experiments, while others are hands-on demonstrations of scientific concepts. This particular homemade thermometer is the latter.
This is not a real thermometer that should be used for anything other than a fun homemade thermometer science experiment, that’s it. It’s not meant to detect anything besides showing your child how educational it can be to create their own DIY STEM thermometer at home.
Homemade Thermometer Science Experiment – Making a DIY STEM Thermometer
To make it a real science experiment, you need to form a hypothesis and test variations. Talk to the kids about what they think is going to happen and then discuss all the ways that you’re going to work through it to see if they are correct.
Some hypothesis could be that you need to include alcohol to make the thermometer work, or that a certain type of container is better for the thermometer.
Variations to test could include changing the temperature, changing the type of tube inside the thermometer, changing the color of the water, or changing how long the thermometer rests in the hot water.
How to make a thermometer science project at home
Follow along with this tutorial to find out how you can make a working thermometer that you can use to test the heat variation between different liquids.
This thermometer cannot determine the exact temperature of a solution, but you can use it to determine if one liquid is hotter than the other. Use a digital thermometer to find out the real temperature of each liquid that you test.
Homemade Thermometer Science Ingredients
Just gather up the simple supplies below to make this DIY STEM thermometer.

You will need these ingredients to make your homemade thermometer science experiment:
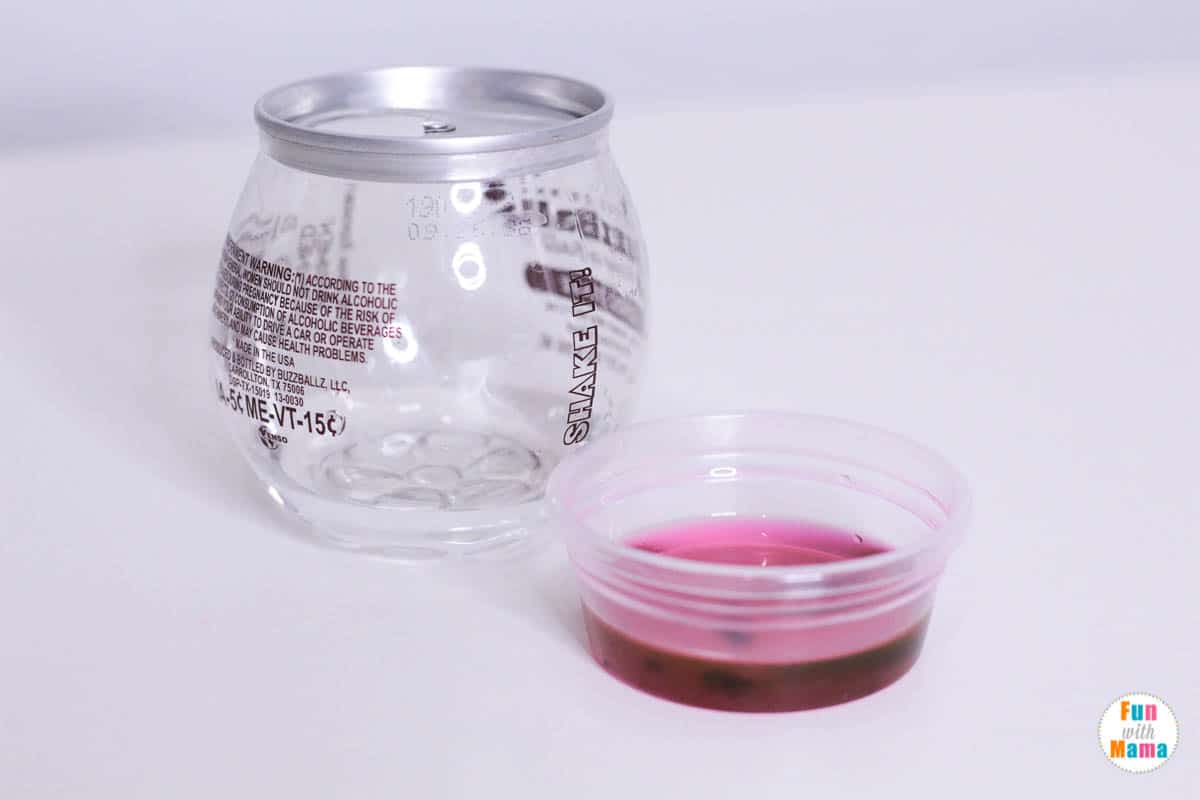
- A plastic straw (clear works best)
- Small container (we used a small, round, plastic bottle)
- Clay (playdough works well)
- Rubbing alcohol
- Hot and cold water
- Food coloring
- Large dish
How to make a DIY STEM Thermometer
Use these steps to learn how to make your own working DIY STEM thermometer and learn more about how thermometers work.
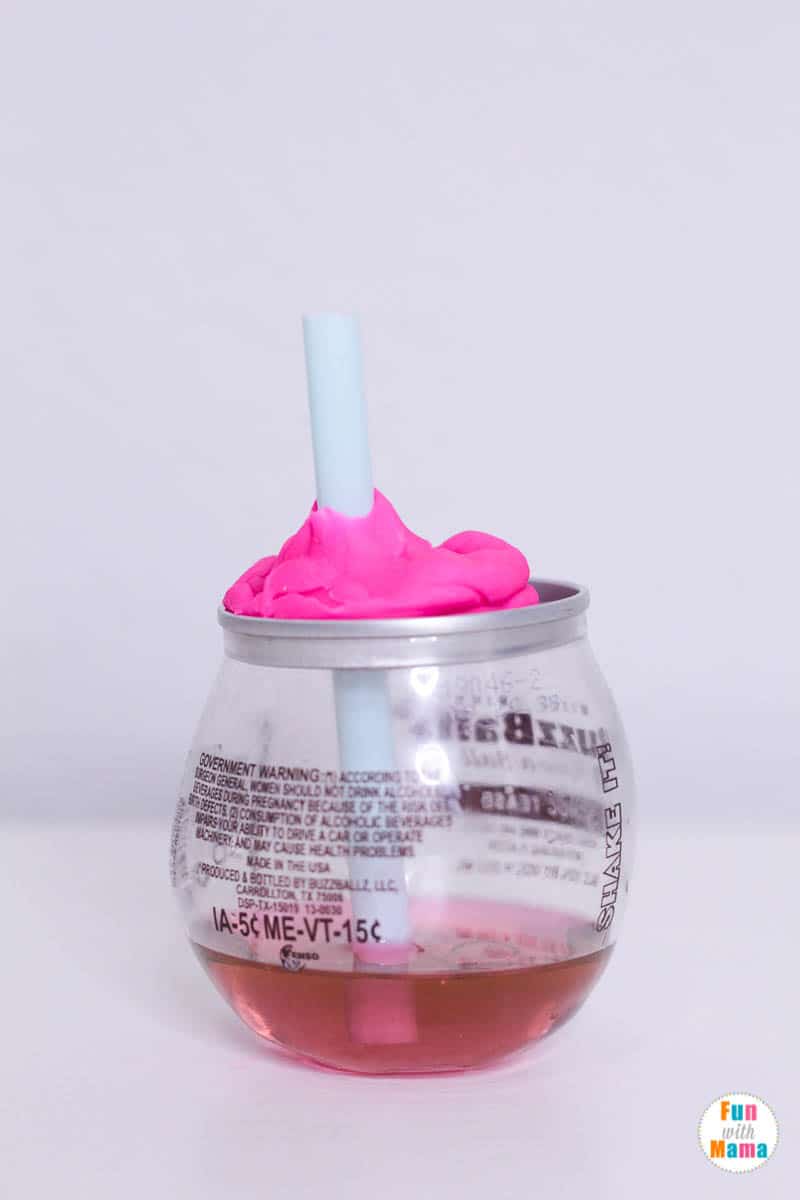
Fill the bottle with equal parts rubbing alcohol and cold water. Fill the bottle about 1/3 of the way full of this mixture.
Drop a few drops of food coloring into the solution.
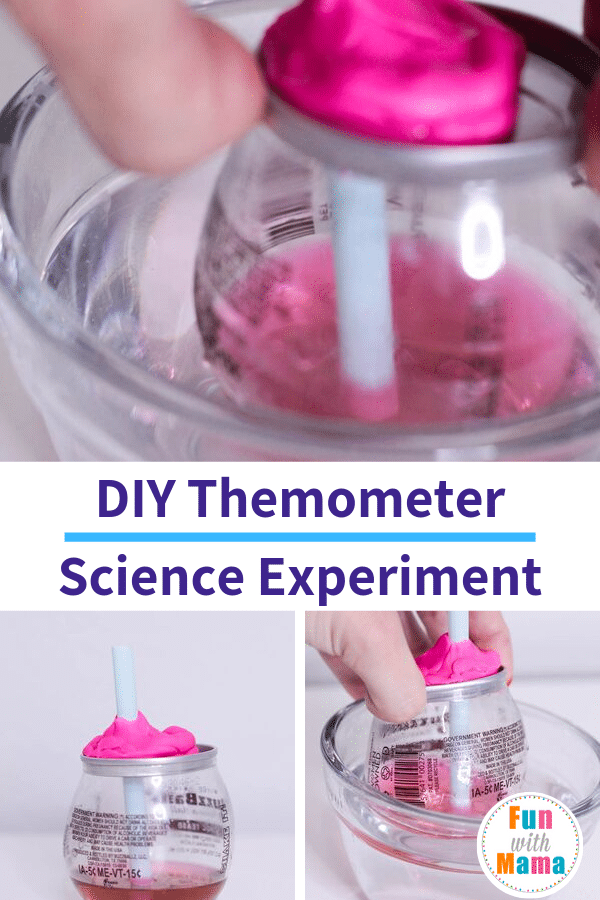
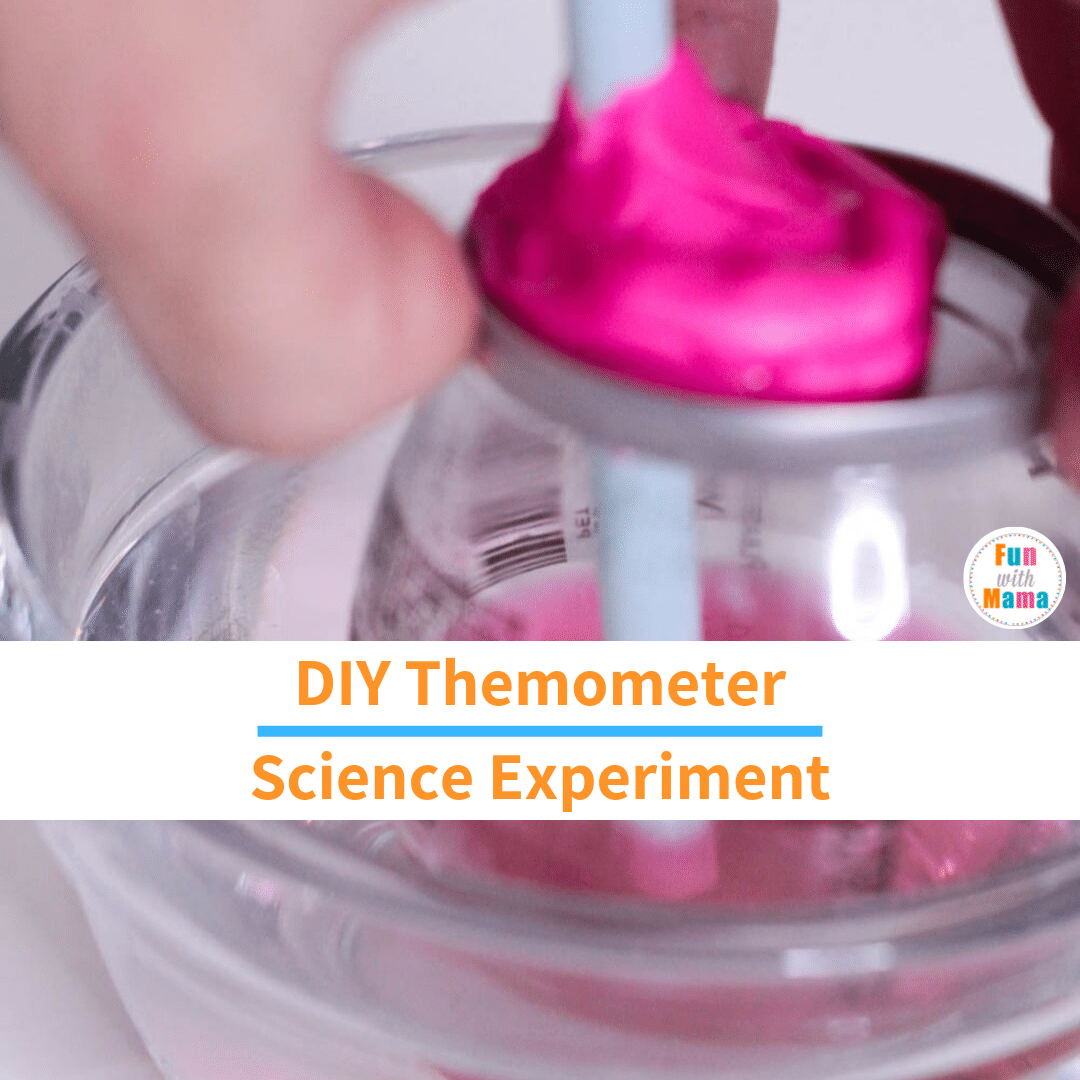
Place a drinking straw in the center of the bottle. Make sure the straw doesn’t come into contact with the bottom of the container.
Use the clay to hold the straw in place and seal the opening around the straw.
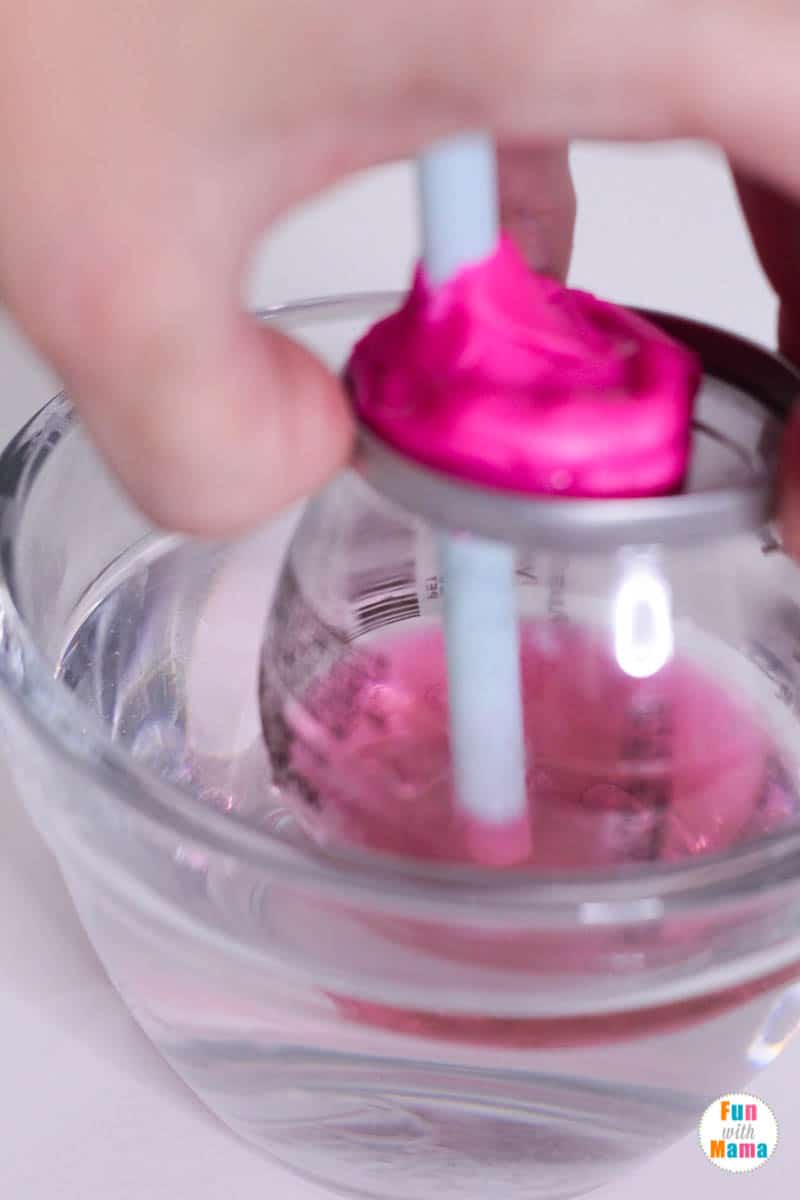
Fill a larger container about halfway with hot water.
Place the homemade thermometer into the container of hot water.
Wait a few minutes, and the liquid inside of the straw will slowly rise above the waterline inside the rest of the container.
How this homemade thermometer science experiment works
When alcohol gets hot, it expands. This means that when placed inside of a tube, the hotter the tube, the higher the liquid will go. The plastic straw inside the container creates a sort of vacuum so that the liquid rises inside the straw before it rises in the rest of the container.
Traditional thermometers contained mercury, which has a similar effect when heated, but in a more stable, dramatic way.
Have fun creating this DIY STEM thermometer together! It’s such a fun learning experiment!
More Science Experiments:
- Easy Science Experiments For Preschoolers
- Air Pressure Balloon Science Experiment
- Science Valentines Skittles Experiment
- Easy Rainbow Skittles Science Experiment
- 29+ Best Science Fair Projects


Leave a Comment