If you’re stuck inside for the next few weeks, what better way to pass the time than with a tie-dye project? All kids love to make their own projects but they’re going to love these kids tie dye shirts!
If you can’t get a tie-dye kit, you’re not out of luck. You can use permanent markers (like a Sharpie) to create your own easy tie-dye designs that are less mess and super fun!
Kids will have a blast with this project and the number of designs you can make are limitless! Who knows, your child just might have a whole new wardrobe by the time it’s said and done.
Keep reading to learn how to make your own Sharpie tie-dye shirts!
Kids Tie Dye Shirts Using Sharpies
Make certain to let the kids have fun with this project but don’t forget about parental supervision. It’s important to be there with your child to help them out with anything that they need help with.
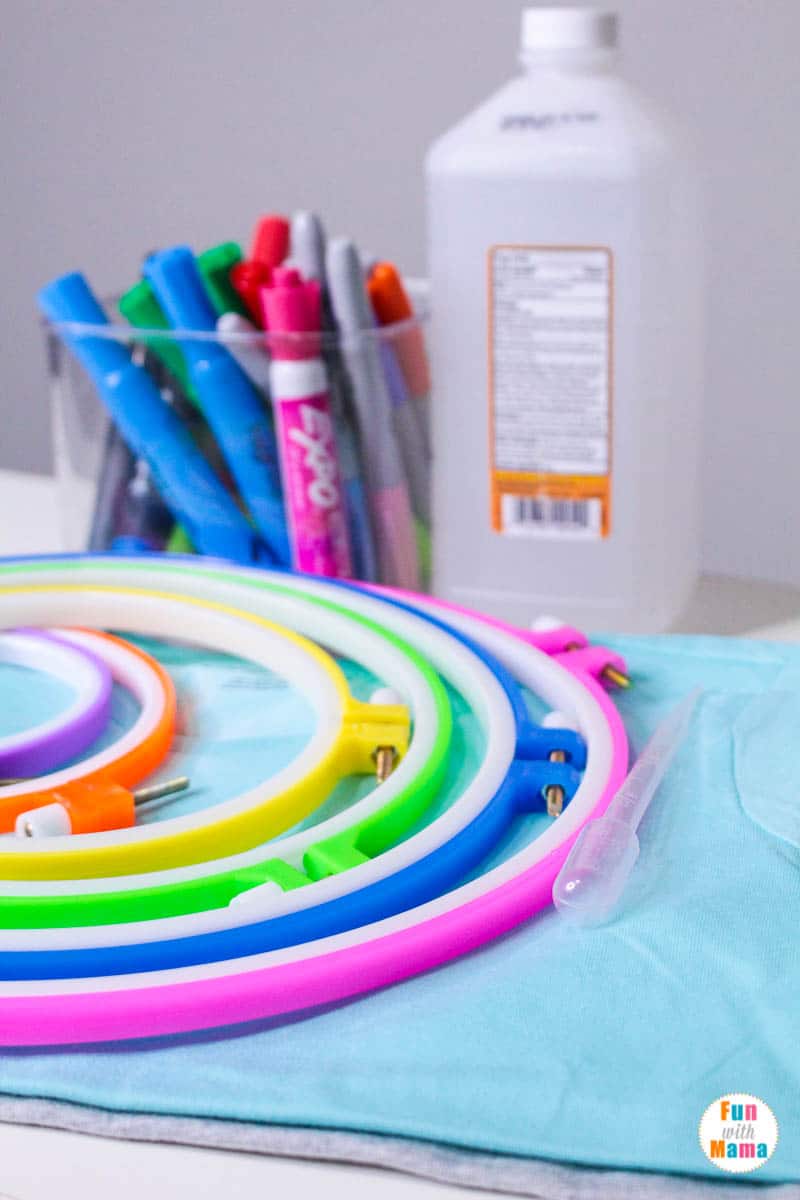
Supplies
- Permanent markers
- Rubbing alcohol
- Pipettes
- 100% cotton t-shirts
- Embroidery hoops
- Cardboard
- Optional: Dye Fixative
Pick up some 100% cotton shirts from a local craft store or just use some white shirts or other colored shirts out of your child’s drawers.
Note: We liked how our designs looked best on white and gray shirts, but experiment with other light colors like blue, pink, or yellow! Colored shirts can be really fun to see how they turn out, too!
Directions
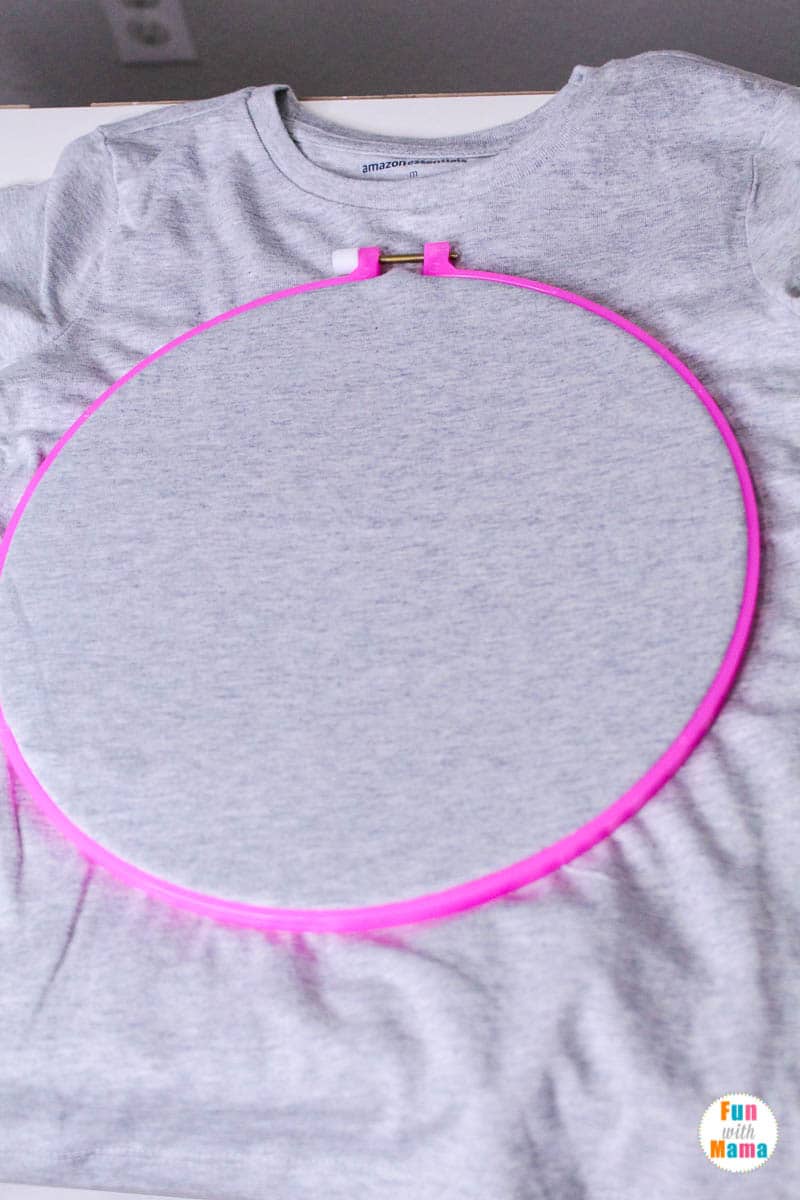
Cut your cardboard into the shape of the inside of your embroidery hoop. This cardboard is necessary to prevent the dye from bleeding through the shirt to the back of the shirt. The cardboard needs to fit inside the smaller ring of your hoop.
Place the cardboard circle inside your shirt. Fit the embroidery hoop around the cardboard circle and tighten.
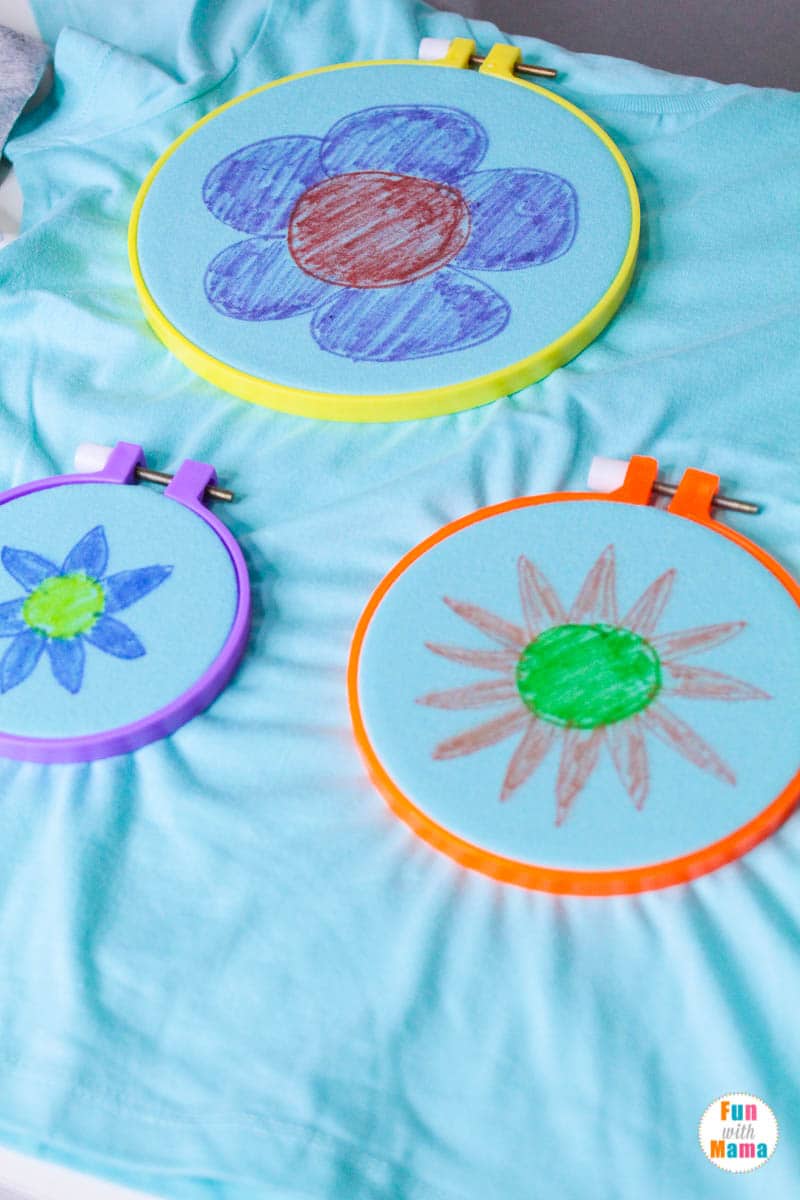
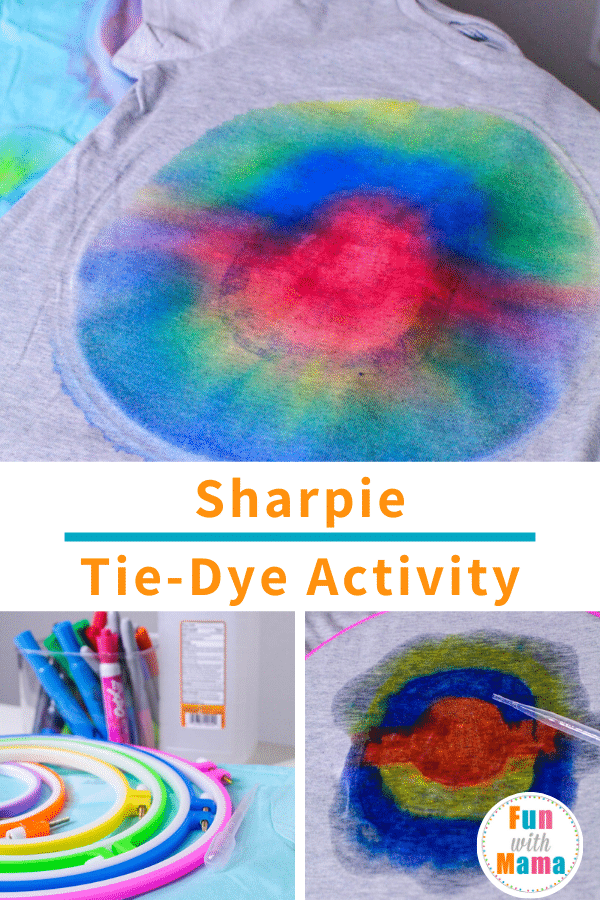
Color a design onto the front of the shirt. We found that designs with sharp edges and points looked better once they spread and made cooler tie-dye effects than round designs, but let your kids pick whatever they want!
The colors will mix, so if you start with primary colors you’ll have a prettier effect than if you start with other colors that could turn brown or gray when mixed together. We really liked our circle primary rainbow design where the colors mixed to create green, orange, and purple.
Use the pipette to drip a small amount of alcohol onto the design. You want the design to be saturated, but not sopping wet.
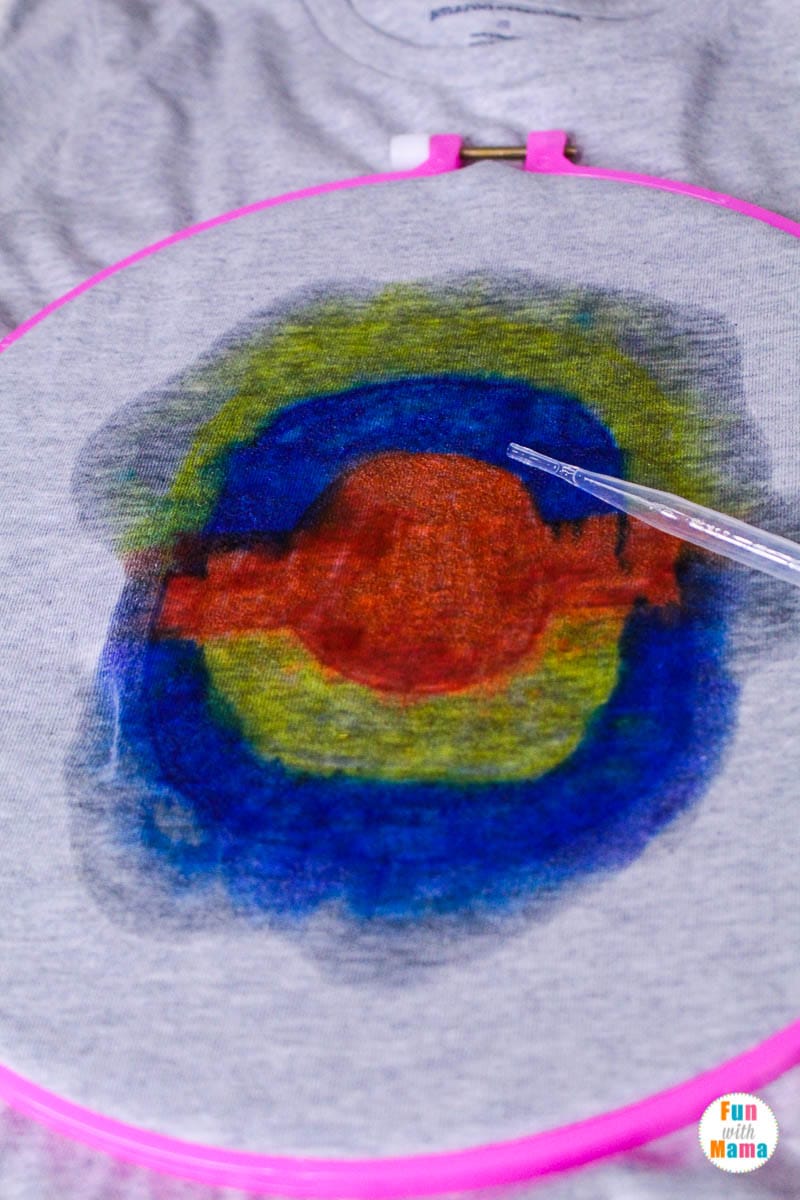
Let the design dry. If you’re happy with the design and want it to stay, apply the dye fixative and let dry before washing.
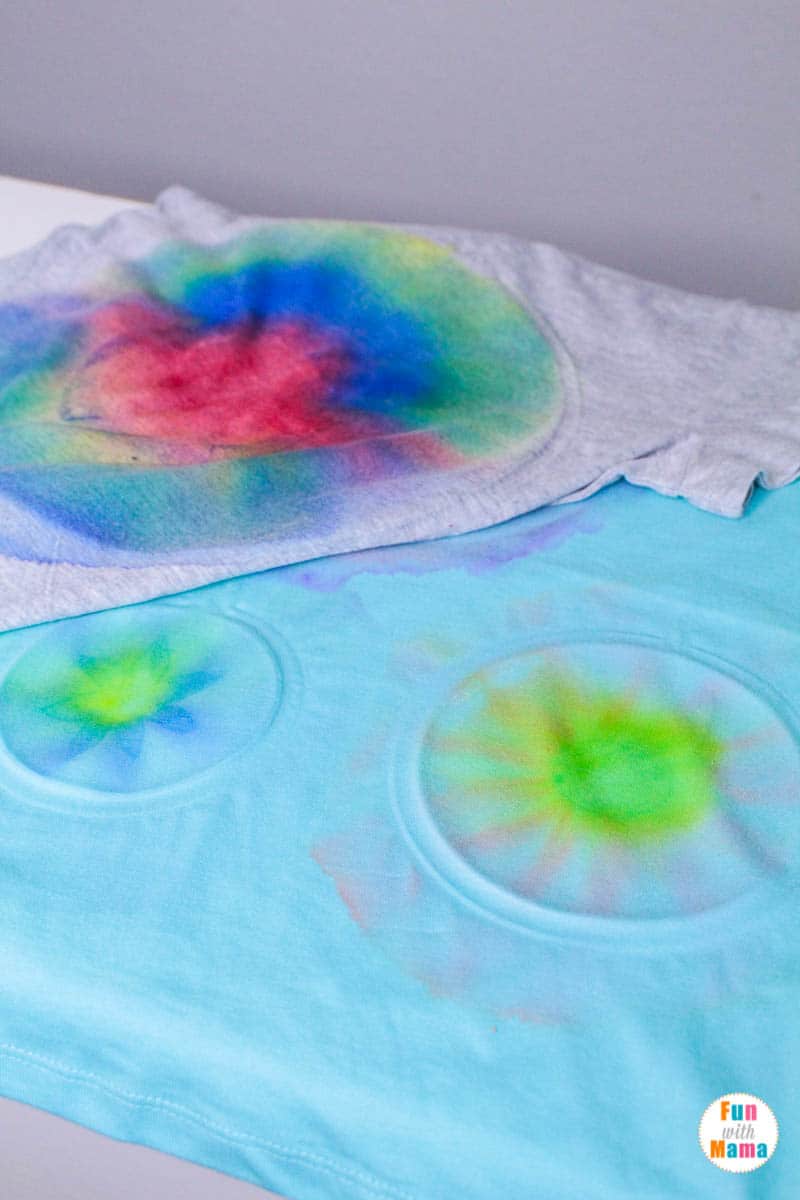
If you hate the design, you can redo it by washing out all the dye with alcohol and starting over.
See how simple it is to make these kids tie dye shirts? It’s really such a simple process that will have your kids loving creating their own style.
Fun Ideas for Kids Tie Dye Shirts
The cool thing about this tie dye activity is that you can do this for a lot of different things. It’s a great activity for the kids to do when they’re at home or even a super fun activity for birthday parties or even a fun craft for grandma’s house.
Once your kids make these kids tie dye shirts once, they’re going to want to do it over and over again!
More kids activities to check out:
- 90+ Indoor activities for kids during school closures
- Marble Painting For Kids – Messy Play Art Indoor Fun
- 30 + Fun MUST DO Outdoor Activities For Kids!
- How to Make Homemade Bubbles
- Alphabet Slap – Alphabet Water Play for Toddlers and Kids


Leave a Comment