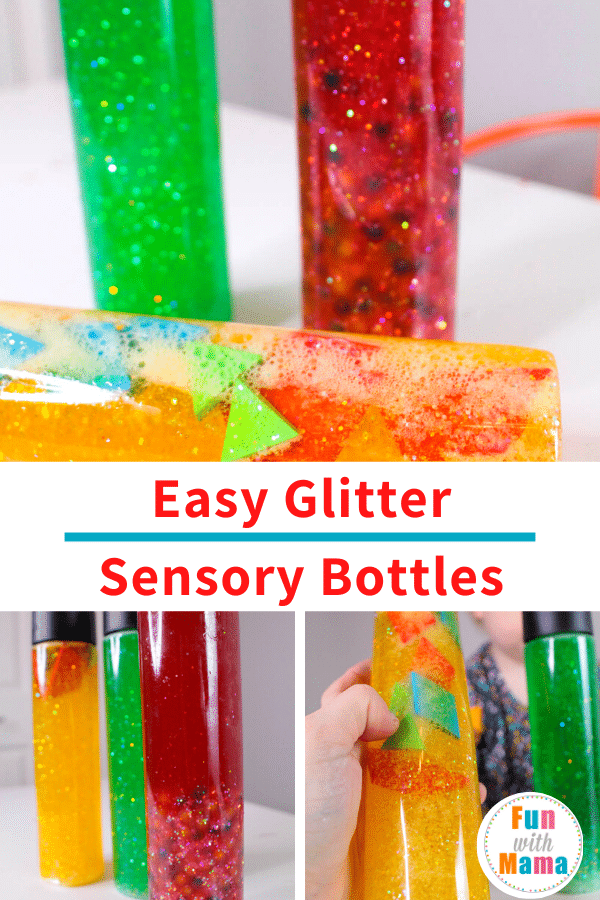
There is something so calming and pretty about a glitter sensory bottle. Kids love them, but parents love them, too! Try our fun twist on a glitter sensory bottle that also has an educational element! We’ve found that the recipe included below is easy for everyone to do, and less messy or sticky than a lot of options out there!
If you’re not a fan of having glitter scattered around the house, this DIY sensory bottle is the perfect solution. The kids can easily make this up and shake the glitter inside the bottle all they want, without having any worry of it getting out on the carpet or other areas of your home. This is one of the kid’s favorite calming bottle activities!
Make certain to check out our DIY Sensory Foam Play Recipe as well. This is another sensory activity that will help the kids work with their hands and sense.
How to Make a Calming Jar
Follow these directions to make the perfect glitter sensory bottles for your kids. It’s a super simple activity that will help them work on their creativity and fine motor skills as well. Glitter jars are a great way to feed the curiosity while having good clean fun, too.
Glitter Sensory Bottle Ingredients
Affiliate links are used in this post.vAs an Amazon Associate, I earn from qualifying purchases.
All you need to get started is listed below. Making this glitter sensory bottle couldn’t be more simple!
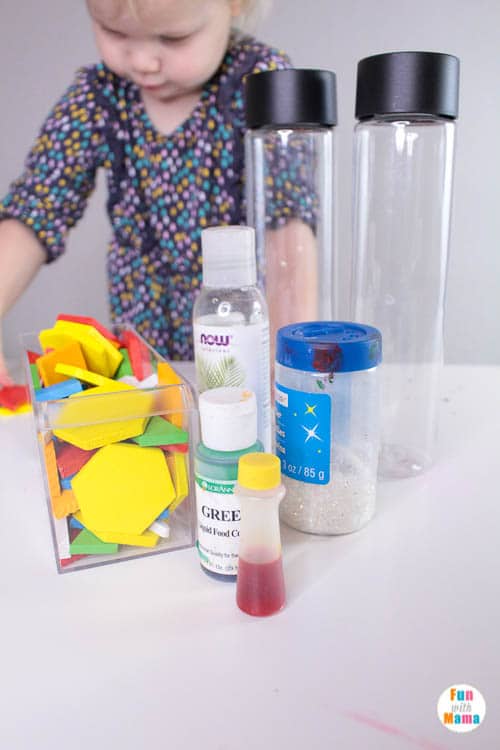
- Glitter
- Glycerin
- Clear Bottles – you can use these test tubes to make smaller glitter jars. If you’d prefer to make glitter mason jars then you can use these glass jars instead. Or use Voss Water Bottles (you can also find similar plastic bottles at craft stores or Amazon)
- Sequins
- Funnel
- Plastic jewels
- Foam or plastic letters
- Foam or plastic shapes
- Liquid watercolors or food coloring (optional)
- Hot glue – you can use hot glue to close the bottle up so that children can’t open it.
You can find the materials here:
[show_shopthepost_widget id=”4634938″]
Don’t want to make your own and prefer to purchase ready-made glitter jars?
Here are my suggestions:
[show_shopthepost_widget id=”4634939″]
Here is a video tutorial:
How to Make a Glitter Sensory Bottle
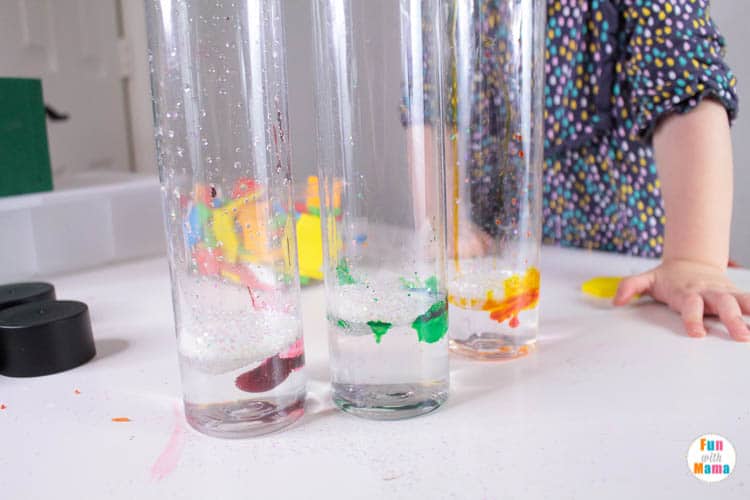
Setting up your glitter jars is easy, and there are a few ways to do it. The easiest way, in my opinion, is to use glycerin.
You’ll want to add about ¼ glycerin and ¾ water. This will create a swirling effect that will last for about 1 minute until the glitter falls to the bottom of the jar. Heavier things will fall faster. You can experiment with fall speed by adding more or less glycerin to your bottles.
If you want a really long-lasting swirl, you can also add clear glue to your bottles.
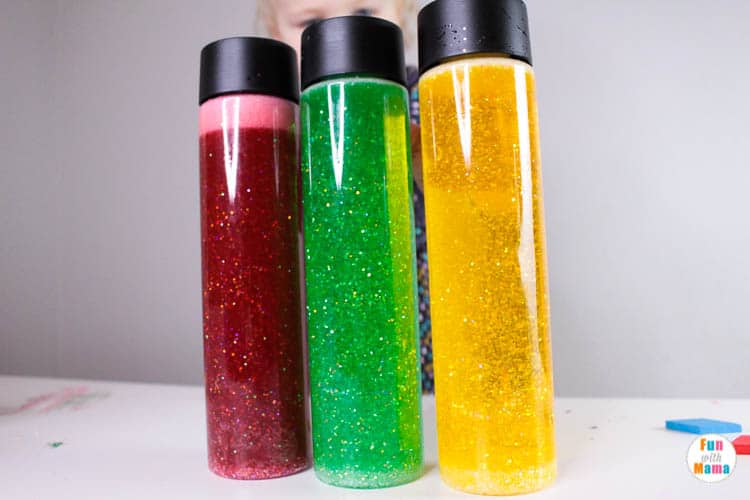
Making a glitter bottle is really all about customizing it to match what you want!
You can also add a bit of liquid watercolor or food coloring to the jars to make them more colorful.
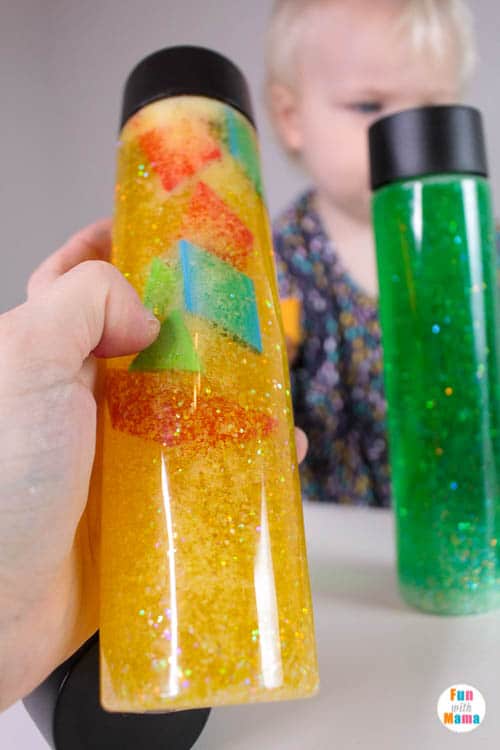
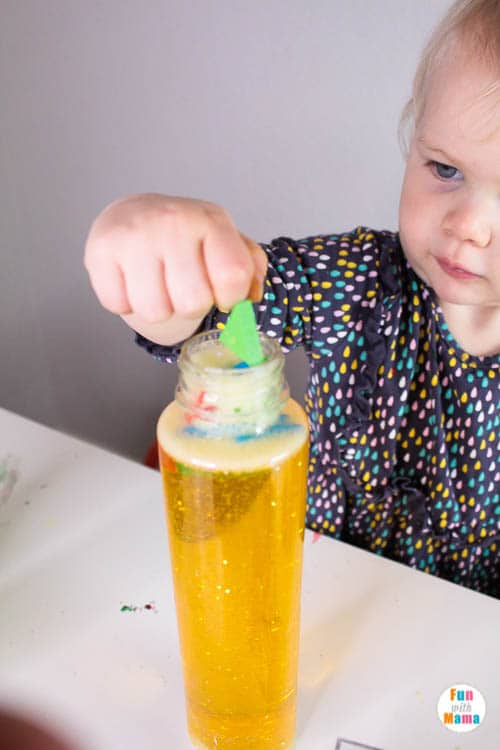
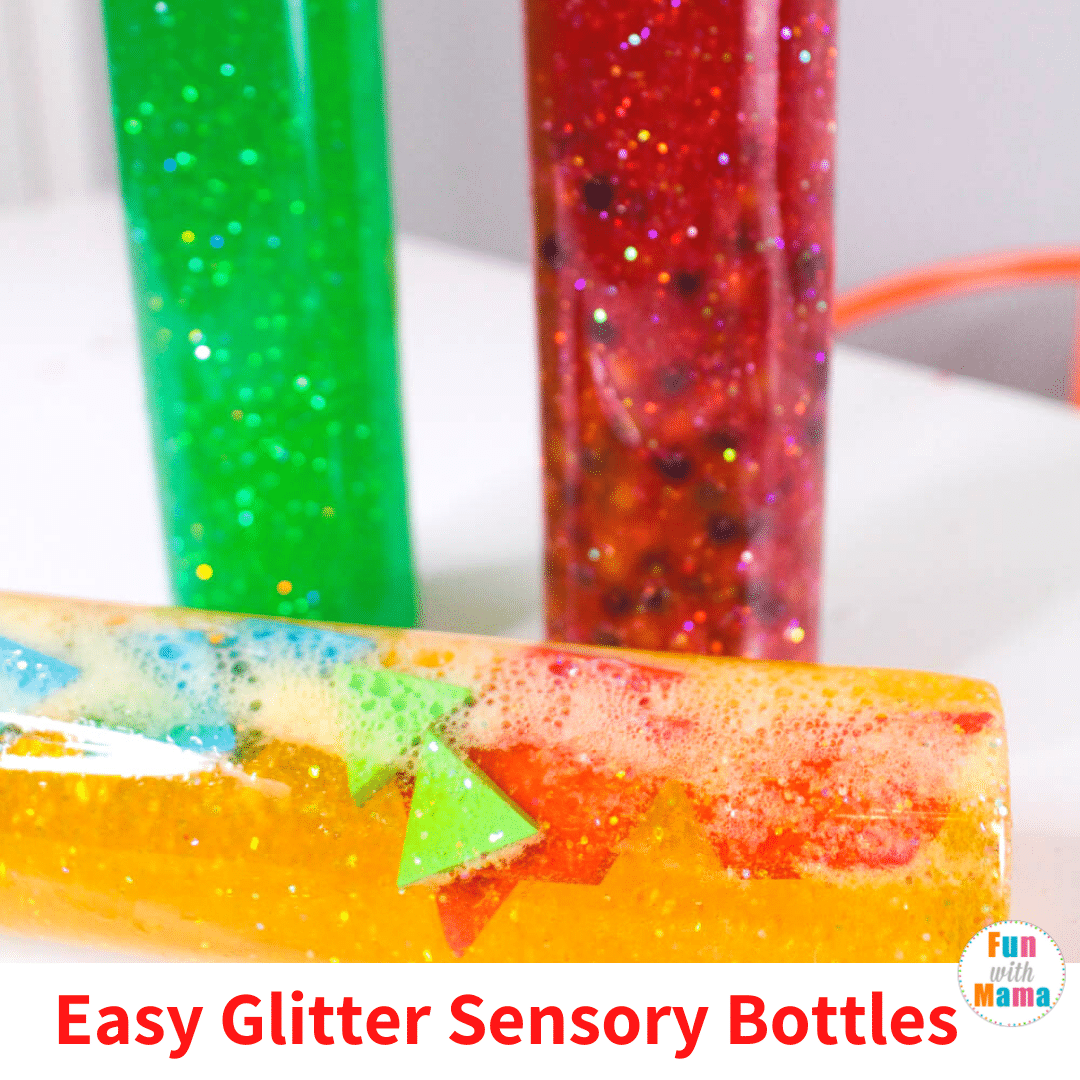
To add an educational aspect, add fun learning items (as long as they are water-safe!) to the jars before you seal them. Plastic letters or numbers could be fun, but also jewels and sequins to help kids learn about colors!
Once you are satisfied with your glitter jars, apply a line of waterproof glue to the lid before screwing it on the jar. This will keep the kids from being able to spill the contents all over your house or classroom.
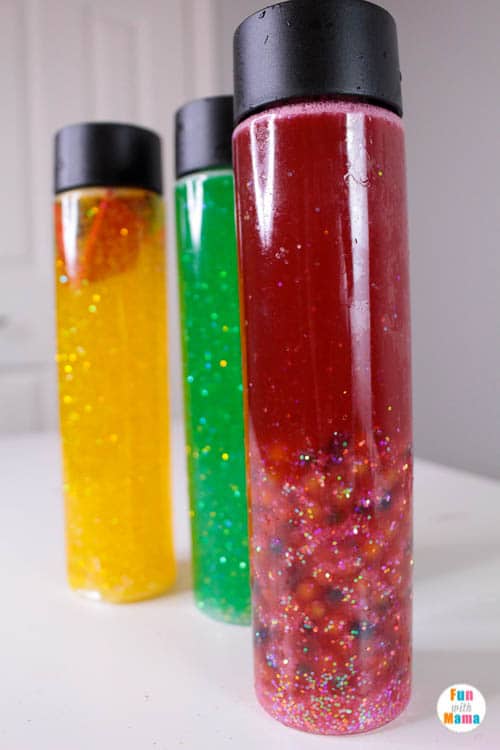
As you can see, you can change up the look of your glitter sensory bottle easily. Try different colored water, different colored glitter, and even fun objects to add to the water as well.
Does glitter float in water?
More than likely, you’re going to notice that the glitter is going to sink to the bottom. It might float around for a bit, but it’ll end up settling over time. In that case, just have the kids give this glitter sensory bottle a shake to get the glittered stirred back up!
What are sensory bottles good for?
They’re really great for sensory play. Some people will also refer to glitter sensory bottles as calm down bottles as well because they can have a calming effect on children who shake them and watch the glitter fall.
How does sensory play help cognitive?
One of the biggest reasons that sensory play is important is because it helps with learning development. Once your child learns how to use their senses, it can help with other areas such as language, problem-solving, and more.
Tips for Making this Glitter Bottle DIY
Keep in mind when you’re making a calming jar, this is a great way to talk to your child about emotions as well. Since this calm down bottle is fun for play, it’s also great for letting them understand that it can be helpful in emotions, too.
Let them help out when making this DIY sensory bottle as this would be a great activity for them to work on as well. Just be there for parental guidance!
More Sensory Activities
If you like this fun sensory activity for preschoolers, you might also enjoy these:


Leave a Comment