If you’ve never tried it before, salt painting is a perfect winter activity that kids of all ages will love. Salt painting is one of our favorite activities.
It’s simple to set up, and the results can be stunning! With just a few simple materials, you can make your snowflake painting sparkle like real snowflakes! We’re actually going to show you three different ways that you can make snowflakes with watercolors!
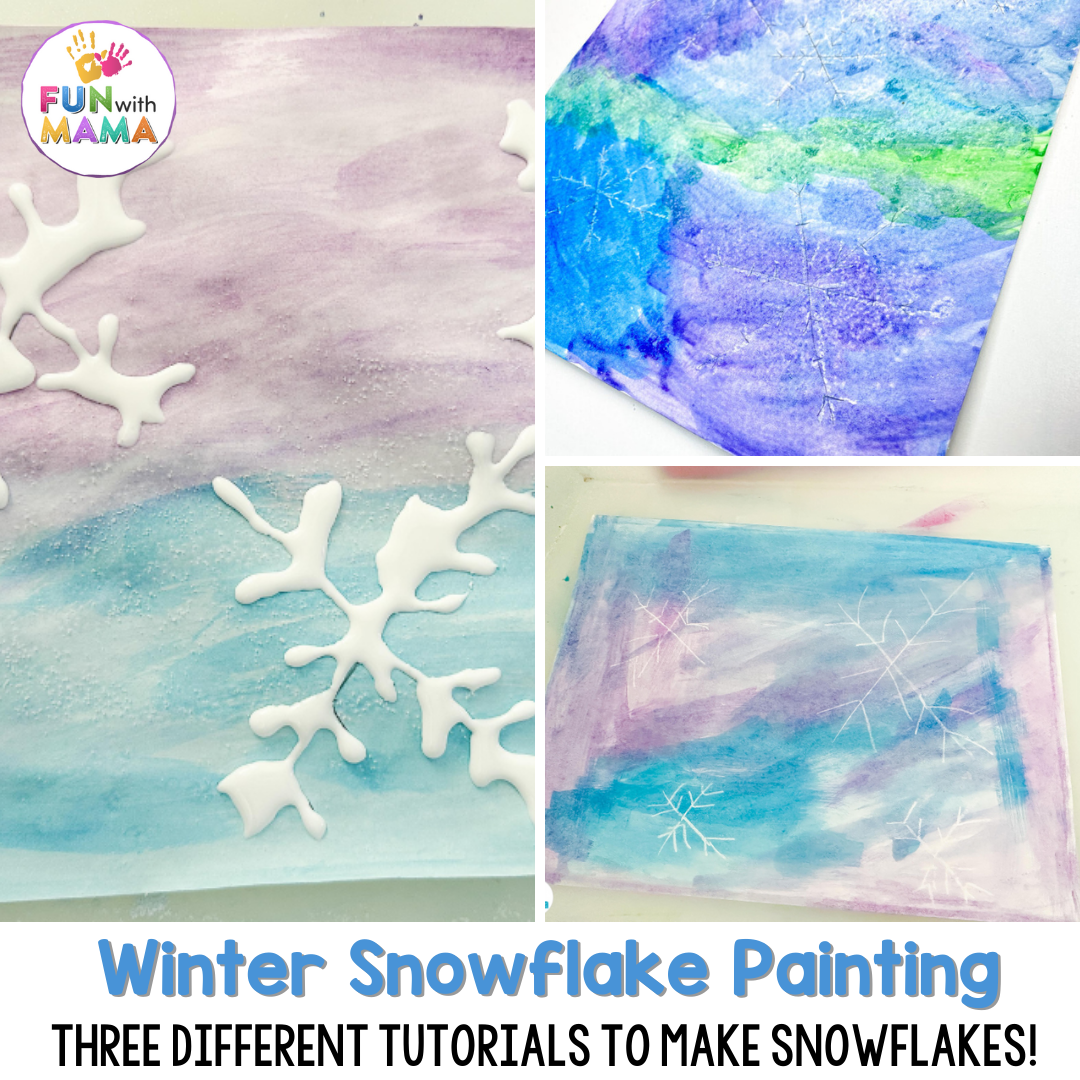
This is perfect for cold winter days and a fun way to venture away from making traditional paper snowflakes. With some watercolour paint, everyone will love the different colors and look.
Little hands can join in and create a final product that they’re going to be proud of! Just be sure to let the wet paint dry for a little bit and follow the simple steps outlined below. This is one of those winter activities that the kids are going go love!
Follow along with these directions to learn how to make a one-of-a-kind snowflake painting that can be completed in under 15 minutes.
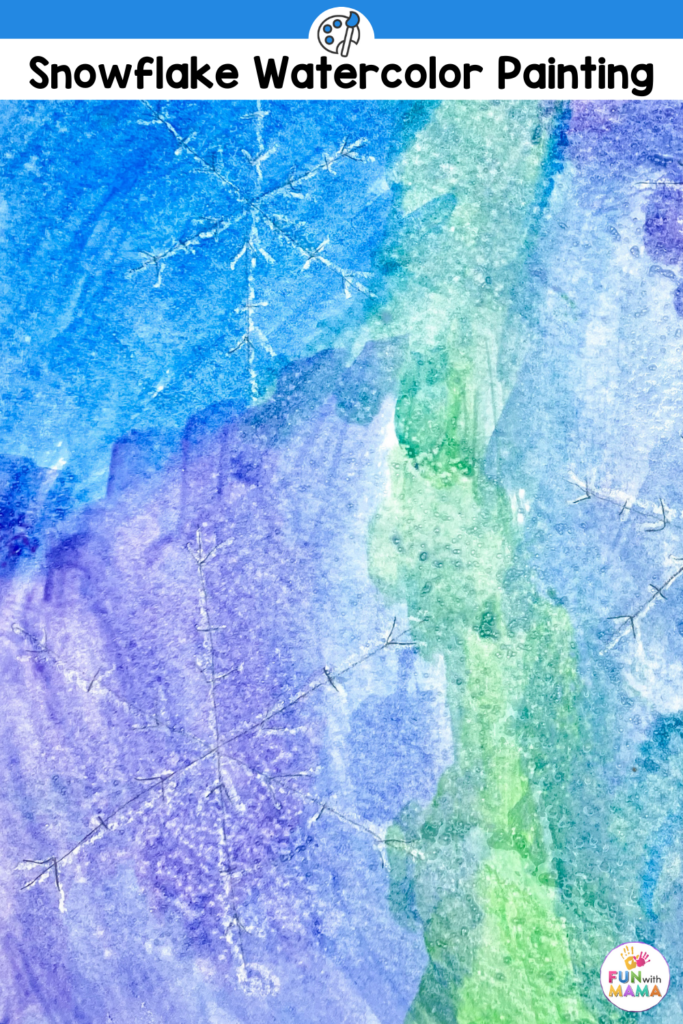
Easy and Fun Winter Art for Kids!
This simple snowflake painting is a super fun activity that you can do in just a few minutes or take longer and make even more elaborate designs. Adding salt makes the painting glitter and shine, just like real snowflakes do.
The watercolor salt painting is not only a way to beat winter blues, but the snowflake salt painting is also a fun way to strengthen fine motor skills with preschoolers.
What You Need to Make This Simple Snowflake Art
Here is what you need to make this snowflake painting!
- Paper towels
- Pencils
- Salt
- Watercolor paper
- Paintbrushes
- Water
- Plastic cup with water to clean the brushes between colors
- Art trays
- White glue (optional)
How to Paint Snowflakes
To make this project as successful as it can be, follow these tips so that whether you are doing your snowflake activities with preschoolers or elementary kids- your winter art will look beautiful no matter what!
How do you draw a simple snowflake?
A snowflake always starts with six sides. Snowflakes have their unique shape because of the way the ice crystals always form in a certain, repeating pattern. Despite this, no snowflakes look exactly the same!
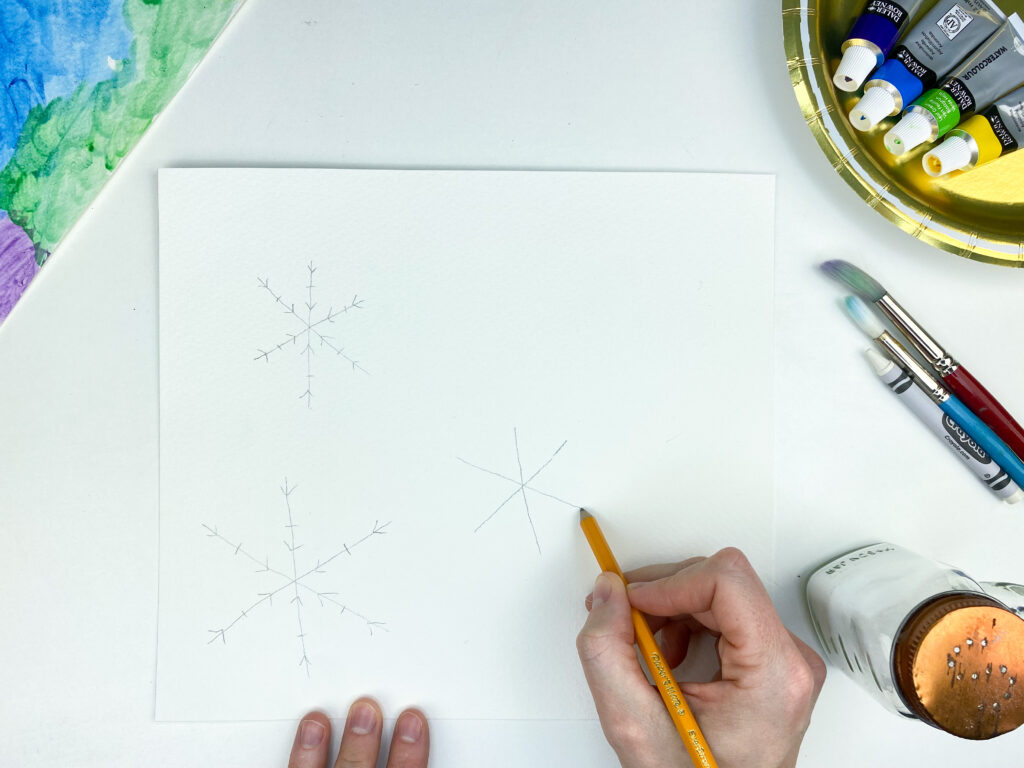
Look at pictures of snowflakes and then recreate your favorite ones as the outline for your glue snowflakes.
How do you color snowflakes?
To color these snowflakes, dye the salt with liquid watercolors. But be careful, less is more. You can also paint the entire background of the painting with watercolors and sprinkle salt over the whole painting!
How does salt make the “snowflake” look in watercolor painting?
Salt adds texture and sparkle to your glue snowflakes. Once the glue dries, the salt particles make the winter art look like you were able to capture real snowflakes and preserve them indoors!
Even More Winter Art Projects for Kids
Here are some other easy winter art projects that you’ll love for the classroom or at home!
- Snowman Shape Playdough Mats
- Easy Open Ended Art Snowman Craft Painting
- Hidden Treasure Fizzing Ice
- Polar Animal Activities
Step-by-Step Directions for Making Snowflake Art
Here are the directions to make your snowflake art project where kids can make their own snowflakes. There are three ways you can create salt snowflakes with watercolors. There are a few options, so I’ve included steps to a couple different ideas!
Snowflake Painting Method #1
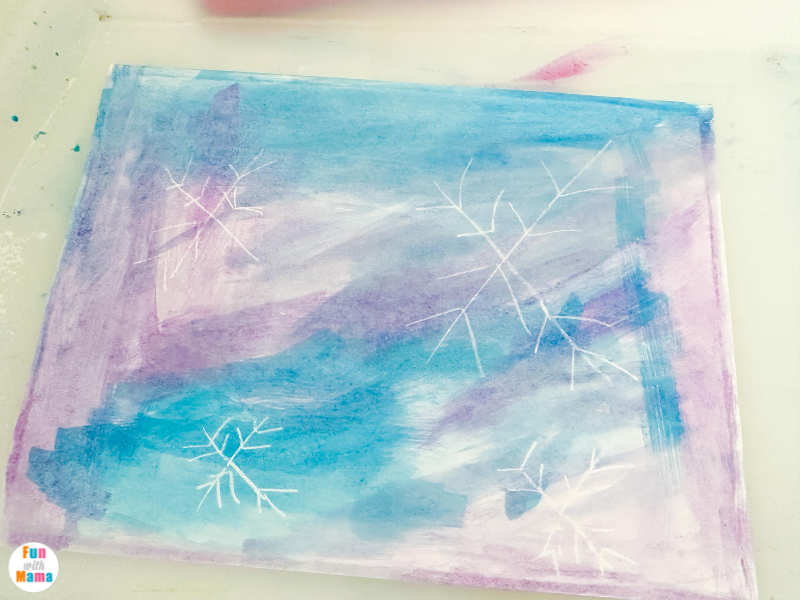
Draw snowflakes on Cardstock with a white crayon.
Use watercolor paint to paint over the paper, and watch as the snowflakes magically appear!
Sprinkle salt liberally across the glue and gently shake the paper to remove any excess salt.
Wait for the glue to dry, and you will have sparkling, glittering snowflakes in 3D!
Winter Snowflake Painting Method #2
First, draw your snowflake shape in pencil on your watercolor paper. Place the paper into art trays to reduce messes.

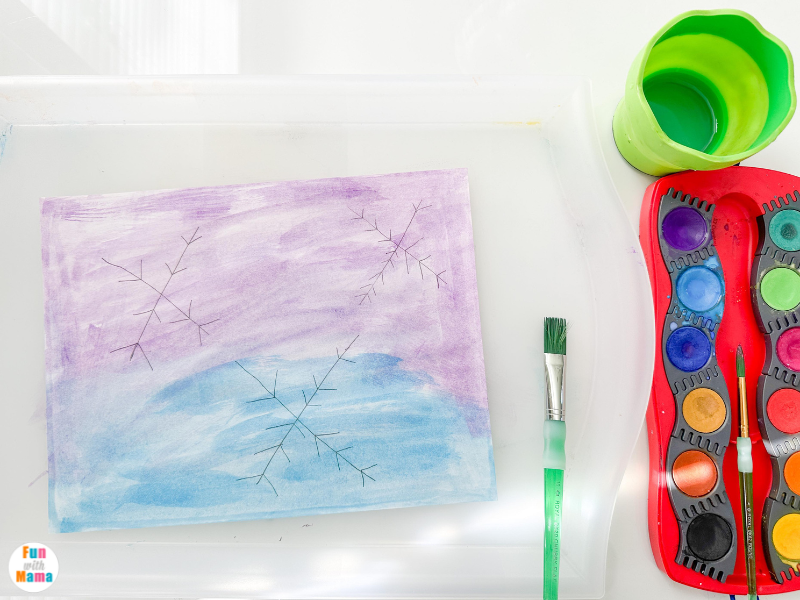
Next, instruct the kids to choose two to four colors of watercolor and paint them onto the paper.
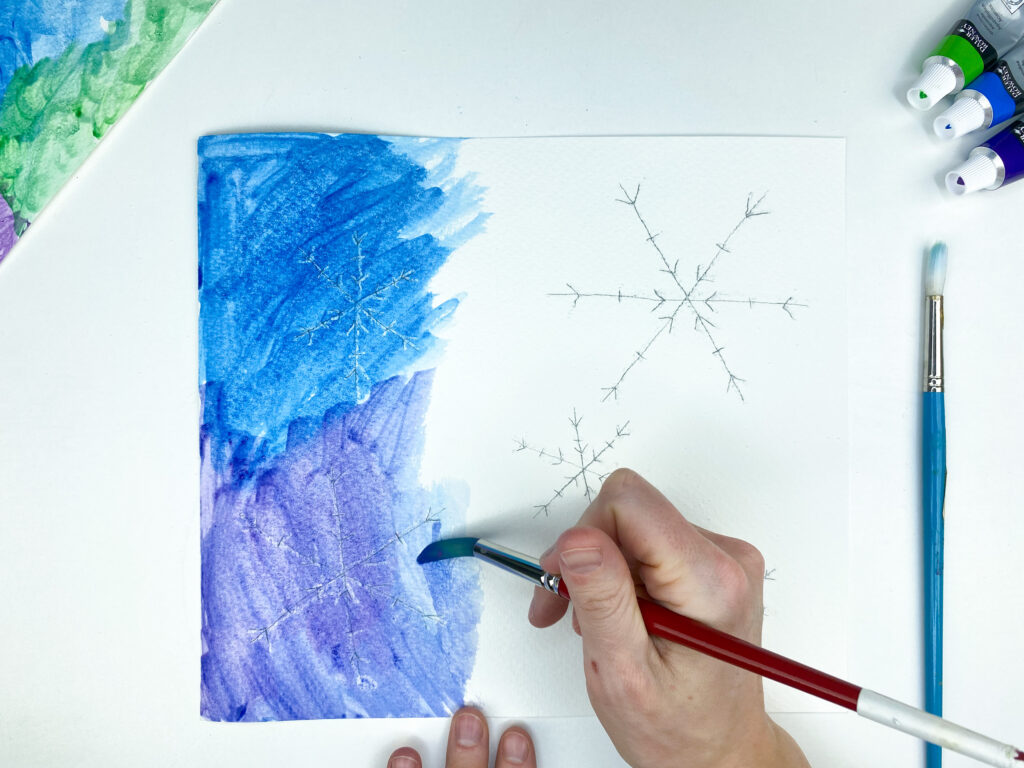
Dip the paintbrush in water and paint over the entire piece of paper to blend the colors. But be careful, blending too much will make your art look muddy.
While the watercolor snowflake painting is still wet (but not soaking wet), use a salt shaker to sprinkle salt around the snowflakes or across the entire painting.
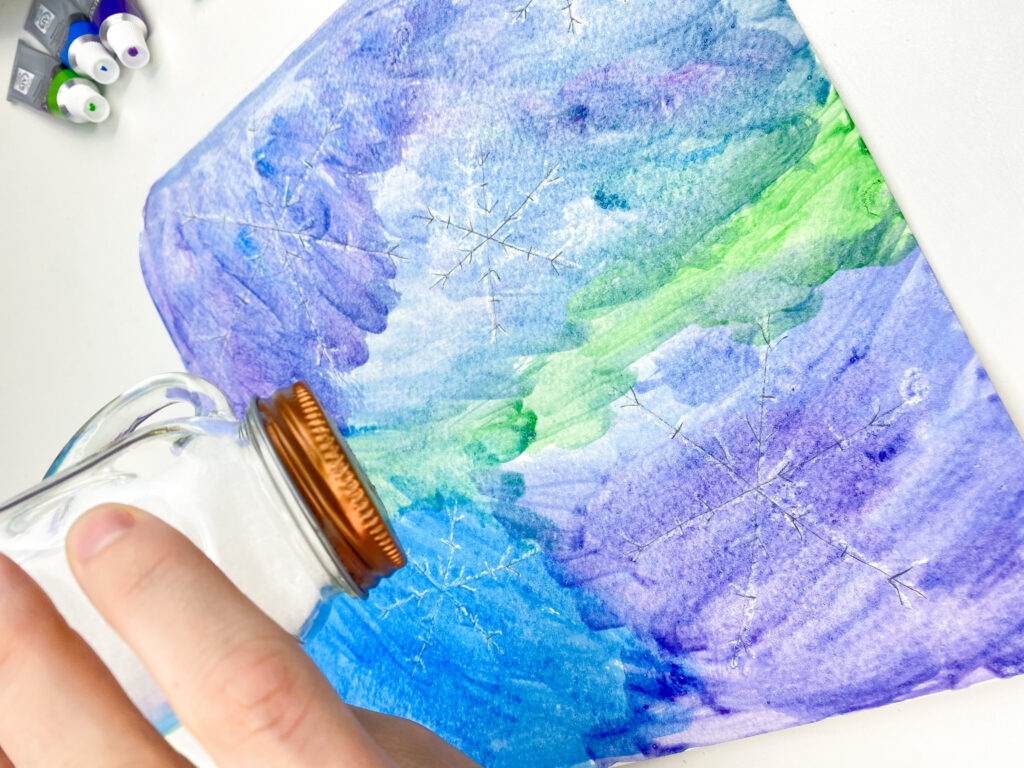
If the salt melts, add a second layer of salt in about a minute.
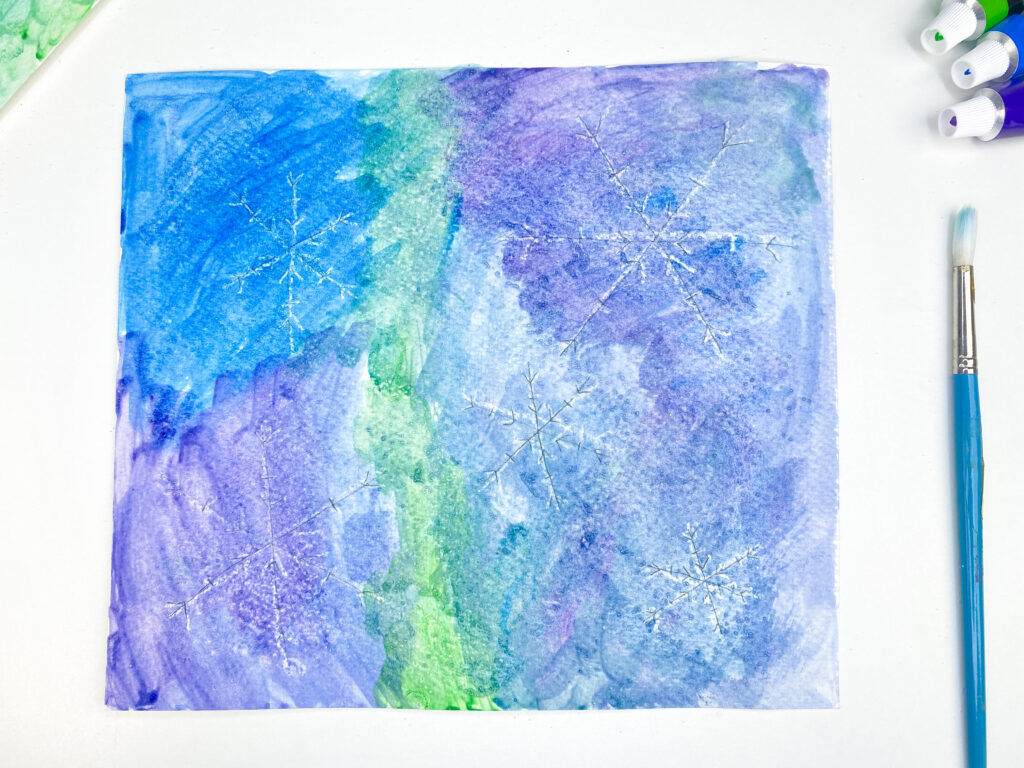
Next, allow the painting to dry completely.
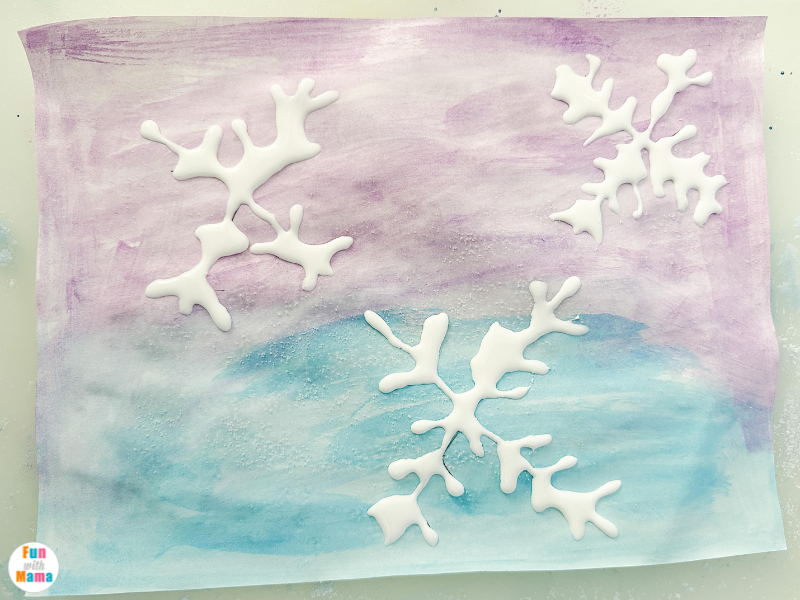
Once dry, outline the snowflakes in thin lines of white glue.
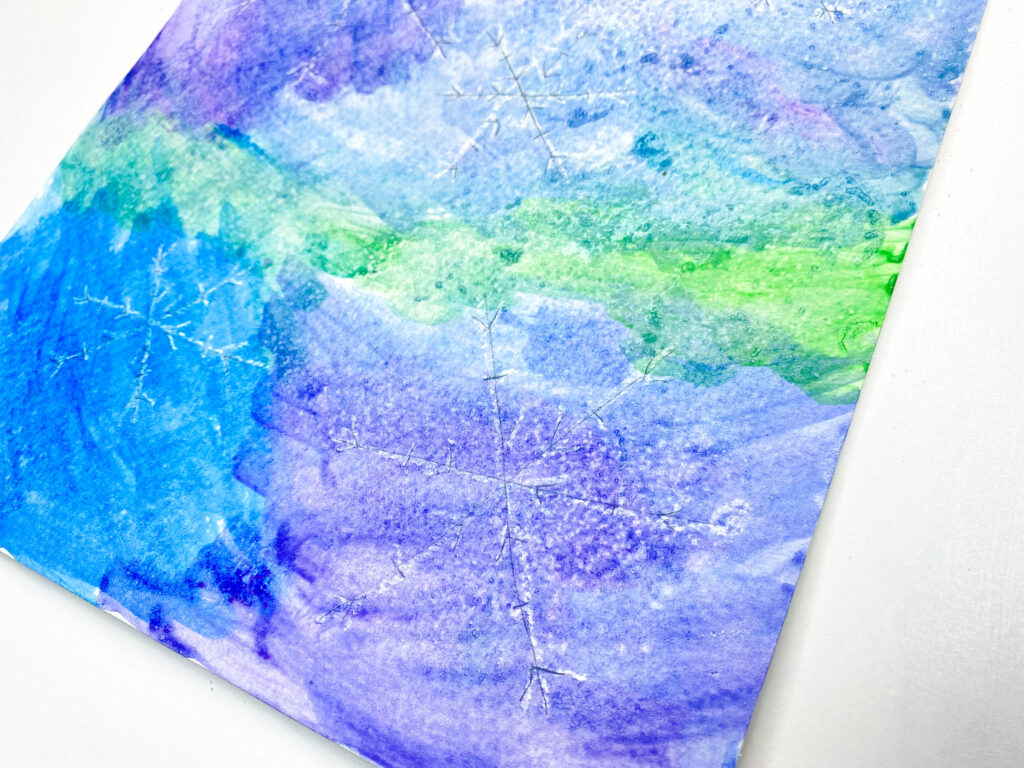
Wait for the art to completely dry and hang it proudly for everyone to see.
Snowflake Painting Method #3
On Cardstock paper draw some snowflakes
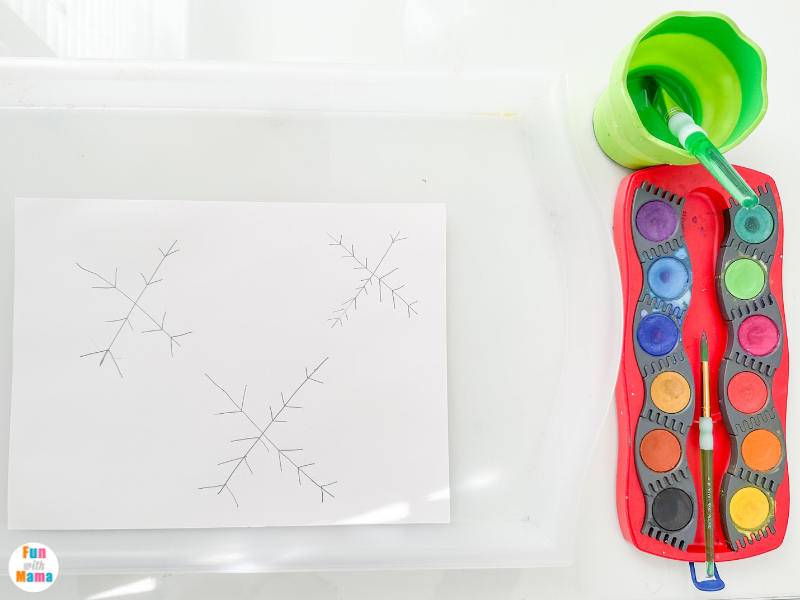
Paint over the page with watercolor paint
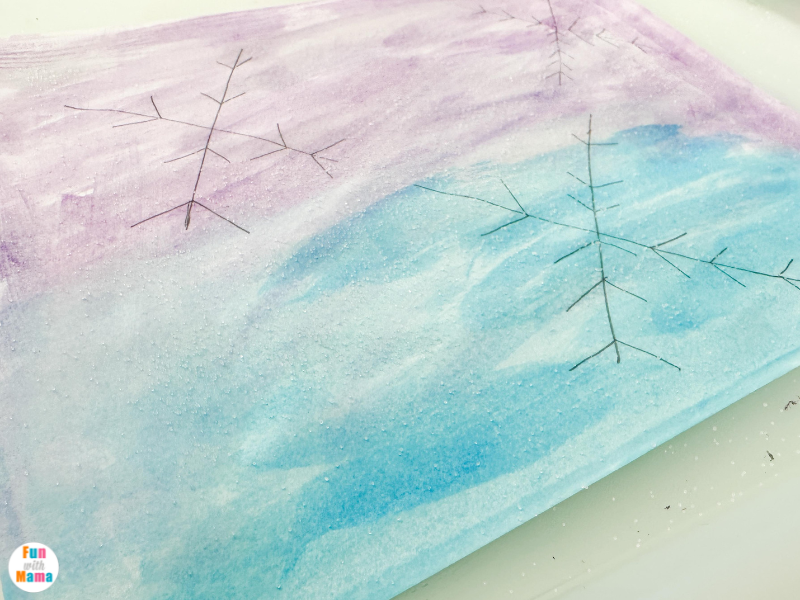
You can sprinkle over some salt while the watercolors are still wet. This gives it a snow effect.
Use glue to trace over the snowflakes. When dry, you have a beautiful snowflake art piece.





Leave a Comment